5 Quick Steps to Test Garden Soil
The scent of geosmin rising from a freshly turned furrow indicates active microbial life; yet, sensory observation cannot quantify the chemical balance required for optimal crop performance. Successful cultivation depends on precise data rather than intuition. To maximize plant turgor pressure and ensure cellular integrity, every grower must master the fundamental steps to test garden soil. Without an accurate baseline of the current nutrient load and structural composition, any amendment is merely a guess that risks osmotic shock or nutrient lockout. Proper testing reveals the hidden dynamics of the rhizosphere; it provides the specific metrics needed to calibrate the Cation Exchange Capacity (CEC) and adjust the hydrogen ion concentration. This process transforms a patch of dirt into a high-performance substrate capable of sustaining vigorous vegetative growth and heavy reproductive yields. By quantifying the available nitrogen, phosphorus, and potassium, you transition from a hobbyist to a biological manager of a complex underground ecosystem.
Materials:
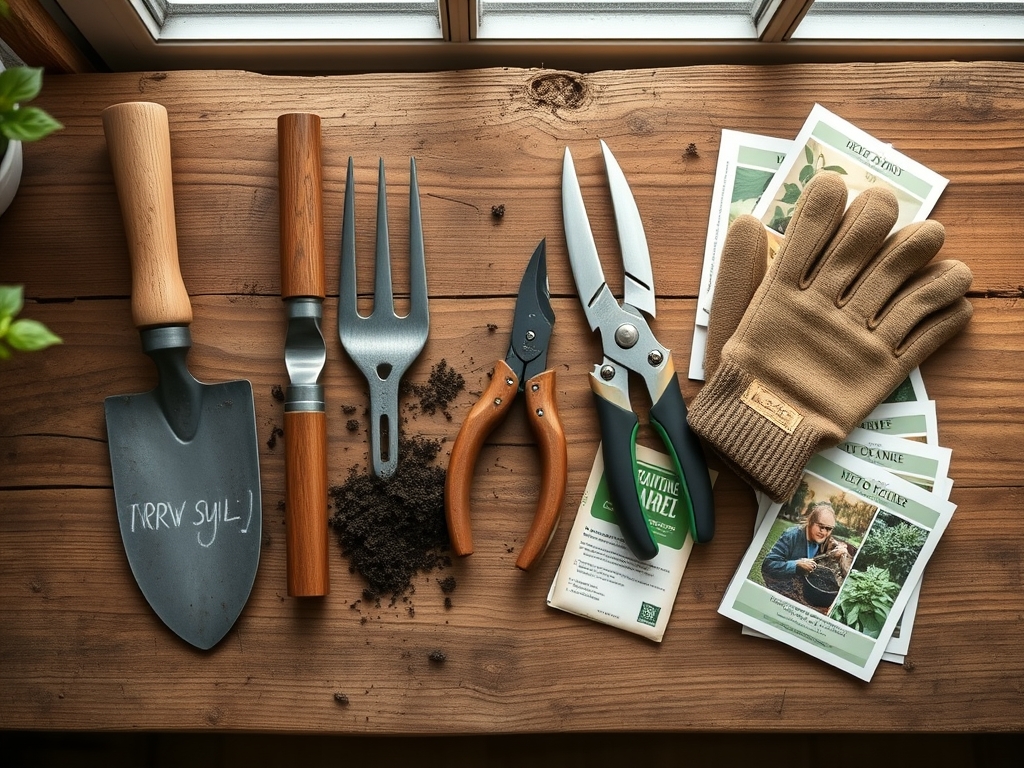
The objective is a friable loam; a balanced mixture of sand, silt, and clay that maintains 25 percent air space and 25 percent water retention. To analyze this substrate, you require a clean plastic bucket to avoid metal contamination, a stainless steel trowel, and a professional-grade testing kit or laboratory sample bags.
Focus on the following chemical targets:
- Soil pH: Aim for a range of 6.2 to 6.8 for most terrestrial plants. This range ensures that macronutrients remain bioavailable and do not become chemically bound to soil particles.
- Nitrogen (N): Target 20 to 50 parts per million (ppm) during the vegetative phase to drive chlorophyll production.
- Phosphorus (P): Maintain levels of 30 to 50 ppm to support adenosine triphosphate (ATP) production and root development.
- Potassium (K): Seek 150 to 250 ppm to regulate stomatal opening and water movement within the xylem.
Timing:
Timing is dictated by the hardiness zones and the biological clock of the local ecosystem. In Zones 5 through 7, soil testing should occur in early spring, at least four weeks before the last frost date, or in late autumn after the first killing frost. Testing during these windows allows for the slow chemical transition of amendments like elemental sulfur or pelletized lime.
The biological clock of a plant moves from the vegetative stage (foliar expansion) to the reproductive stage (flowering and fruiting). Testing must occur before the transition to the reproductive phase because the plant's demand for phosphorus and potassium spikes during this shift. If the soil lacks these elements when the photoperiod triggers flowering, the plant will experience senescence prematurely; this leads to reduced yields and weakened structural integrity.
Phases:

Sowing
Before a single seed enters the ground, you must determine the soil's drainage rate. Dig a hole 12 inches deep, fill it with water, and monitor the drawdown. An ideal rate is 1 to 2 inches of drainage per hour. If the water remains after six hours, the soil lacks sufficient macropores, which will lead to root hypoxia and fungal pathogens.
Pro-Tip: Proper drainage is essential for mycorrhizal symbiosis. These beneficial fungi require aerobic conditions to colonize the root system and extend the plant's reach for phosphorus and water.
Transplanting
When moving a nursery start into the field, the soil temperature must consistently register above 55 degrees Fahrenheit for temperate crops and 65 degrees Fahrenheit for tropical varieties. Use a probe thermometer to check the temperature at a depth of 4 inches. Cold soil inhibits the uptake of phosphorus, resulting in purple-tinted foliage and stunted growth.
Pro-Tip: Maintaining consistent soil temperature prevents auxin suppression. Auxins are hormones that drive root elongation; when soil is too cold, auxin transport slows, causing the plant to stall in its development.
Establishing
Once the plant is in the ground, monitor the top 3 inches of the soil profile. This is the zone of highest microbial activity. Use a soil moisture meter to ensure the substrate stays within the "moist but not saturated" range. For established perennials, the root zone should receive deep hydration rather than frequent surface misting.
Pro-Tip: Deep watering encourages positive hydrotropism. Roots will naturally grow toward moisture gradients; by watering deeply, you force the root system to expand downward, making the plant more resilient to drought and heat stress.
The Clinic:
Physiological disorders often mimic pest damage but are usually rooted in chemical imbalances.
-
Symptom: Interveinal chlorosis (yellowing between green leaf veins) on new growth.
Solution: This indicates an Iron (Fe) deficiency, often caused by a pH above 7.5.
Fix-it: Apply chelated iron and lower the pH using aluminum sulfate or elemental sulfur. -
Symptom: Blossom end rot (dark, leathery spots on the bottom of fruit).
Solution: This is a Calcium (Ca) deficiency, often triggered by inconsistent watering rather than a lack of calcium in the soil.
Fix-it: Maintain a consistent moisture level of 1.5 inches of water per week to ensure calcium ions can move through the transpiration stream. -
Symptom: Purpling of older leaves and slow growth.
Solution: Nitrogen (N) deficiency.
Fix-it: Side-dress with a high-nitrogen organic fertilizer like blood meal or a synthetic 21-0-0 ammonium sulfate.
Maintenance:
Precision maintenance prevents the degradation of soil structure. Apply exactly 1.5 inches of water per week delivered at the drip line of the plant to minimize foliar diseases. Use a hori-hori knife to remove weeds by the root, ensuring you do not disturb the delicate fungal networks in the topsoil. For woody plants, use bypass pruners to remove dead or diseased tissue, making clean cuts at a 45 degree angle just above a lateral bud. This practice maintains the plant's hydraulic pressure and prevents the entry of opportunistic pathogens. Use a soil moisture meter every three days during the peak of summer to calibrate your irrigation schedule against actual evaporation rates.
The Yield:
Harvesting is the culmination of chemical management. For fruiting crops, harvest when the fruit reaches its "breaker stage" or full color maturity to ensure maximum sugar accumulation. Use a sharp blade to sever the pedicel; do not pull the fruit, as this can damage the vascular tissue of the main stem. Post-harvest, immediately move the produce to a cool, shaded environment to reduce the field heat. This slows the rate of respiration and preserves the turgor of the cells, maintaining "day-one" freshness for a longer duration. For flowers, harvest in the early morning when the stems are fully turgid and the stomata are closed.
FAQ:
How often should I test my soil?
Perform a comprehensive soil test every two to three years. This frequency allows you to track the long-term impact of your amendment strategy and adjust for nutrient depletion caused by heavy-feeding crops.
What is the best way to take a soil sample?
Collect 10 to 12 sub-samples from various locations at a depth of 6 to 8 inches. Mix these in a clean plastic bucket to create a representative composite sample for the entire growing area.
Can I use a home pH meter instead of a lab test?
Home meters provide a quick estimate of hydrogen ion concentration but lack the precision of laboratory analysis. They cannot measure Buffer pH, which is necessary to calculate the exact amount of lime needed to change the soil's acidity.
Why is Cation Exchange Capacity (CEC) important?
CEC measures the soil's ability to hold positively charged nutrients like calcium, magnesium, and potassium. A higher CEC, typical of clay or organic-rich soils, means the soil can store more nutrients and resist rapid changes in pH.