10 Clever Ways How to Organize a Tool Shed
The scent of damp humus and the distinct metallic tang of oxidized carbon steel define the workspace of a serious horticulturalist. When the turgor pressure of your prized perennials depends on the precision of your timing, a chaotic workspace is a biological liability. Learning how to organize a tool shed is not merely an exercise in aesthetics; it is a fundamental component of integrated crop management. Efficiency in the shed translates directly to efficiency in the field, ensuring that sharp blades and calibrated amendments are always within reach during critical planting windows.
Materials:
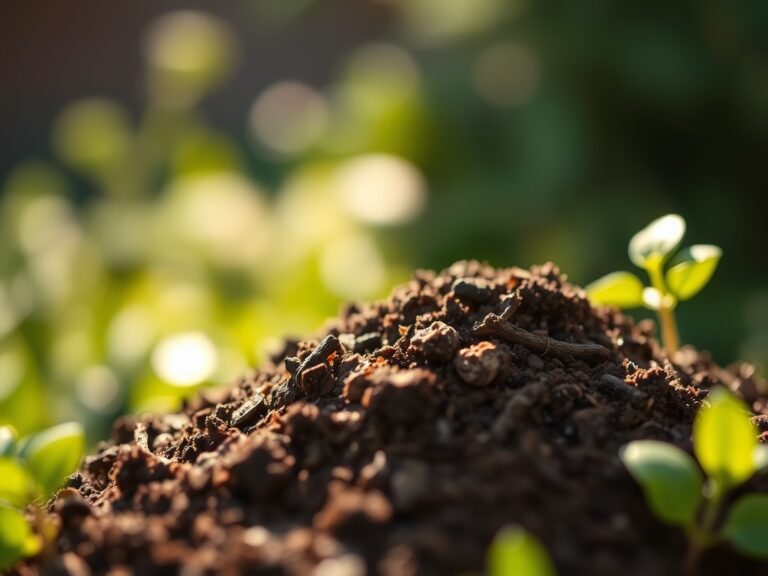
A high-functioning shed must house the inputs required to maintain a **friable loam** with a **Cation Exchange Capacity (CEC) above 15**. Organize your amendments by their **NPK (Nitrogen-Phosphorus-Potassium)** ratios to prevent application errors. Store high-nitrogen sources like blood meal (**12-0-0**) in airtight containers to prevent moisture absorption and ammonia volatilization. Bone meal (**3-15-0**) and sulfate of potash (**0-0-50**) should be kept in elevated, dry zones to maintain their granular integrity.
The ideal substrate for most temperate crops requires a pH range of 6.2 to 6.8. Keep a supply of pelletized lime and elemental sulfur organized by their chemical reactivity. Your shed should also contain a dedicated area for sterilized potting media, characterized by a high percentage of sphagnum peat or coconut coir to ensure optimal water holding capacity while maintaining 20 percent air-filled porosity.
Timing:
Successful cultivation relies on the alignment of your workflow with local USDA Hardiness Zones. In Zones 5 through 7, the organizational overhaul must be completed before the final frost date, typically between April 15 and May 15. This preparation accounts for the "Biological Clock" of your plants, specifically the transition from the vegetative stage to the reproductive stage.
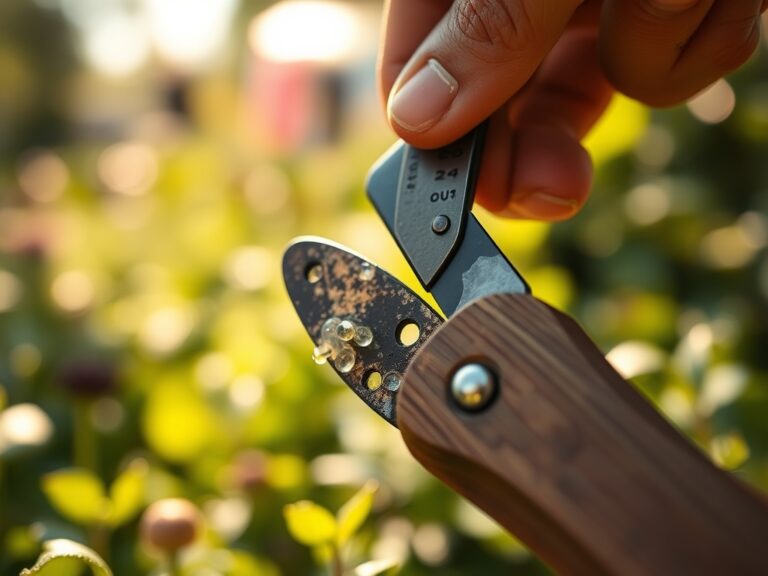
As the photoperiod increases during the spring equinox, plants experience a surge in auxin production, triggering rapid cell elongation. If your tools are not organized, you miss the window for structural pruning or early-season soil solarization. Your shed schedule should prioritize the maintenance of bypass pruners and hori-hori knives at least three weeks prior to the projected bud break of woody perennials.
Phases:

Sowing and Stratification
Designate a specific bench for seed starting that maintains a constant temperature of 65 to 75 degrees Fahrenheit. Use vertical magnetic strips to hold small hand tools, keeping the primary work surface clear for seed trays.
Pro-Tip: Ensure your seed-starting area is sanitized with a 10 percent bleach solution. This prevents damping-off, a condition caused by Pythium or Rhizoctonia fungi that thrive in cool, anaerobic conditions.
Transplanting and Root Management
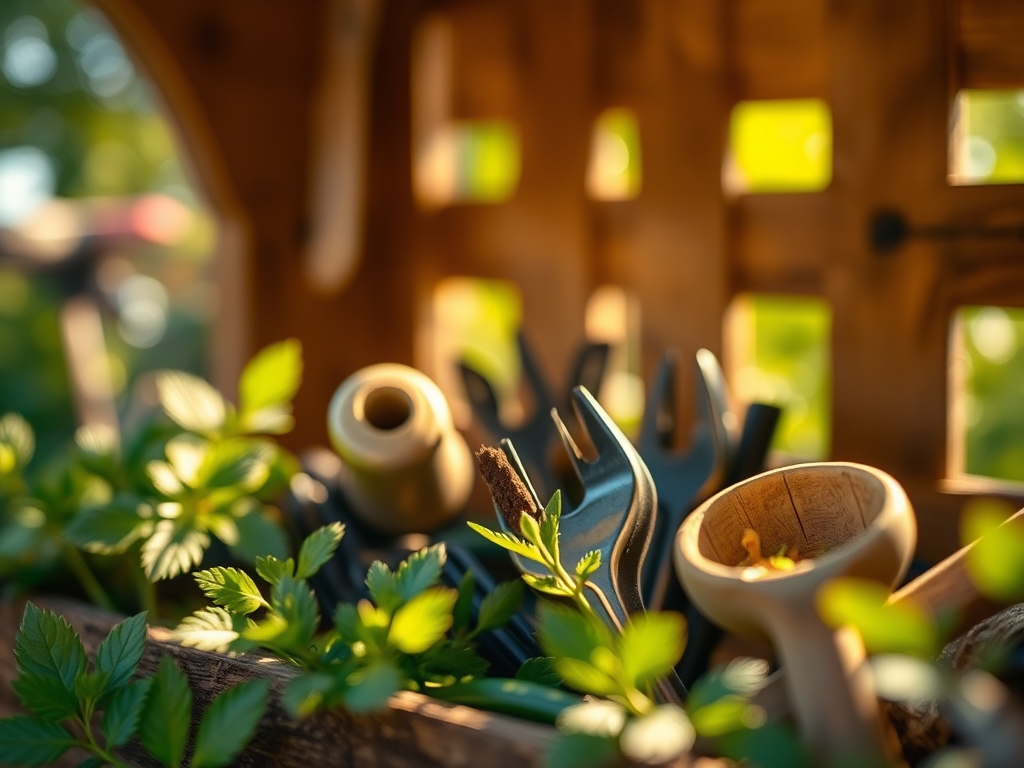
Group your long-handled tools, such as D-handle spades and trenching shovels, on heavy-duty wall racks. This prevents the dulling of blades and protects the integrity of the tool shafts. When moving plants from the nursery to the field, speed is essential to minimize transplant shock.
Pro-Tip: Use a dedicated pegboard for your soil moisture meter and refractometer. Maintaining high turgor pressure during the transplant phase is vital; a drop in water potential can lead to permanent wilting point (PWP) within hours.
Establishing and Nutrient Delivery
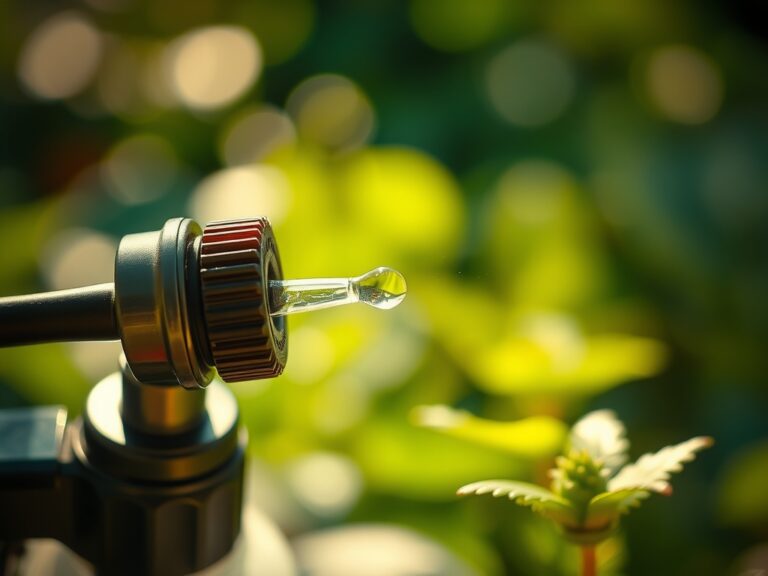
Store your irrigation components, including drip emitters and soaker hoses, in clear, labeled bins. This allows for rapid deployment when the soil moisture tension exceeds 30 centibars.
Pro-Tip: Organize your liquid fertilizers near a dedicated mixing station to facilitate fertigation. This leverages mycorrhizal symbiosis, as a consistent supply of phosphorus encourages fungal hyphae to extend the root system's reach for water and micronutrients.
The Clinic:
A disorganized shed leads to neglected plants. Monitor your crops for these physiological disorders and use your organized supplies to intervene.
- Symptom: Interveinal Chlorosis. This appears as yellowing between leaf veins while the veins remain green.
- Solution: This typically indicates an Iron (Fe) deficiency or Magnesium (Mg) deficiency. Check your soil pH; if it is above 7.5, iron becomes insoluble. Apply chelated iron or Epsom salts (Magnesium Sulfate) as a foliar spray for rapid absorption.
- Symptom: Blossom End Rot. A dark, sunken leathery spot at the base of the fruit.
- Solution: This is a Calcium (Ca) transport issue, often caused by erratic watering. Use your soil moisture meter to ensure consistent moisture levels, allowing calcium to move through the xylem via transpiration.
- Symptom: Purpling of Lower Leaves.
- Solution: This indicates Phosphorus (P) deficiency. In cold soils (below 55 degrees Fahrenheit), phosphorus uptake slows significantly. Apply a high-phosphate starter fertilizer (10-52-10) to the rhizosphere.
Maintenance:
Precision maintenance requires specific data. Most vegetable crops require 1.5 inches of water per week delivered at the drip line to ensure deep root penetration. Use a soil moisture meter daily at a depth of 6 inches to calibrate your irrigation timing.
Keep your bypass pruners sharp using a diamond whetstone; a ragged cut increases the surface area for pathogen entry and delays the formation of the abscission layer. After each use, wipe blades with isopropyl alcohol to prevent the cross-contamination of viral pathogens like Tobacco Mosaic Virus (TMV). Store your hori-hori knife in a sheath with a light coating of mineral oil to prevent oxidation of the high-carbon steel.
The Yield:
Harvesting is the culmination of the biological cycle. For maximum post-harvest longevity, harvest leafy greens and herbs during the "pre-dawn" window when turgor pressure is at its peak. Use sharp, sterilized snips to minimize cellular damage at the cut site.
For fruiting crops, monitor the Brix level using a refractometer to determine peak sugar content. Once harvested, remove the "field heat" by hydro-cooling in 40-degree Fahrenheit water. This slows the rate of senescence and respiration, extending the shelf life and preserving the nutritional density of the tissue.
FAQ:
How do I stop tools from rusting in the shed?
Clean tools with a wire brush to remove soil. Dip the metal heads into a bucket filled with sand and linseed oil. This creates a hydrophobic barrier that prevents oxidation and maintains the structural integrity of the steel.
What is the best way to store garden hoses?
Coil hoses in large loops on a wall-mounted circular rack to prevent kinking. Kinks cause mechanical stress on the polymer, leading to pressure-induced bursts. Always drain residual water to prevent anaerobic bacterial growth inside the line.
How should I organize my fertilizers?
Store dry amendments in airtight, UV-resistant containers off the floor. Group them by NPK ratio and label them with the date of purchase. This prevents chemical degradation and ensures you apply the correct nutrient concentration for specific growth stages.
Where should I keep my power equipment?
Store gas-powered tools on a dedicated metal shelf away from fertilizers. Ammonium nitrate fertilizers are highly reactive. Ensure the area is well-ventilated to prevent the accumulation of volatile organic compounds (VOCs) that can degrade rubber gaskets and fuel lines.