7 Accurate Ways How to Calibrate a Seed Spreader
The scent of damp, friable loam signals the start of the primary growing season; it is the smell of microbial activity and active nitrogen cycling. Achieving a uniform stand of turf or forage requires more than just high-quality germplasm; it requires mechanical precision. If your distribution is uneven, you risk localized nutrient competition and patchy senescence. Mastering how to calibrate a seed spreader ensures that every square foot of the rhizosphere receives the exact milligram of seed required for optimal density. Precise calibration prevents the wasted metabolic energy of overcrowded seedlings and the weed encroachment associated with sparse coverage.
Materials:
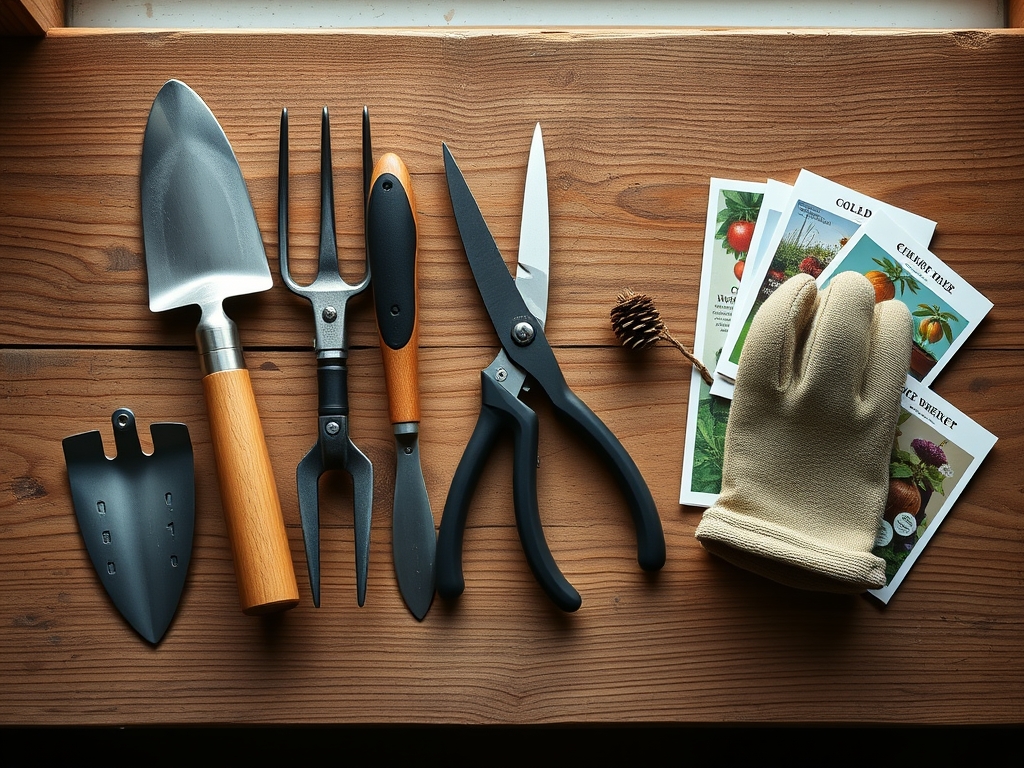
To begin, verify your substrate conditions. Ideal seeding occurs in a **friable loam** with a **Soil Cation Exchange Capacity (CEC) between 10 and 25 meq/100g**. This ensures the soil can hold onto the nutrients provided during the establishment phase. Your starter fertilizer should maintain an **NPK ratio of 10-20-10 or 5-10-5** to prioritize root elongation over foliar growth. Before calibrating, test the soil pH; a range of **6.2 to 7.0** is mandatory for maximum phosphorus bioavailability. You will need a digital scale accurate to **0.1 grams**, a calculator, 100 feet of measuring tape, and a collection tarp or catch pan.
Timing:
Timing is dictated by your specific USDA Hardiness Zone. In Zones 4 through 6, the primary window for cool-season grasses opens when soil temperatures at a 2-inch depth consistently reach 50 to 65 degrees Fahrenheit. This usually aligns with the period between the last spring frost and the summer solstice. The "Biological Clock" of the plant transition from seed dormancy to radical emergence is triggered by moisture and thermal accumulation. For warm-season species in Zones 7 through 10, wait until soil temperatures exceed 70 degrees Fahrenheit to ensure rapid germination and to avoid seed rot in cold, anaerobic soils.
Phases:

Sowing: The Math of Distribution
The most accurate method for how to calibrate a seed spreader is the 1,000 Square Foot Method. Measure a test area of 10 feet by 100 feet. Weigh out the amount of seed recommended by the manufacturer for 1,000 square feet. Load the spreader and operate it over the test strip at a consistent walking speed of 3 miles per hour.
Pro-Tip: Maintain a consistent pace because centrifugal spreaders are velocity-dependent. This relates to geotropism; consistent seed depth and spacing ensure that emerging radicals all orient downward at the same rate, preventing staggered emergence that leads to resource shading.
Transplanting: Adjusting for Bulk Density
If you are moving from a broadcast method to a drop spreader, you must recalibrate for the specific bulk density of the seed mix. Different species, such as Kentucky Bluegrass versus Tall Fescue, have different flow rates due to seed coat texture and weight. Fill the spreader with a known weight of seed, walk a set distance, and weigh the remaining seed to calculate the "catch."
Pro-Tip: Use a soil moisture meter to ensure the seedbed is at 25 percent volumetric water content before sowing. This facilitates immediate imbibition, the process where the seed absorbs water to trigger the metabolic processes required to break dormancy.
Establishing: The Catch Pan Technique
For the highest level of precision, place shallow pans at 2-foot intervals across the width of the spreader's throw. Drive over the pans and weigh the contents of each. This reveals the "taper" of the spread pattern, allowing you to adjust your overlap for a uniform application.
Pro-Tip: Overlap your passes so the edge of the throw meets the center of the previous pass. This prevents "striping," a physiological disorder where uneven nitrogen distribution causes localized chlorosis. Uniformity supports mycorrhizal symbiosis, as a consistent root mat allows fungal networks to link plants more efficiently.
The Clinic:
When calibration fails, botanical symptoms appear quickly.
- Symptom: Nitrogen Chlorosis. Yellowing of older leaves in specific strips. Solution: Recalibrate the spreader; the "throw" is likely too narrow, leaving gaps in nutrient delivery. Fix it by applying a liquid chelated nitrogen at a rate of 0.1 pounds per 1,000 square feet.
- Symptom: Damping Off. Seedlings collapse at the soil line in dense clusters. Solution: This is often caused by over-seeding due to a wide spreader setting. Reduce the orifice size by 15 percent to improve airflow and reduce humidity at the soil surface.
- Symptom: Leaf Turgor Loss. Localized wilting despite irrigation. Solution: Check for "hot spots" where the spreader leaked excess fertilizer, causing osmotic stress and "burning" the roots. Flush the area with 2 inches of water to leach excess salts.
Maintenance:
Post-calibration, maintain the stand with 1.5 inches of water per week delivered at the drip line or across the turf canopy. Use a soil moisture meter to verify that moisture reaches a 6-inch depth. For precision thinning or weed extraction, use a hori-hori knife to remove taproots without disturbing the surrounding rhizosphere. Keep your bypass pruners sharp to ensure clean vascular cuts when sampling tissue; jagged edges increase the risk of pathogen entry and unnecessary senescence.
The Yield:
For forage or seed production, harvest timing is critical. Monitor the photoperiod and harvest when the seed heads reach 15 percent moisture content. For turf, maintain a height of 3 inches to maximize photosynthetic surface area. When collecting seed for future use, store it in a cool, dry environment at 40 degrees Fahrenheit with less than 10 percent humidity to maintain "day-one" viability and high germination rates for the following season.
FAQ:
How often should I calibrate my spreader?
Calibrate your spreader at the start of every season or whenever you change seed types. Variations in seed size and coatings significantly alter flow rates through the spreader orifice. Recalibration ensures an accurate pounds-per-thousand application rate.
Why is my spreader applying more seed on one side?
This is often due to an off-center impeller or a clogged discharge port. Ensure the spreader plate is clean and the gears are lubricated. Centrifugal force must be applied evenly to maintain a consistent ballistic trajectory for the seed.
Does walking speed affect spreader calibration?
Yes. Most spreaders are designed for a standard walking speed of 3 miles per hour. Walking faster reduces the application rate per square foot; walking slower increases it. Consistency is vital for maintaining even nutrient and seed distribution.
What is the difference between a drop and broadcast spreader?
A drop spreader releases seed directly beneath the hopper, offering high precision for small areas. A broadcast spreader uses a rotating plate to throw seed in a wide arc. Broadcast spreaders require more frequent calibration to manage the tapered edge of the throw.