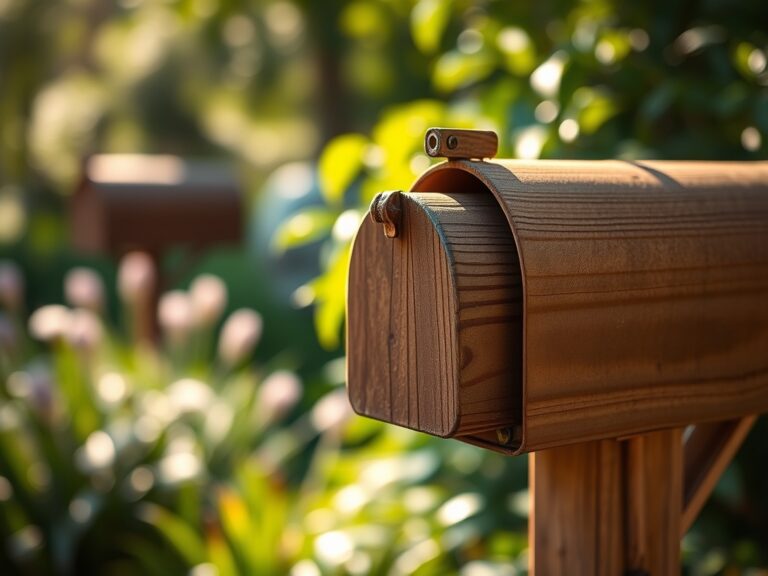
10 Secure Steps to Install a Mailbox Post
The smell of damp, anaerobic soil rising from a freshly turned spade signals the start of any structural garden project. When the blade cuts through the rhizosphere, severing fine root hairs and disturbing the fungal mycelium, you are preparing the foundation for a permanent fixture. Following the correct steps to install a mailbox post requires the same precision as transplanting a specimen tree; you must account for soil compaction, drainage, and structural integrity. A post that leans or heaves during a freeze-thaw cycle indicates a failure to respect the physical properties of the substrate. Proper installation ensures the post remains plumb while the surrounding turf maintains its turgor pressure and hydraulic conductivity. We treat the ground not as a passive void, but as a reactive medium that must support a vertical load against wind shear and mechanical stress.
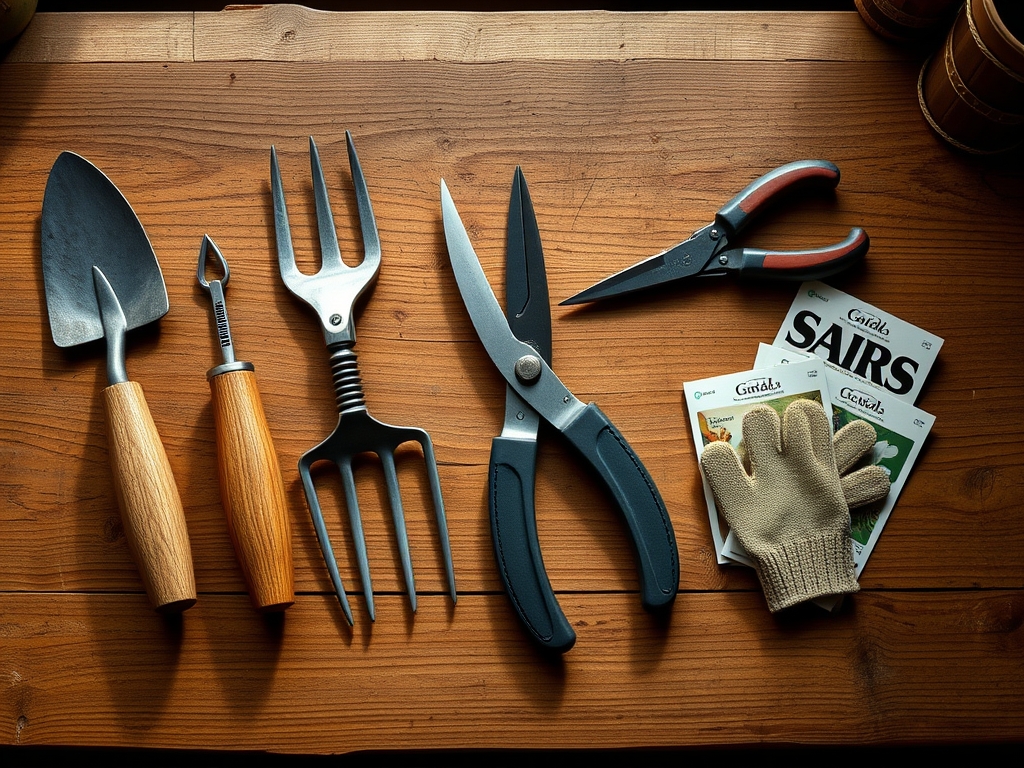
Materials:
The ideal substrate for post-setting is a friable loam with a balanced Cation Exchange Capacity (CEC) between 15 and 25 meq/100g. High CEC indicates the soil can hold onto essential nutrients like Potassium and Magnesium, which will be necessary for the turfgrass you replant around the base.
Before excavation, test the soil pH. A range of 6.2 to 7.0 is optimal for most cool-season grasses that will cover the disturbed area. You will need a 4×4 or 6×6 pressure-treated timber rated for ground contact (UC4A or higher). For the backfill, utilize a dry-pour concrete mix or a crushed stone aggregate (3/4-inch minus) to facilitate drainage. If you are amending the surrounding soil after the installation, use a starter fertilizer with an NPK ratio of 10-18-10. The high Phosphorus content (18%) encourages rapid root elongation and ATP production in the newly disturbed soil zone. Avoid high Nitrogen levels (above 15%) during the initial recovery phase to prevent excessive leaf growth before the root system has stabilized.
Timing:
Installation should occur when the soil is workable and not saturated. In Hardiness Zones 4 through 7, the window opens after the spring thaw but before the summer heat induces dormancy. Aim for a period where soil temperatures are consistently between 55 and 65 degrees Fahrenheit. This temperature range triggers the "Biological Clock" of the surrounding vegetation, moving it from winter dormancy into the vegetative growth stage.
Performing this work during the autumnal transition is also viable. As photoperiods shorten, plants enter a period of senescence in their foliage while redirecting carbohydrates to the root system. Installing a post during this phase allows the soil to settle over the winter without the stress of high evapotranspiration rates. Avoid installation during peak summer (July and August) when the soil moisture tension is high and the risk of localized drought stress to the surrounding turf is greatest.
Phases:

Sowing the Foundation
Excavate a hole 24 to 36 inches deep, or at least 6 inches below the local frost line to prevent cryoturbation (frost heaving). The diameter should be three times the width of the post. Clear all large stones and organic debris that could create air pockets.
Pro-Tip: Ensure the bottom of the hole contains 4 inches of all-purpose gravel. This creates a "sump" that prevents water from pooling at the base of the timber. This avoids anaerobic conditions that lead to fungal decay and wood rot through capillary action.
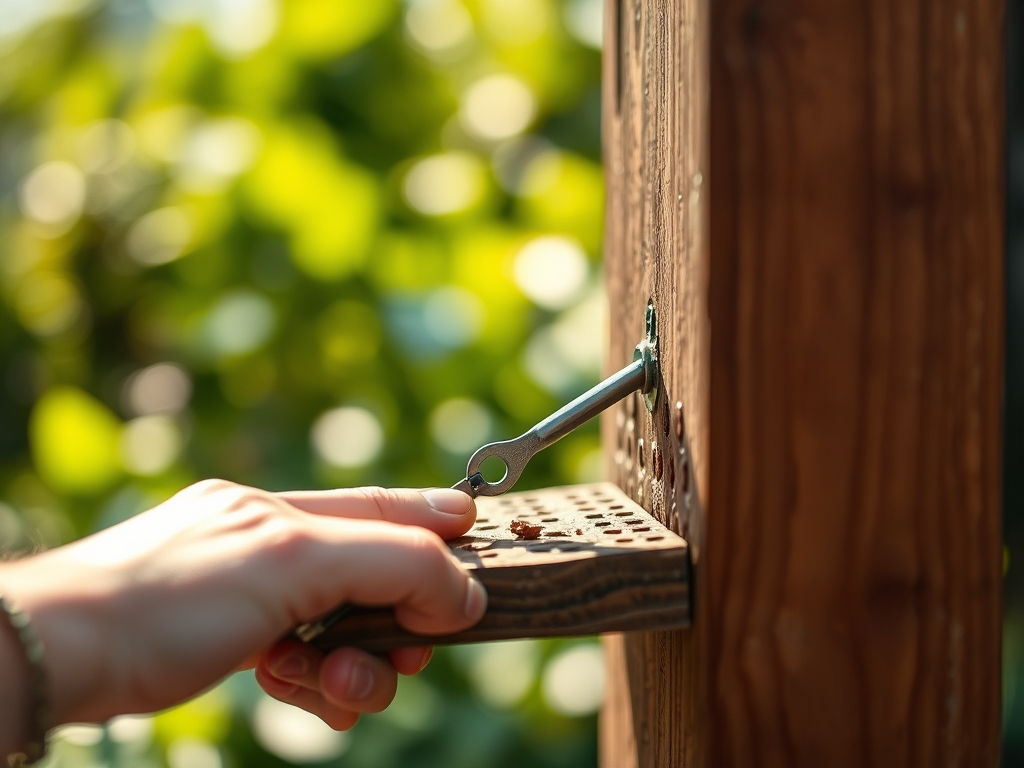
Transplanting the Structure
Position the post in the center of the hole. Use a level to ensure it is plumb on two adjacent sides. If using concrete, pour the dry mix into the hole and add water according to the manufacturer's ratio, typically 0.5 gallons per 50-pound bag. If using gravel, tamp every 6-inch layer with a heavy bar to achieve maximum density.
Pro-Tip: Angle the top of the concrete or soil away from the post at a 2% grade. This utilizes gravity to shed water away from the wood-soil interface, preventing the localized increase in moisture that triggers cellulose-degrading enzymes in soil-borne bacteria.
Establishing the Surface
Once the post is secure, backfill the remaining 6 inches with the reserved topsoil. Firm the soil by hand to remove large macro-pores. Re-sod or seed the area immediately using a high-quality fescue or bluegrass blend.
Pro-Tip: Apply a thin layer of mycorrhizal inoculant to the backfill soil. This encourages mycorrhizal symbiosis, where beneficial fungi extend the root surface area of the surrounding grass, improving nutrient uptake and drought resistance in the disturbed zone.
The Clinic:
Symptom: Post Leaning or Shifting
Solution: This is often caused by insufficient compaction or a shallow hole. If the post is in soil, use a tamping bar to compress the substrate. If in concrete, the "plug" may be too small for the wind load.
Fix-It: For Nitrogen chlorosis (yellowing leaves) in the grass at the base, apply a liquid chelated iron or a high-N fertilizer (24-0-4) to restore chlorophyll production.
Symptom: Wood Rot at the Ground Line
Solution: The soil-to-wood interface is the most vulnerable point. Ensure the concrete or soil grade is not buried under mulch, which holds moisture.
Fix-It: If the wood shows signs of softening, treat the base with a copper naphthenate solution to inhibit fungal respiration.
Symptom: Turf Dieback Around Base
Solution: Soil compaction during installation has likely crushed the soil structure, reducing oxygen availability to the roots.
Fix-It: Use a hori-hori knife to vertically aerate the soil around the post, then top-dress with 0.5 inches of compost to restore microbial activity.
Maintenance:
A newly installed post and the surrounding vegetation require consistent monitoring. Use a soil moisture meter to ensure the area receives 1.5 inches of water per week during the first growing season. Water should be applied at the drip line of any overhanging mailbox components to ensure deep percolation.
Inspect the post annually for structural integrity. Use bypass pruners to keep any encroaching vines or weeds away from the timber. Plants like English Ivy can trap moisture against the wood, accelerating decay. If the post is wooden, re-apply a UV-resistant sealer every two years to maintain the cellular integrity of the wood fibers and prevent splitting caused by the expansion and contraction of water within the grain.
The Yield:
While a mailbox post does not produce a caloric yield, the "yield" here is structural longevity and aesthetic integration. A post installed with scientific rigor will remain stable for 15 to 20 years. The surrounding turf should achieve full canopy closure within 21 days if moisture levels are maintained. For the best visual result, harvest any surrounding flowers (such as Salvia or Lavender) when the first two florets on the spike have opened. Use a sharp knife to cut at a 45-degree angle to maintain vascular flow and ensure day-one freshness in a vase.
FAQ:
How deep should I dig the hole?
Dig the hole to a depth of 24 to 36 inches. It must extend at least 6 inches below the frost line to prevent the post from shifting during winter freeze-thaw cycles.
Can I use soil instead of concrete?
Yes, provided you use a well-compacted crushed stone aggregate. Tamp the stone in 6-inch increments to ensure structural stability. Soil alone often lacks the shear strength required to resist wind loads over time.
What is the best wood for a mailbox post?
Select pressure-treated pine or cedar rated for "Ground Contact." These woods contain chemical preservatives or natural tannins that resist decay and insect infestation in high-moisture environments.
How do I fix grass that died during installation?
Remove the dead organic matter and aerate the compacted soil. Add a 1-inch layer of compost, sow fresh seed, and maintain a consistent moisture level of 1.5 inches per week until the seedlings reach three inches in height.