9 Simple Steps to Clean a Wheelbarrow
The smell of damp earth and the iron tang of wet steel signal the end of a productive cycle. When soil moisture levels reach field capacity, the turgor pressure in plant tissues remains high; however, the residue left in your equipment becomes a breeding ground for pathogens. Following specific steps to clean a wheelbarrow prevents the cross contamination of the rhizosphere. A neglected basin harbors fungal spores and anaerobic bacteria that compromise the health of your next planting project.
Corrosion and microbial buildup are the primary enemies of long term tool utility. In high humidity environments, moisture trapped against the metal or poly surface initiates oxidation or polymer degradation. Cleaning is not merely an aesthetic choice. It is a fundamental requirement for maintaining a sterile environment for seed starting and transplanting. By removing organic matter and inorganic salts, you ensure that the Cation Exchange Capacity of your potting mixes remains unaffected by previous residues. Proper maintenance extends the life of the tool by a decade or more.
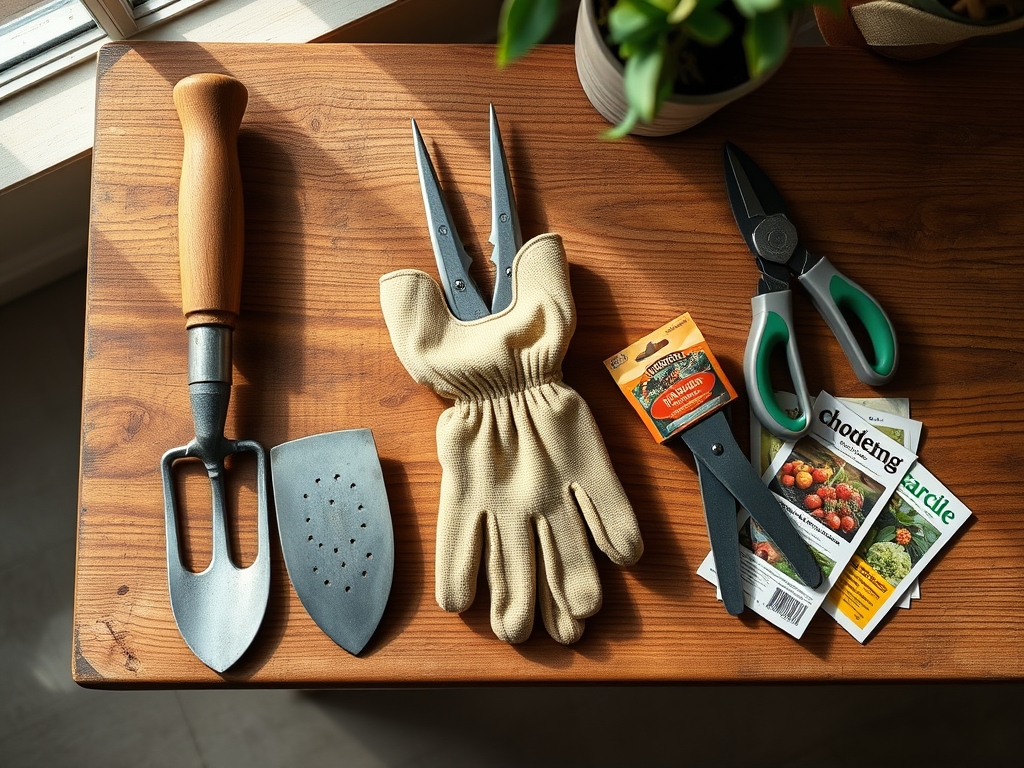
Materials:
To maintain a sterile environment, you must understand the chemistry of the inputs. When mixing substrates in a wheelbarrow, aim for a **friable loam** texture consisting of 40 percent sand, 40 percent silt, and 20 percent clay. This balance ensures optimal aeration and water retention. Use a cleaning solution that does not alter the soil pH, which should ideally sit between **6.0 and 7.0** for most horticultural applications.
For disinfecting, prepare a solution of 10 percent bleach or a specialized horticultural soap. If you are mixing fertilizers, be mindful of NPK ratios. A standard 10-10-10 balanced fertilizer leaves behind salt residues that must be scrubbed away. High nitrogen mixes, such as 21-0-0 ammonium sulfate, are particularly corrosive to galvanized steel. You will need a stiff bristled brush, a high pressure hose nozzle, and a dry microfiber cloth to complete the process.
Timing:
The biological clock of your garden dictates the cleaning schedule. In Hardiness Zones 5 through 7, the window between the first frost and the ground freezing is critical for tool maintenance. As plants enter senescence and move from the reproductive stage to dormancy, the risk of overwintering pathogens increases.
Perform a deep clean once the photoperiod drops below 10 hours of light, which typically triggers the cessation of vegetative growth. This ensures that when the spring thaw occurs and you begin the sowing phase, your equipment is free of dormant pests or fungal hyphae. Do not wait until the temperature drops below 32 degrees Fahrenheit; ice expansion can damage poly basins and make the removal of hardened clay nearly impossible.
Phases:

Sowing the Cleanliness
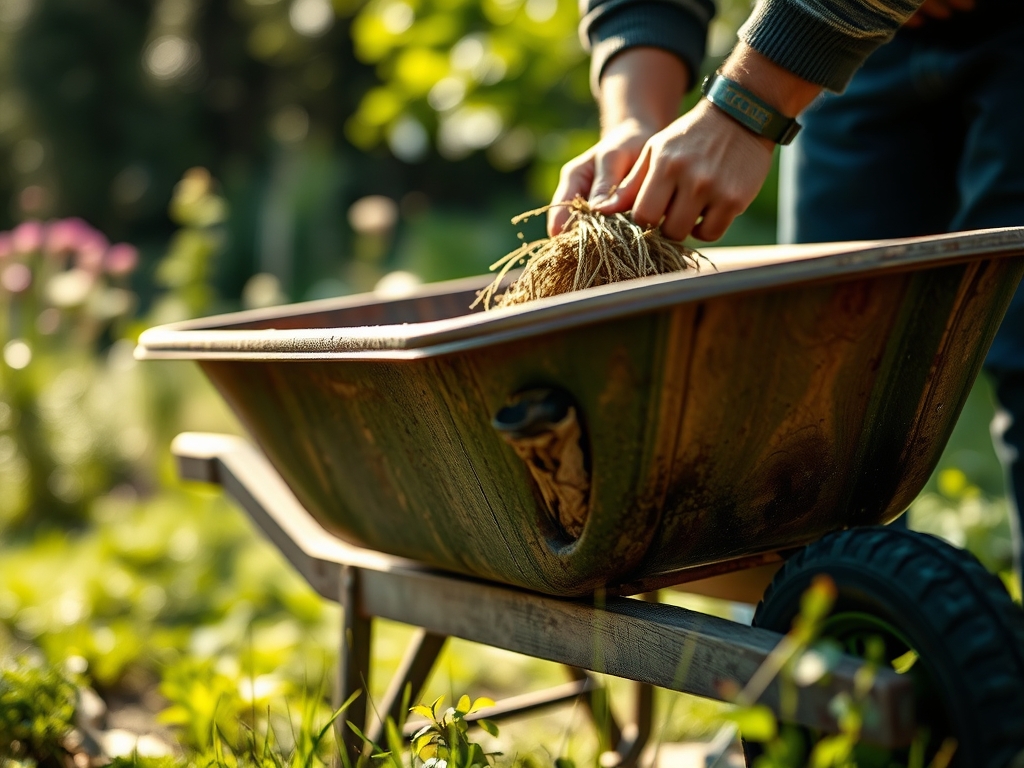
Begin by dry scraping the interior. Use a flat head shovel or a hori-hori knife to remove large clods of earth. This prevents the formation of slurry that can clog drainage areas. Focus on the bolts and recessed areas where organic matter accumulates.
Pro-Tip: Removing old soil prevents the unintended transfer of weed seeds and pathogens. This is vital because mycorrhizal symbiosis can be disrupted if the wrong fungal species are introduced to a new seedling's root zone.
Transplanting the Process
Apply a high pressure stream of water to the entire surface. Start at the front of the basin and work toward the rear. If your wheelbarrow has a wooden frame, avoid saturating the handles to prevent rot. Use a brush to agitate stubborn deposits of clay or dried amendments.
Pro-Tip: Thorough rinsing removes concentrated mineral salts. High salt concentrations in the basin can cause osmotic stress in young transplants, drawing water out of the roots and leading to immediate wilting.
Establishing the Finish
Apply your disinfecting solution and let it sit for ten minutes. This contact time is necessary to denature the proteins in viruses and kill fungal spores. Rinse a final time with fresh water and tilt the wheelbarrow forward to drain completely.
Pro-Tip: Drying the tool in direct sunlight utilizes ultraviolet radiation as a secondary disinfectant. UV light breaks down the DNA of surface bacteria, ensuring the basin is biologically inert before the next use.
The Clinic:
Physiological disorders in plants often trace back to contaminated tools. Monitor your plants for the following symptoms that may indicate a failure in your sanitation routine.
Symptom: Damping off in seedlings (stem collapse at the soil line).
Solution: Sterilize the wheelbarrow with a bleach solution to eliminate Pythium and Rhizoctonia fungi.
Symptom: Interveinal chlorosis (yellowing between leaf veins).
Solution: This often indicates a micronutrient lockout. Check for lime or cement residue in the wheelbarrow that could be spiking the soil pH above 7.5.
Symptom: Stunted growth and necrotic leaf margins.
Solution: This is a sign of salt toxicity. Ensure the wheelbarrow is scrubbed clean of all synthetic fertilizer crusting before mixing new soil.
Fix-It for Nitrogen Chlorosis: If your plants show uniform pale green leaves, they lack nitrogen. After cleaning your wheelbarrow, mix a high nitrogen amendment like blood meal at a rate of 2 pounds per 100 square feet to restore vigor.
Maintenance:
A professional gardener relies on precision. Use a soil moisture meter to ensure that any soil stored in the wheelbarrow maintains a moisture level of 20 to 30 percent. If the soil dries out completely, it can become hydrophobic.
Keep your moving parts lubricated. Apply a lithium grease to the axle every six months. If the basin is metal, spray a light coat of linseed oil or a rust inhibitor on the surface after cleaning. When using your bypass pruners or hori-hori knife nearby, avoid scratching the protective coating of the wheelbarrow. Store the unit upright or upside down to prevent water from pooling, which attracts mosquitoes and promotes anaerobic bacterial growth.
The Yield:
When harvesting root crops or heavy yields of pomology products, the wheelbarrow serves as the primary transport. Cleanliness here directly impacts the post harvest life of the produce. Soil clinging to the basin can harbor soft rot bacteria that enter small abrasions on the fruit.
For "day-one" freshness, line the clean wheelbarrow with a damp burlap sack. This maintains high humidity around the harvested material, preventing transpirational water loss. Move the harvest to a cool, shaded area immediately. For crops like garlic or onions, ensure the wheelbarrow is bone dry to prevent the initiation of premature decay during the curing transport.
FAQ:
How often should I clean my wheelbarrow?
Perform a basic rinse after every use involving soil or amendments. Conduct a deep chemical sterilization at the end of each growing season or after handling diseased plant material to prevent pathogen spread.
Can I use dish soap to clean the basin?
Yes, mild dish soap is effective for removing oils and organic debris. However, it does not provide the high level of sterilization required to kill persistent soil borne pathogens like Fusarium or Verticillium wilt.
How do I prevent my metal wheelbarrow from rusting?
Dry the basin thoroughly after every wash. Apply a thin layer of vegetable oil or a specialized rust preventative spray. Store the tool in a low humidity environment, away from direct contact with the ground.
What is the best way to remove dried concrete?
Use a rubber mallet to tap the outside of the basin; the vibration will often crack the bond. For stubborn spots, a pressure washer at 2000 PSI or a stiff wire brush will remove the remaining calcium deposits.