9 Vital Ways How to Prep Soil for Spring
The smell of geosmin rising from damp earth signals the reactivation of microbial life as the ground thaws. Successful cultivation depends on the turgor pressure within a plant cell; this internal hydraulic pressure is only possible when the rhizosphere is optimized for water uptake. Learning how to prep soil for spring requires a clinical understanding of soil structure and chemical composition. You are not merely digging in the dirt. You are managing a complex bioreactor that must provide 17 essential elements to plant tissues. Proper preparation ensures that the cation exchange capacity (CEC) of your soil is high enough to hold onto nutrients rather than letting them leach into the water table. By the time the first true leaves emerge, the soil must be a stable environment capable of supporting rapid cellular division. Failure to calibrate your soil before the first frost-free date results in stunted vascular development and poor yield.
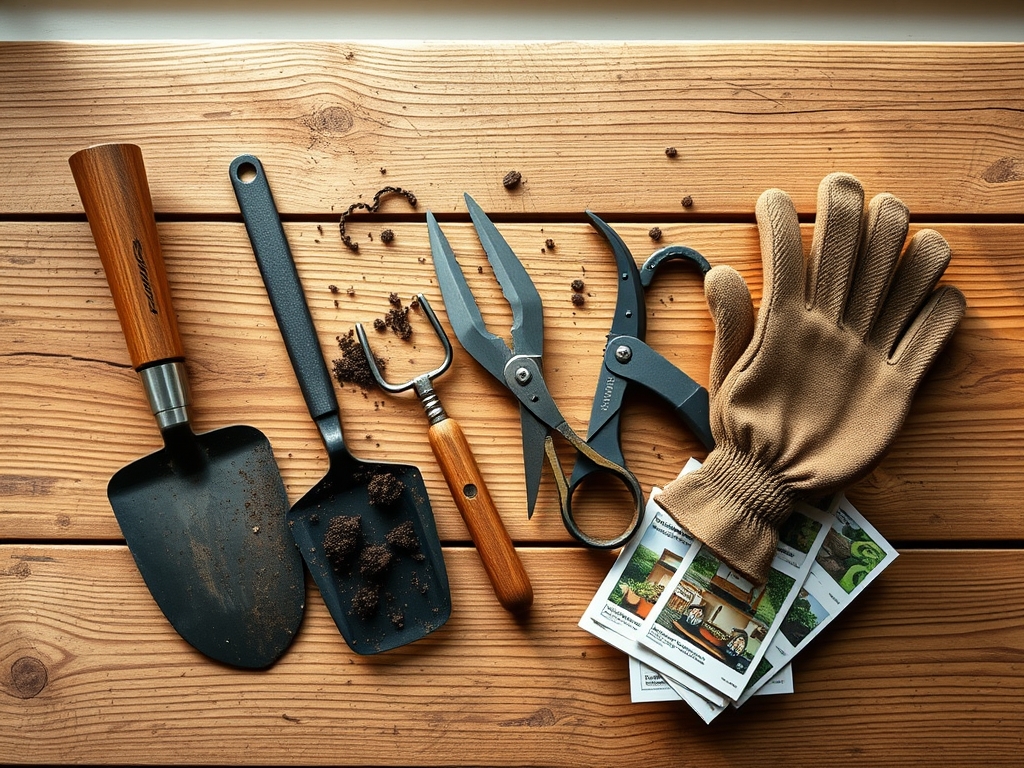
Materials:
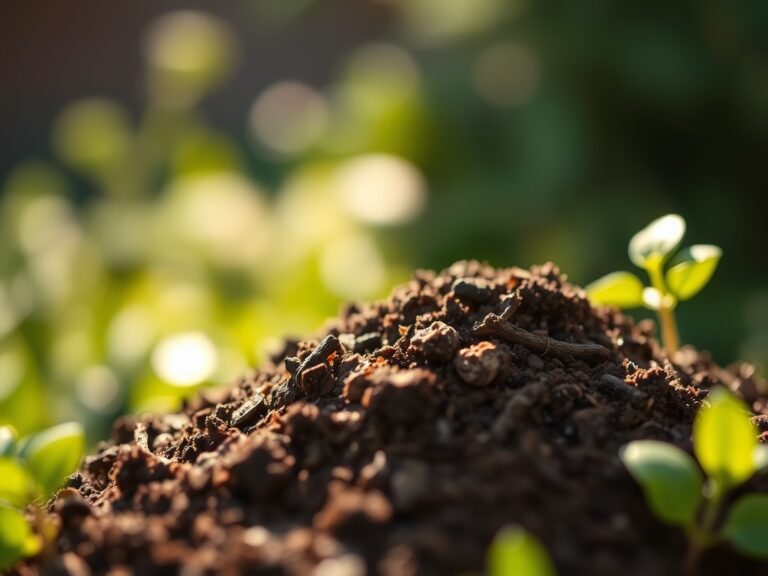
The ideal substrate for most temperate crops is a friable loam consisting of roughly 40 percent sand, 40 percent silt, and 20 percent clay. This balance allows for oxygen diffusion to the roots while maintaining adequate moisture. Before amending, conduct a professional soil test to determine your baseline pH. Most vegetables and ornamentals thrive in a pH range of 6.2 to 6.8.
To adjust these levels, utilize specific mineral inputs. If your soil is too acidic, apply calcitic lime at a rate of 5 pounds per 100 square feet to raise the pH by one point. If it is too alkaline, use elemental sulfur. For nutrient density, focus on the NPK ratio (Nitrogen, Phosphorus, and Potassium). A standard spring amendment often requires a 5-10-10 or 10-10-10 granular fertilizer depending on the specific crop requirements. High nitrogen (N) promotes vegetative growth; phosphorus (P) is critical for ATP production and root development; potassium (K) regulates stomatal opening and water retention. Incorporate organic matter such as well-aged compost with a Carbon-to-Nitrogen (C:N) ratio of 30:1 to provide long-term fuel for the soil food web.
Timing:
Timing is dictated by your USDA Hardiness Zone and the specific thermal mass of your garden beds. In Zones 5 through 7, the window for soil preparation typically opens between late March and mid-April. You must wait until the soil moisture allows the earth to crumble when squeezed. Working saturated soil destroys the pore space, leading to compaction that prevents root penetration.
The biological clock of the plant transitions from dormancy to the vegetative stage when soil temperatures consistently reach 50 degrees Fahrenheit (10 degrees Celsius). Use a stainless steel soil thermometer to measure the temperature at a depth of 4 inches. Sowing seeds or transplanting into soil that is too cold leads to "damping off," a condition caused by fungal pathogens like Pythium that thrive in cold, anaerobic conditions. Monitor the photoperiod as well; many species require at least 12 hours of daylight to trigger the hormonal shift required for vigorous spring growth.
Phases:

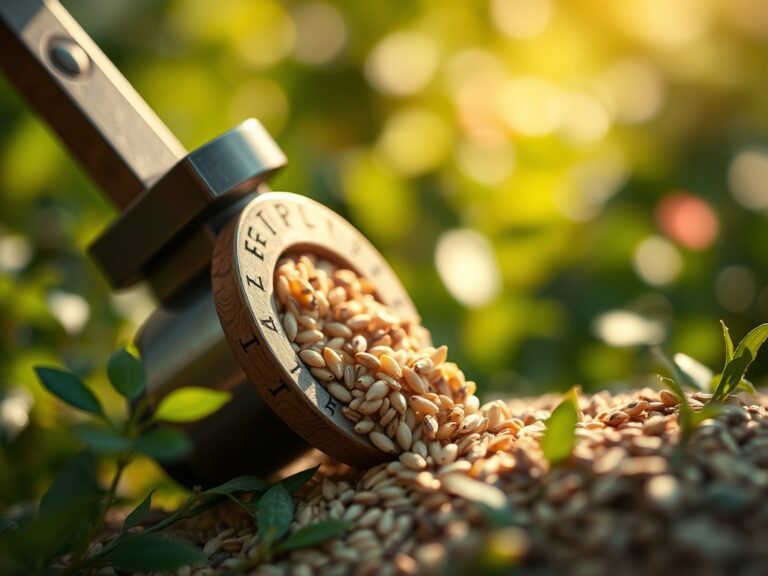
Sowing
Direct sowing requires a fine-textured seedbed. Remove all debris and large clods to ensure maximum seed-to-soil contact. For small seeds, the planting depth should be no more than three times the diameter of the seed.
Pro-Tip: Proper seed-to-soil contact is essential because of imbibition. This is the physical process where the seed coat absorbs water to activate metabolic enzymes. Without tight contact, the seed cannot hydrate uniformly, leading to erratic germination.
Transplanting
When moving starts from a greenhouse to the field, you must minimize transplant shock. Dig a hole twice the width of the root ball but no deeper. This encourages lateral root expansion into the surrounding native soil.
Pro-Tip: Mycorrhizal symbiosis is the biological why behind successful transplanting. By inoculating the planting hole with beneficial fungi, you extend the root system's reach by up to 100 times, significantly increasing the uptake of phosphorus and micronutrients.
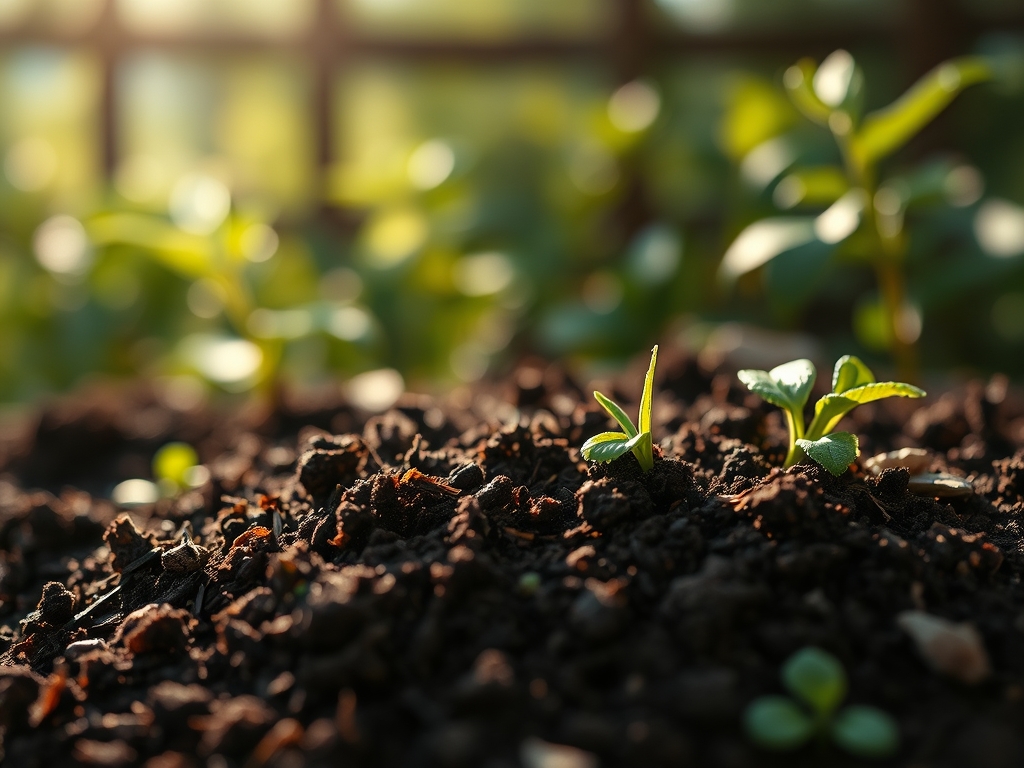
Establishing
The establishment phase occurs 14 to 21 days after planting. This is when the plant establishes its primary root architecture. Maintain consistent moisture levels to ensure the plant does not experience wilting, which can cause permanent vascular damage.
Pro-Tip: Auxin suppression is critical here. By pinching off early flower buds on young transplants, you redirect the plant's energy (auxins) away from reproductive growth and back toward root and foliage development, creating a stronger structural foundation for the season.
The Clinic:
Physiological disorders often mimic infectious diseases but are rooted in environmental or nutritional imbalances.
Symptom: Interveinal Chlorosis (yellowing between leaf veins while veins remain green).
Solution: This is often a sign of Iron or Magnesium deficiency. In high pH soils (above 7.0), iron becomes chemically locked and unavailable to the plant.
Fix-It: Apply chelated iron as a foliar spray for immediate relief or lower the soil pH with elemental sulfur for a long-term fix.
Symptom: Blossom End Rot (dark, leathery spots on the bottom of fruit).
Solution: This is caused by a Calcium deficiency, often triggered by inconsistent watering rather than a lack of calcium in the soil.
Fix-It: Maintain a consistent irrigation schedule to ensure calcium, which moves via the transpiration stream, reaches the developing fruit.
Symptom: Purpling of older leaves.
Solution: This indicates a Phosphorus deficiency, common in cold spring soils where microbial activity is low.
Fix-It: Apply a water-soluble high-phosphorus starter fertilizer or wait for soil temperatures to rise above 60 degrees Fahrenheit.
Maintenance:
Precision maintenance prevents the degradation of your prepared soil. Use a soil moisture meter to monitor the root zone; do not rely on surface appearance. Most garden crops require 1.5 inches of water per week, delivered directly to the drip line to minimize evaporation and leaf pathogens.
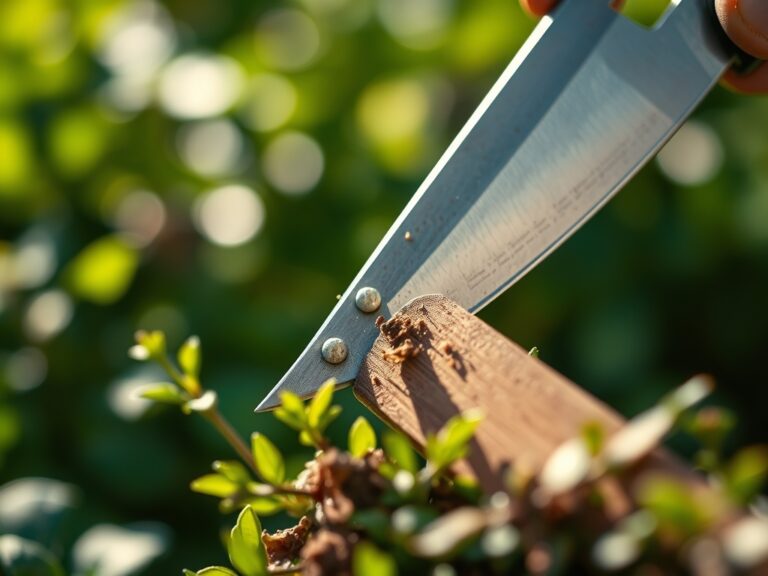
Utilize a hori-hori knife for precision weeding to ensure you do not disturb the root systems of your primary crops. For woody perennials, use bypass pruners to remove dead or diseased tissue, making clean cuts at a 45-degree angle to promote rapid callusing. Apply a 2-inch layer of organic mulch to the soil surface. This suppresses weed germination, regulates soil temperature, and prevents the "capping" of the soil surface caused by heavy rain impact.
The Yield:
Harvesting is the final stage of the spring cycle. For leafy greens, harvest in the early morning when turgor pressure is at its peak. This ensures the highest nutrient density and longest shelf life. Use a sharp blade to make clean cuts, preventing jagged wounds that invite senescence-accelerating pathogens.
Post-harvest, immediately submerge produce in cold water (hydro-cooling) to remove field heat. This slows the respiration rate of the plant tissue, preserving the sugars and vitamins. For flowers, cut stems at an angle and place them in water containing a carbohydrate source and a pH acidifier to maintain vascular flow.
FAQ:
How do I know if my soil is ready to work?
Squeeze a handful of soil into a ball. If it shatters when dropped from waist height, it is dry enough. If it stays in a solid clump, the moisture content is too high and working it will cause compaction.
What is the best way to raise soil pH quickly?
Hydrated lime works faster than standard garden lime but carries a higher risk of "burning" plant tissues. For most spring applications, use finely ground dolomitic lime applied at least four weeks before planting for safe, effective results.
Can I use fresh manure to prep my spring soil?
No. Fresh manure contains high levels of ammonia and pathogens that can damage roots and contaminate food. Only use manure that has been composted for at least six months to ensure it is chemically stable and biologically safe.
Why are my seedlings turning purple in early spring?
This is typically a phosphorus deficiency caused by cold soil temperatures. When the ground is below 55 degrees, plants cannot efficiently uptake phosphorus. The condition usually resolves itself as the soil warms and microbial activity increases.