7 Precise Steps to Sharpen Hedge Shears
The scent of crushed chlorophyll and damp earth signals a successful pruning session; however, a ragged cut on a woody stem invites pathogen infiltration and cellular necrosis. When blades are dull, they crush the vascular tissue of the plant instead of slicing through it. This physical trauma disrupts turgor pressure and creates an entry point for fungal spores. To maintain the structural integrity of your shrubs, you must master the steps to sharpen hedge shears before the spring flush. A clean cut ensures the cambium layer heals rapidly; preventing the dieback often seen in neglected hedgerows. Proper maintenance requires a firm understanding of metallurgy and mechanical alignment to ensure the bypass or anvil action remains true. Every stroke of the file must respect the factory bevel to avoid compromising the steel's temper. If the blade edge is rounded, the friction increases; this generates heat that can damage the delicate cellular walls of the specimen you are trimming. Precise sharpening is not a cosmetic task; it is a fundamental requirement for maintaining the long-term health of your woody perennials.
Materials:
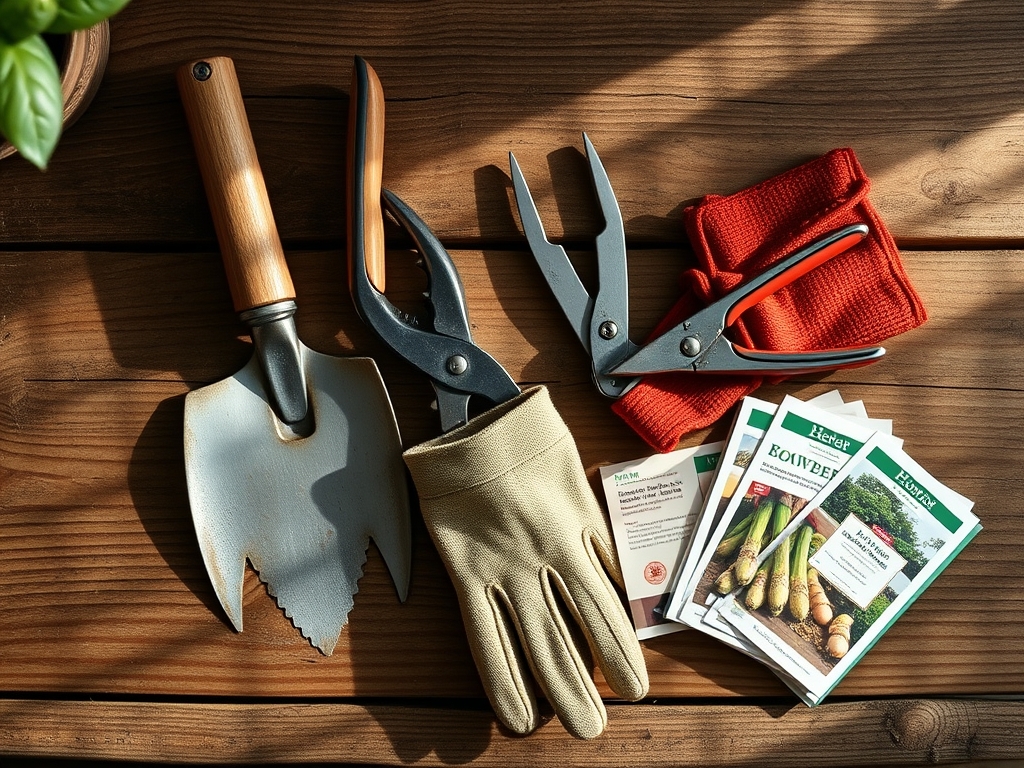
While sharpening is a mechanical process, the environment where you work should reflect the needs of your plants. Perform tool maintenance over a surface of **friable loam** or a clean workbench to avoid contaminating the blades with pathogens. If you are working near planting beds, ensure the soil pH is between **6.0 and 7.0** to support optimal nutrient availability. The ideal substrate for a nursery area consists of **40 percent sand, 40 percent silt, and 20 percent clay**; this balance provides a high **Cation Exchange Capacity (CEC)** for any potted specimens nearby. For the sharpening process, you require a **10-inch mill bastard file**, a **medium-grit diamond whetstone**, and **3-in-1 tool oil**. You must also have a **stiff wire brush** and **isopropyl alcohol (70 percent concentration)** to sterilize the metal surfaces. If you are also prepping soil, ensure your NPK ratio is tailored to the season; a **10-10-10 balanced fertilizer** is standard for general maintenance, while a **5-10-10 ratio** encourages root development without excessive vegetative surge.
Timing:
Sharpening should occur during the dormant season, specifically between the first hard frost and the swelling of buds in early spring. In Hardiness Zones 5 through 7, this window typically falls between late November and early March. Monitoring the Biological Clock of your plants is essential; you must complete tool maintenance before the transition from the vegetative stage to the reproductive stage. Once a plant enters its spring growth spurt, auxin levels rise at the apical meristems. Using dull shears during this period of high metabolic activity leads to "weeping" wounds where sap loss is significant. Aim to have your shears ready before the soil temperature reaches a consistent 55 degrees Fahrenheit, as this is when soil microbes become active and root respiration increases.
Phases:
Sowing: Cleaning and Inspection
The first phase involves removing all organic residue and oxidized metal. Use a wire brush to scrub away dried sap and "plant blood" that has accumulated on the blades. Follow this with a wipe-down using isopropyl alcohol to kill any lingering bacteria or fungal hyphae. Inspect the pivot bolt; if it is loose, the blades will "chew" the foliage rather than cutting it.
Pro-Tip: Sterilizing blades prevents the mechanical transmission of tobacco mosaic virus and other systemic pathogens. This is a critical step in maintaining the health of the rhizosphere by ensuring that the plants above it remain vigorous and disease-free.
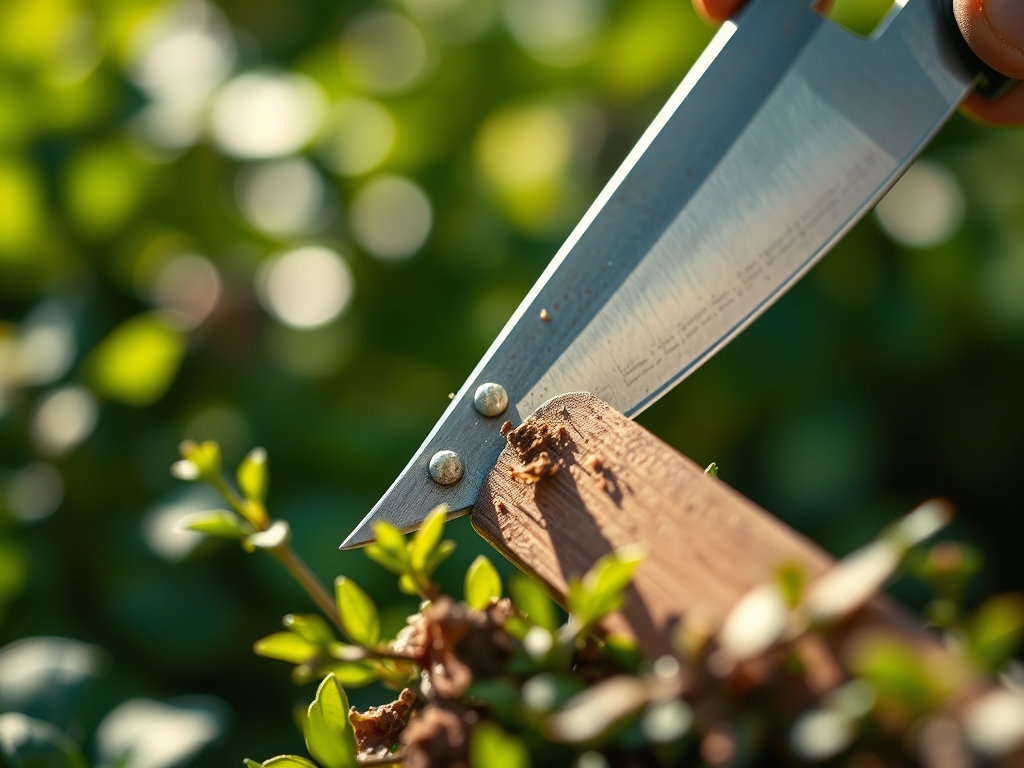
Transplanting: Setting the Angle
Secure the shears in a bench vise with the beveled edge facing upward. Identify the factory bevel, which is usually set at an angle between 20 and 30 degrees. Use long, smooth strokes with the mill bastard file, moving away from your body. Follow the curve of the blade to ensure the entire length receives an even edge.
Pro-Tip: Maintaining a consistent angle is vital for phototropism management. A clean, angled cut on a hedge allows sunlight to penetrate deeper into the canopy; this prevents the lower interior leaves from undergoing senescence due to light deprivation.
Establishing: Honing and Lubrication
After filing, use a diamond whetstone to remove the "burr" or "wire edge" that forms on the flat side of the blade. A single light pass is usually sufficient. Once the edge is razor-sharp, apply a thin layer of tool oil to the metal surfaces. This prevents oxidation and reduces friction during operation.
Pro-Tip: Lubrication reduces the physical force required for each cut, which in turn prevents the suppression of auxins in the plant. When a cut is clean, the plant can more efficiently redistribute growth hormones to lateral buds, resulting in a denser, healthier hedge.
The Clinic:
Physiological disorders in plants often stem from poor tool maintenance or environmental stress.
- Symptom: Ragged, brown edges on leaves after pruning.
Solution: This is mechanical desiccation. Sharpen your shears immediately to ensure a clean slice that allows the plant to form a callus quickly. - Symptom: Yellowing of new growth (Chlorosis).
Solution: This often indicates a Nitrogen deficiency. Apply a quick-release fertilizer with a high N-value (such as 21-0-0 ammonium sulfate) to restore chlorophyll production. - Symptom: Dieback of entire branches post-trimming.
Solution: This may be a fungal infection introduced by unsterilized tools. Prune back to healthy wood using shears cleaned with a 10 percent bleach solution. - Fix-It for Iron Deficiency: If veins remain green while the rest of the leaf turns yellow, the soil pH may be too high. Lower the pH using elemental sulfur to increase the availability of micronutrients.
Maintenance:
To keep your hedges in peak condition, provide 1.5 inches of water per week at the drip line. Use a soil moisture meter to ensure the root zone is hydrated but not anaerobic. For precision work around the base of the plants, utilize a hori-hori knife to remove deep-rooted weeds that compete for nutrients. When thinning out thicker branches, switch from hedge shears to bypass pruners to avoid straining the shears' pivot point. Check the tension of your shears every 10 hours of use; a loose pivot causes the blades to spread, resulting in a crushed stem that cannot properly transport water through its xylem.
The Yield:
While hedge shears are primarily for maintenance, they are also used for harvesting "everlasting" flowers or woody herbs like rosemary. For the highest essential oil concentration, harvest in the early morning after the dew has evaporated but before the sun reaches its zenith. Use your sharpened shears to take cuttings just above a node. To maintain "day-one" freshness for floral displays, immediately submerge the cut ends in 110-degree Fahrenheit water to remove air bubbles from the vascular system; this maximizes water uptake and maintains turgor pressure in the petals.
FAQ:
How often should I sharpen my hedge shears?
Sharpen shears every 50 hours of use or at the start of every pruning season. If you notice the blades "pinching" the wood rather than cutting, the edge has lost its geometry and requires immediate honing with a file.
Can I use a power grinder to sharpen shears?
Avoid power grinders because the high heat can draw the temper out of the steel; this makes the metal brittle. Use a mill bastard file and manual strokes to preserve the integrity of the blade's molecular structure.
What is the best way to remove rust from blades?
Use grade 0000 steel wool and a penetrating oil to scrub away surface oxidation. For heavy rust, soak the blades in white vinegar for 12 hours, then neutralize with a baking soda solution before sharpening and oiling.
Why are my shears tearing the leaves?
Tearing occurs when the blades are dull or the pivot bolt is loose. This mechanical failure crushes the vascular bundles of the plant; it increases the risk of "dieback" and makes the specimen vulnerable to opportunistic pests and pathogens.