7 Vital Steps to Install a Rose Arch
Damp earth releases a sharp, geosmin-rich scent as you break the surface tension of the soil. A healthy rose cane displays high turgor pressure; its cellular walls are rigid and ready for vertical training. Mastering the steps to install a rose arch requires more than aesthetic placement. It demands an understanding of structural load and the biological requirements of the genus Rosa. You must secure a foundation that withstands wind shear while providing a nutrient-dense environment for deep root penetration. Success is measured by the plant's ability to transition from a dormant state into a vigorous climbing habit without experiencing transplant shock or structural collapse.
The process begins with site selection. Roses require a minimum of six hours of direct solar radiation to maintain metabolic functions. Without adequate light, the plant cannot produce the carbohydrates necessary for bloom production. Furthermore, the soil must be well-draining to prevent anaerobic conditions in the rhizosphere. Stagnant water leads to root rot and the eventual senescence of the entire specimen. By following these technical protocols, you ensure the arch serves as a permanent architectural feature rather than a temporary fixture.
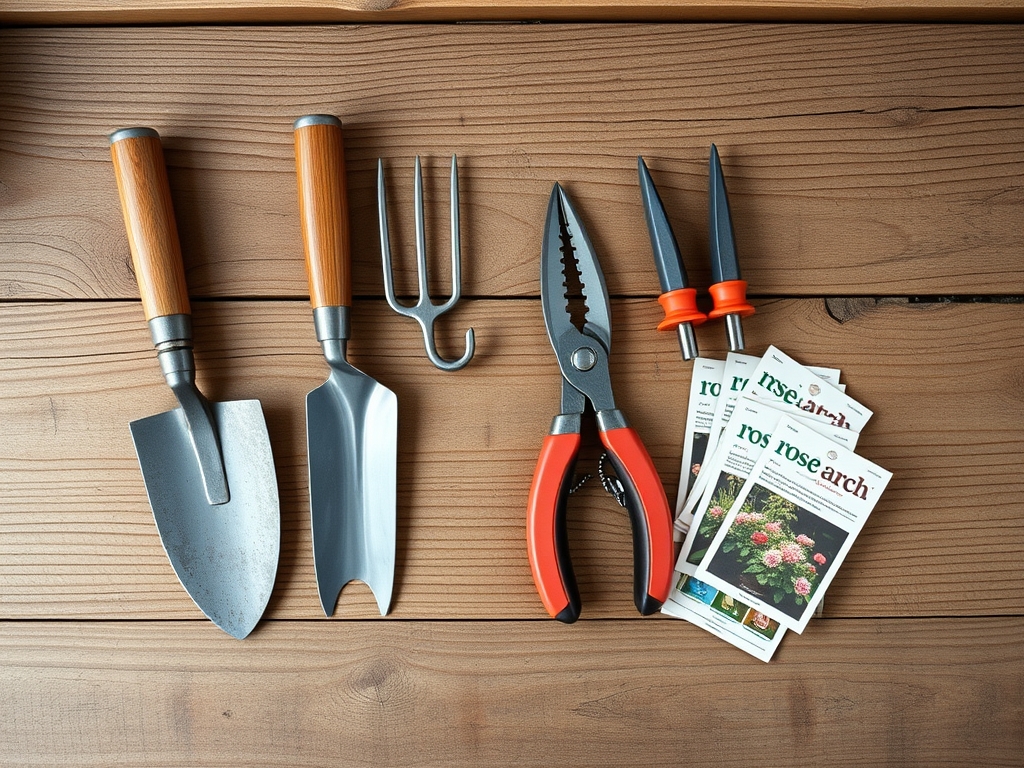
Materials:
The ideal substrate for climbing roses is a friable loam with a soil pH between 6.0 and 6.5. This range optimizes the Cation Exchange Capacity (CEC), allowing the roots to efficiently uptake essential nutrients. Before installation, amend the soil based on a professional lab test.
For the initial planting phase, use a fertilizer with an NPK ratio of 5-10-5. The higher phosphorus content encourages robust root development. Avoid high nitrogen levels during the first sixty days to prevent excessive, weak vegetative growth that is susceptible to environmental stress. You will also need a structural arch made of powder-coated steel or pressure-treated cedar capable of supporting a mature weight of 50 to 100 pounds. Secure the structure with 18-inch galvanized steel anchors or concrete footings if the soil has low density.
Timing:
Roses are best installed during the dormant season or early spring before the first flush of growth. In Hardiness Zones 5 through 8, this typically occurs between late February and early April. You must monitor the frost-date window; planting should occur when the soil temperature reaches a consistent 40 degrees Fahrenheit.
The biological clock of the rose is governed by the photoperiod and temperature. As day length increases, the plant moves from its vegetative stage into its reproductive stage. Installing the arch and the roses during dormancy allows the root system to establish itself before the plant diverts energy toward foliage and flower production. This timing reduces the risk of desiccation and ensures the plant has the hydraulic capacity to support new growth.
Phases:

Sowing and Site Prep
Excavate a hole twice the width of the root ball and 12 inches deep. Loosen the soil at the bottom of the pit to prevent "glazing," which can trap roots in a restricted zone. Incorporate organic matter to improve the soil structure and drainage.
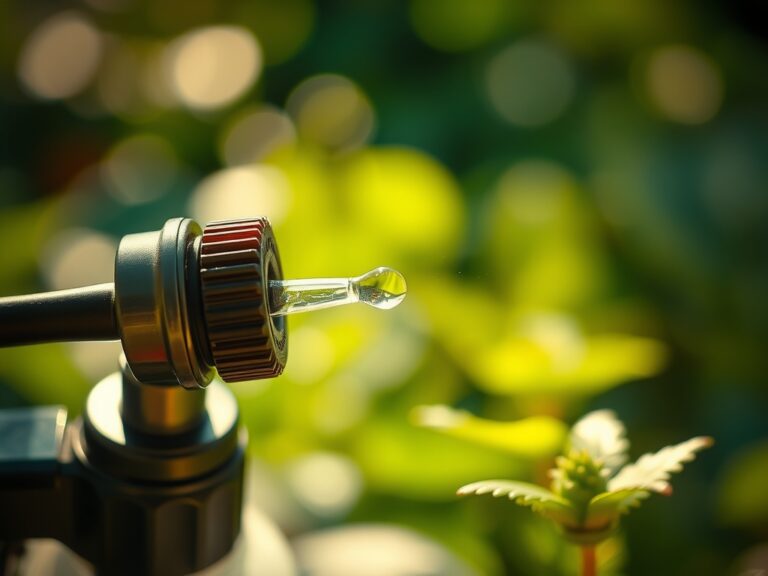
Pro-Tip: Mycorrhizal fungi should be added to the planting hole. This symbiotic relationship extends the root system's reach, increasing the plant's ability to absorb water and phosphorus through a process known as mycorrhizal symbiosis.
Transplanting
Position the rose at the base of the arch. For grafted roses, ensure the bud union is 1 to 2 inches below the soil line in colder climates to protect it from freeze-thaw cycles. In warmer zones, keep the union at soil level. Backfill with the amended loam, tamping down firmly to eliminate air pockets.
Pro-Tip: Angle the canes toward the arch at a 45-degree angle. This physical orientation utilizes the plant's natural phototropism, encouraging the rose to grow toward the structure rather than away from it.
Establishing
Water the plant immediately with 5 gallons of water to settle the soil. Apply a 3-inch layer of wood chip mulch to regulate soil temperature and retain moisture. Monitor the soil moisture daily for the first three weeks using a digital moisture meter.
Pro-Tip: Use soft ties to secure the canes. Do not pull them tight. This prevents girdling and allows for the natural expansion of the vascular cambium as the plant matures.
The Clinic:
Physiological disorders often mimic pathogen attacks but are frequently rooted in environmental or nutritional imbalances.
Symptom: Interveinal chlorosis (yellowing leaves with green veins) on new growth.
Solution: This indicates an Iron deficiency, often caused by a pH above 7.0. Lower the pH using elemental sulfur.
Fix-It: Apply a chelated iron foliar spray for immediate relief while the soil chemistry adjusts.
Symptom: Lower leaves turning yellow and dropping prematurely.
Solution: Nitrogen chlorosis. The plant is scavenging nitrogen from older tissues to support new growth.
Fix-It: Apply a balanced 10-10-10 water-soluble fertilizer to the drip line.
Symptom: "Blind wood" or canes that fail to produce flowers.
Solution: Insufficient solar radiation or improper pruning.
Fix-It: Ensure the plant receives at least 6 hours of sun and prune to allow light penetration into the center of the bush.
Maintenance:
A mature rose arch requires consistent hydration. Deliver 1.5 inches of water per week at the drip line. Avoid overhead irrigation to minimize the risk of fungal proliferation on the foliage. Use a hori-hori knife to remove deep-rooted weeds that compete for nutrients in the rhizosphere.
Pruning is essential for maintaining structural integrity and bloom density. Use bypass pruners to remove dead, damaged, or diseased wood (the "three Ds"). During the dormant season, prune the lateral shoots back to two or three buds. This concentrates the plant's energy and suppresses apical dominance, leading to a more prolific floral display. Check the tension of your ties monthly to ensure they are not restricting the flow of nutrients through the phloem.
The Yield:
When harvesting roses for indoor display, timing is critical for longevity. Cut the stems in the early morning when turgor pressure is at its peak. Select blooms that are in the "soft tip" stage, where the outer petals have just begun to unfurl but the center remains tight.
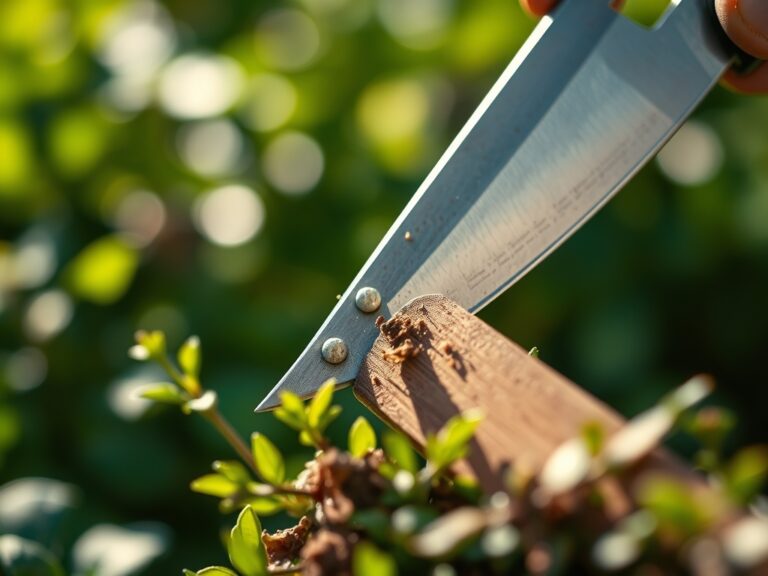
Use a sharp, sanitized blade to make a 45-degree cut, increasing the surface area for water uptake. Immediately submerge the stems in lukewarm water. To maintain "day-one" freshness, remove all foliage that would be submerged in the vase water to prevent bacterial growth. Recut the stems under water every two days to maintain the hydraulic connection and prevent air embolisms in the xylem.
FAQ:
How deep should I set the arch posts?
Set posts at least 18 inches deep. In high-wind areas or loose sandy soil, use concrete footings to prevent the structure from leaning once the rose reaches its full biomass.
What is the best NPK ratio for established roses?
Use a 10-12-10 or 5-10-5 ratio. Higher phosphorus (the middle number) supports flower production and root health, while moderate nitrogen maintains foliage without causing weak, leggy growth.
Can I grow roses on a wooden arch?
Yes, but ensure the wood is rot-resistant, such as cedar or redwood. Avoid chemically treated lumber that may leach toxins into the rhizosphere and damage the sensitive root system.
How do I prevent the rose from becoming top-heavy?
Train the main structural canes horizontally along the arch. This encourages lateral budding and prevents the "leggy" appearance where all flowers are at the top, leaving the base bare.