8 Expert Ways How to Maintain Electric Trimmers
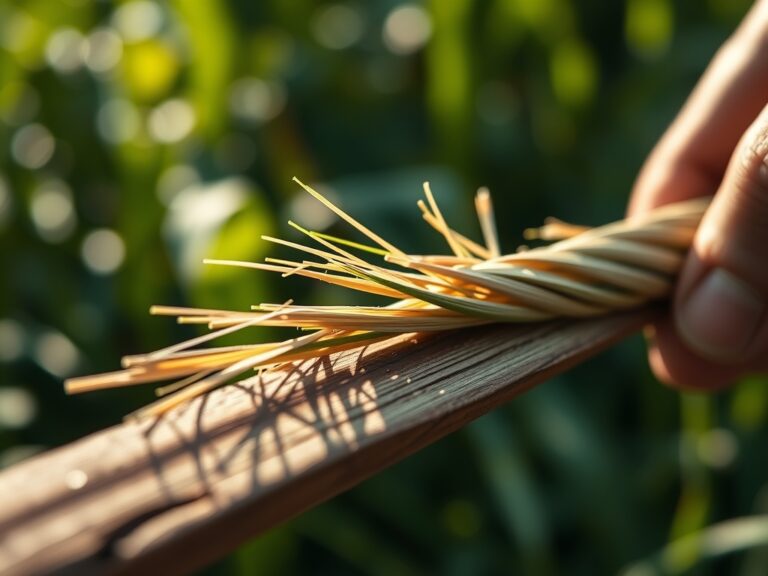
The smell of crushed chlorophyll and damp earth signifies a successful pruning session; however, the turgor of a healthy leaf depends entirely on the precision of the cut. Ragged edges from dull blades invite fungal pathogens and disrupt the vascular system of the plant. Understanding how to maintain electric trimmers is the difference between a clean horticultural surgical strike and a jagged wound that leads to systemic rot. A sharp, lubricated blade ensures that the xylem and phloem remain uncrushed during the shearing process.
Materials:
Maintaining the surrounding landscape requires a substrate of **friable loam** with a **Soil Cation Exchange Capacity (CEC) above 15**. This ensures the soil can hold the essential ions required for rapid recovery after pruning. Maintain a **soil pH between 6.2 and 6.8** to optimize the availability of macronutrients. When the plant enters a recovery phase, apply a balanced fertilizer with an **NPK ratio of 10-10-10** to provide the nitrogen necessary for new vegetative growth. The physical texture of the soil should be loose enough to allow oxygen to reach the **rhizosphere** while retaining sufficient moisture to prevent desiccation.
Timing:
In Hardiness Zones 5 through 8, the window for heavy maintenance is dictated by the first and last frost dates. Pruning with electric trimmers should occur during the dormant phase or the early vegetative stage. Avoid trimming during the reproductive stage when the plant is diverting energy to flower or fruit production. The biological clock of the plant is governed by the photoperiod; as day length increases, metabolic activity rises. Perform maintenance on your trimmers before the spring surge to ensure they are ready when the sap begins to flow.
Phases:

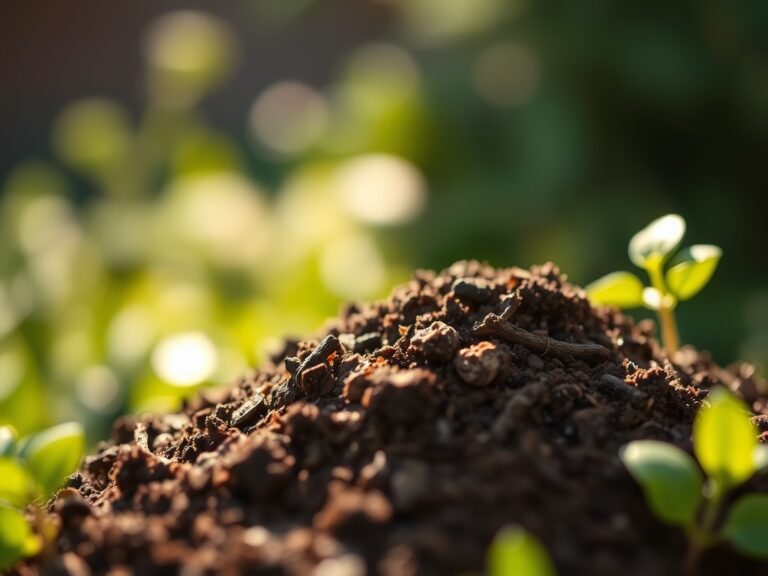
Sowing and Site Preparation
Before the first cut, clear the area of debris that could damage the trimmer blades. Ensure the soil moisture is at 75 percent field capacity to prevent plant stress during the upcoming maintenance.
Pro-Tip: Maintaining high turgor pressure in the plant cells before trimming allows for a cleaner shear. When cells are fully hydrated, the blade passes through the cell walls with minimal resistance; this prevents the crushing of the cambium layer.
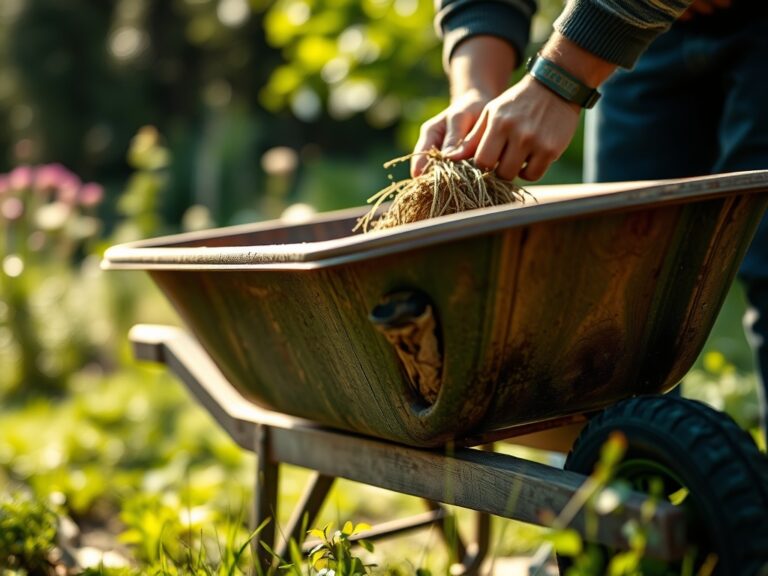
Transplanting and Structural Pruning
When moving plants or performing structural maintenance, use the electric trimmer to remove no more than 25 percent of the canopy. This prevents a drastic reduction in photosynthetic capacity.
Pro-Tip: Removing the terminal bud through pruning breaks apical dominance. This suppresses auxin production at the tip and stimulates the growth of lateral buds; this results in a bushier, denser plant architecture.
Establishing Long-Term Health
Post-trimming, monitor the plant for signs of stress. Ensure the rhizosphere remains undisturbed to allow mycorrhizal symbiosis to continue providing the plant with phosphorus and water.
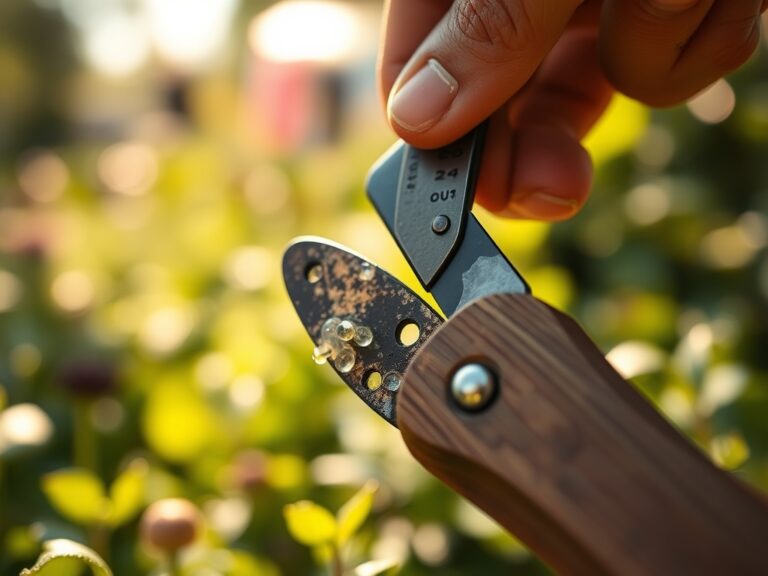
Pro-Tip: Proper blade hygiene prevents the mechanical transmission of pathogens. Using a 10 percent bleach solution or 70 percent isopropyl alcohol on the blades between different plants stops the spread of soil-borne fungi.
The Clinic:
Symptom: Interveinal Chlorosis
Solution: This is often a sign of Magnesium deficiency. Apply Epsom salts (Magnesium Sulfate) at a rate of 1 tablespoon per gallon of water to restore the chlorophyll molecule.
Symptom: Leaf Tip Burn
Solution: This indicates Salt Accumulation or over-fertilization. Flush the soil with 2 inches of water to leach excess salts away from the root zone.
Symptom: Dieback at Pruning Site
Solution: This is caused by dull blades or improper timing. Re-trim the branch using a sharpened blade at a 45-degree angle to allow water to run off the wound.
Fix-It: Nitrogen Chlorosis
If the older leaves turn a pale yellow, the plant lacks Nitrogen. Apply a quick-release high-N fertilizer (20-10-10) to boost the production of amino acids and proteins.
Maintenance:
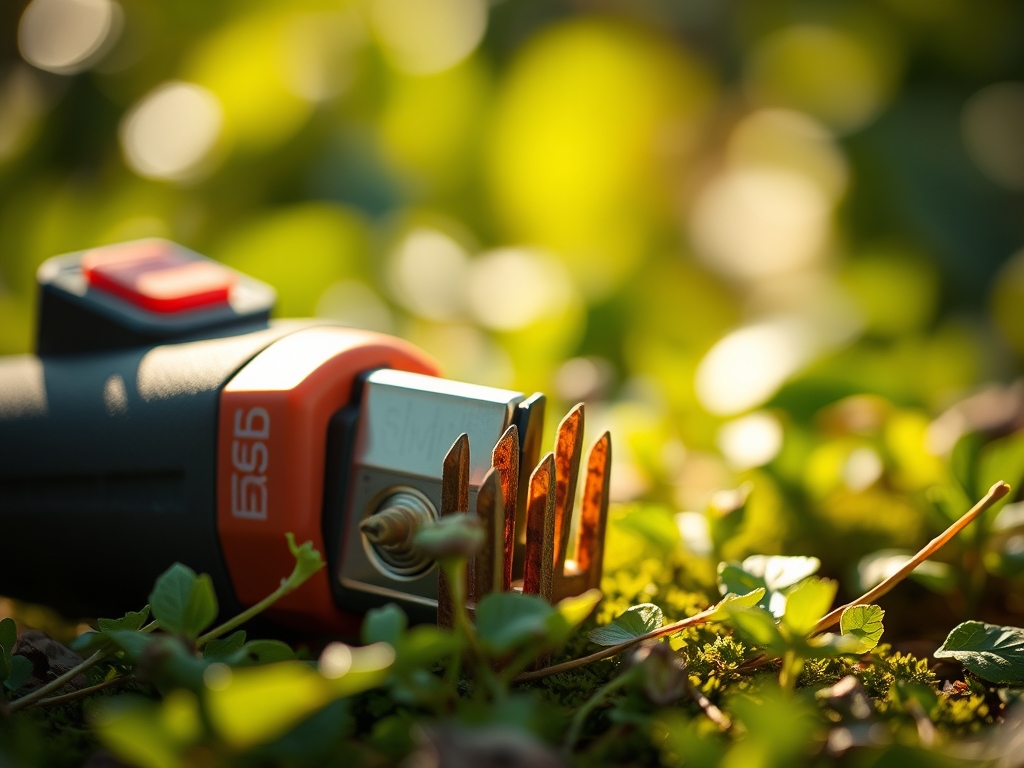
Precision in the garden requires precision in the tool shed. To keep your electric trimmers functional, follow these eight expert steps. First, clean the blades after every use to remove resin and sap which can harden and strain the motor. Second, sharpen the blades using a mill file or specialized grinding stone at the original factory angle. Third, lubricate the moving parts with a high-viscosity machine oil to reduce friction and heat. Fourth, check the battery terminals for corrosion; use a small wire brush to maintain a clean electrical connection. Fifth, inspect the casing for cracks that could allow moisture to penetrate the motor housing. Sixth, tighten any loose bolts or fasteners that may have vibrated loose during operation. Seventh, store the unit in a climate-controlled environment where the temperature stays between 50 and 75 degrees Fahrenheit to preserve battery life. Eighth, balance the blades to ensure the motor does not experience uneven centrifugal force.
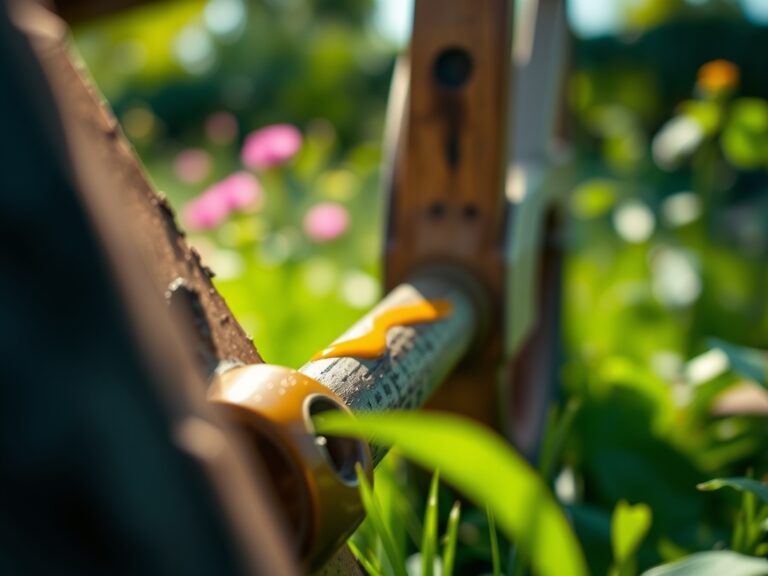
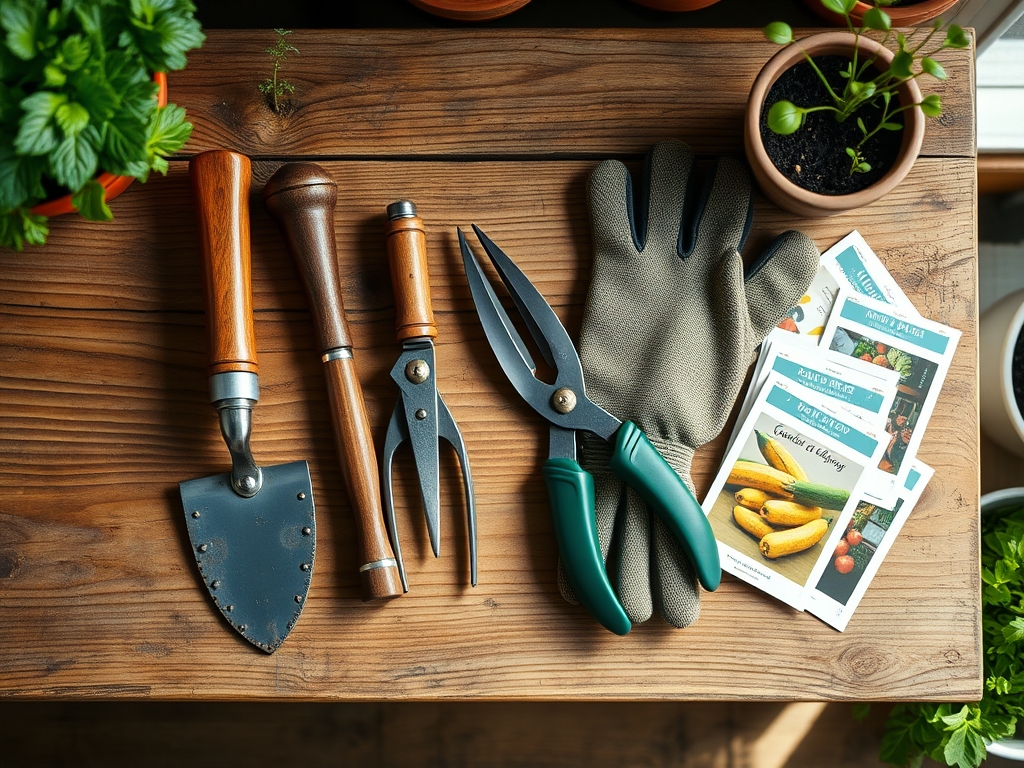
In the field, use a soil moisture meter to ensure the ground receives exactly 1.5 inches of water per week at the drip line. For precision work around delicate stems, supplement your electric trimmer with a hori-hori knife for root pruning or bypass pruners for fine detail.
The Yield:
Harvesting at the peak of physiological maturity ensures the highest nutrient density and flavor. For leafy greens, harvest in the early morning when transpiration rates are at their lowest and the leaves are most crisp. For woody perennials, the yield is measured in the health of the following season's growth. After the final harvest of the season, the plant enters senescence. Handle the plant with care post-harvest; cooling the produce to 40 degrees Fahrenheit immediately after picking preserves the "day-one" freshness by slowing down cellular respiration.
FAQ:
How often should I sharpen my electric trimmer blades?
Sharpen blades every 50 hours of operation or at the start of each season. Dull blades cause jagged cuts that increase the risk of disease. Use a fine-tooth mill file to maintain the factory bevel.
Can I use my trimmer on wet hedges?
No. Trimming wet foliage leads to uneven cuts and promotes the spread of fungal spores. Water on the blades can also cause the motor to work harder; this increases the risk of an electrical short or corrosion.
What is the best way to clean sap off the blades?
Use a specialized resin solvent or isopropyl alcohol. Apply the liquid to a cloth and wipe the blades carefully. Removing sap prevents the motor from overheating due to increased friction between the cutting surfaces.
Why is my electric trimmer losing power during use?
This is often due to battery degradation or clogged blade teeth. Ensure the battery is fully charged and stored properly. Clean the blades to remove debris that increases mechanical resistance and drains the power faster.