5 Productive Ways How to Design a Garden Workspace
The scent of damp humus and the sharp, metallic tang of oxidized steel tools define a functional potting shed. When you understand how to design a garden workspace, you transition from a hobbyist to a serious cultivator. Success depends on the turgor pressure of your seedlings; if your workspace lacks efficiency, your plants suffer from moisture stress before they even hit the soil. A professional workspace is a laboratory where the rhizosphere is managed with surgical precision.
A productive layout requires a minimum of 36 square inches of primary bench space per flat of seedlings. This area must be positioned at a height that prevents lumbar strain while allowing for the forceful application of leverage when mixing heavy substrates. You are not merely building a table; you are constructing a command center for biological optimization. Every shelf and hook must serve the physiological needs of the plant or the ergonomic needs of the gardener. Integrating a dedicated sink with a sediment trap is non-negotiable for managing runoff and cleaning root systems without clogging plumbing.
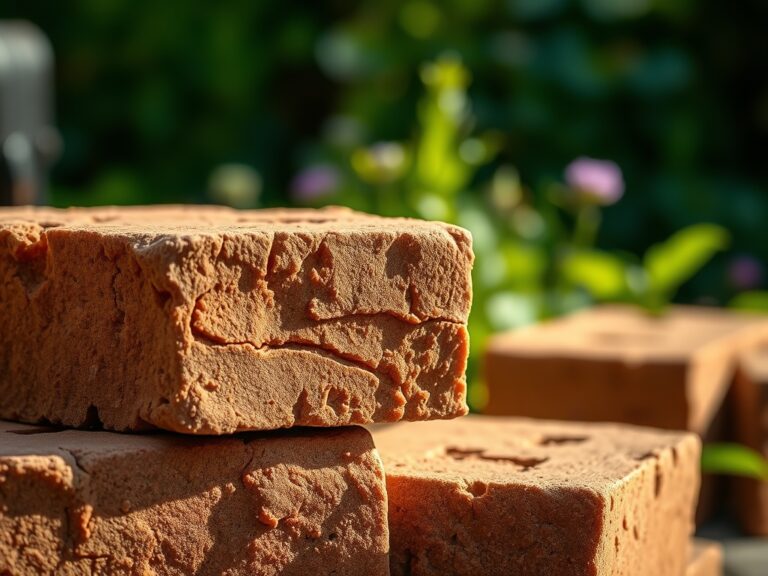
Materials:
The foundation of any garden workspace is the substrate. For most propagation tasks, you require a friable loam with a Cation Exchange Capacity (CEC) of 15 to 25 milliequivalents per 100 grams. This ensures the soil can hold and release essential nutrients.
Stock your workspace with these specific chemical profiles:
- Seed Starting Mix: A sterile, peat or coco-coir based medium with an NPK ratio of 0-0-0. High nutrient loads at this stage can cause osmotic shock to delicate radicles.
- Vegetative Growth Medium: A balanced blend with a pH of 6.2 to 6.8. Aim for an NPK ratio of 10-5-5 to support rapid leaf and stem development.
- Bloom Booster: For container-bound flowering species, maintain a stock of 5-15-15 fertilizer to trigger reproductive signaling.
The physical texture must be granular enough to allow for 20 percent air porosity. If the substrate is too dense, carbon dioxide builds up in the root zone, leading to anaerobic conditions and root rot.
Timing:
Your workspace schedule must align with your USDA Hardiness Zone. In Zone 6, for example, the workspace becomes active in late February, roughly 10 to 12 weeks before the last frost date. This period is critical for the "Biological Clock" of your crops.
The transition from the vegetative stage to the reproductive stage is governed by the photoperiod. If your workspace includes grow lights, you must maintain a 16-hour light cycle for vegetative growth and a 12-hour cycle to induce flowering in short-day plants. Monitoring the thermal mass of your workspace is also vital; most temperate seeds require a consistent soil temperature of 65 to 75 degrees Fahrenheit for optimal germination rates. Failure to maintain these windows results in stunted growth or premature senescence.
Phases:
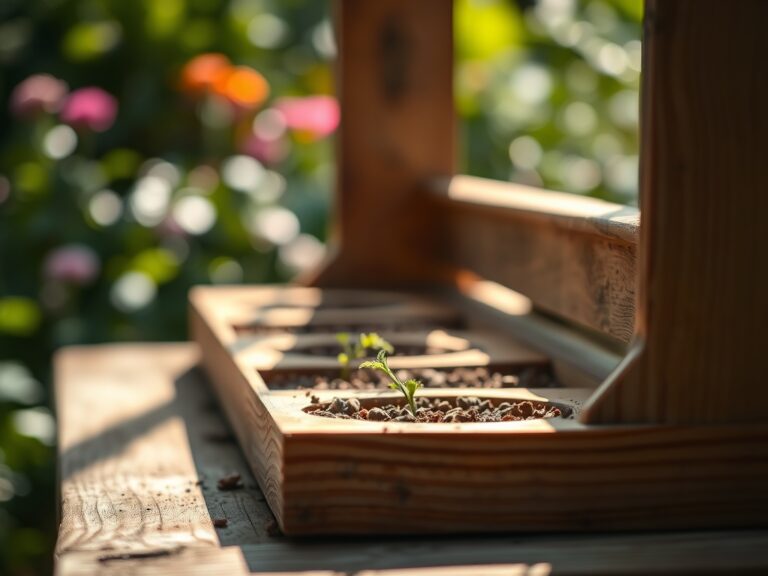
Sowing
Begin by saturating your medium until it reaches field capacity. Place seeds at a depth exactly two to three times their diameter.
Pro-Tip: Utilize bottom-heat mats to increase the metabolic rate of the embryo. This mimics the natural warming of the earth, triggering the release of gibberellic acid which breaks seed dormancy.
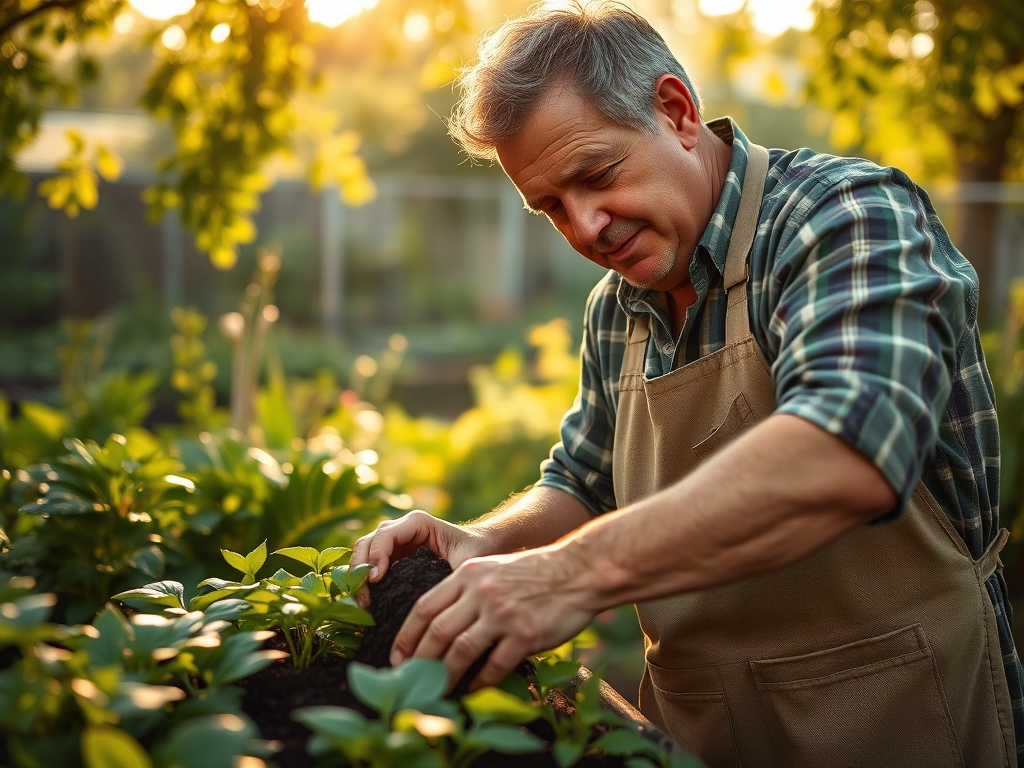
Transplanting
When the first set of "true leaves" appears, the plant has exhausted its endosperm and requires external nutrients. Use a hori-hori knife to lift the root ball, ensuring minimal disruption to the fine root hairs.
Pro-Tip: Dust the root zone with mycorrhizal fungi during this phase. This creates a symbiotic relationship that effectively increases the root surface area by up to 100 times, enhancing phosphorus uptake.
Establishing
Once moved to larger containers, plants require a "hardening off" period. Gradually introduce them to higher UV levels and fluctuating temperatures to thicken the waxy cuticle of the leaves.
Pro-Tip: Gently brush the tops of seedlings with a cardboard strip or provide a light breeze with a fan. This mechanical stress triggers the release of ethylene, which inhibits vertical elongation and promotes thicker, sturdier stems; a process known as thigmomorphogenesis.
The Clinic:
Physiological disorders often manifest in the workspace before they reach the garden.
- Symptom: Interveinal chlorosis (yellowing between leaf veins) on older leaves.
- Solution: This indicates a Magnesium deficiency. Apply a foliar spray of Epsom salts at a rate of 1 tablespoon per gallon of water.
- Symptom: Damping off (seedlings collapsing at the soil line).
- Solution: This is a fungal pathogen issue caused by poor airflow. Increase ventilation and decrease humidity to below 50 percent.
- Symptom: Purpling of the underside of leaves.
- Solution: Phosphorus deficiency, often caused by soil temperatures falling below 55 degrees Fahrenheit, which inhibits phosphorus solubility. Increase the ambient temperature.
- Fix-It for Nitrogen Chlorosis: If the entire leaf turns pale green or yellow, apply a high-nitrogen liquid fertilizer (e.g., fish emulsion) to restore chlorophyll production immediately.
Maintenance:
A professional workspace requires rigorous sanitation. All benches should be wiped down weekly with a 10 percent bleach solution to prevent the spread of tobacco mosaic virus or fungal spores.
Precision watering is the cornerstone of maintenance. Use a soil moisture meter to ensure you are not over-saturating the medium. Most containerized plants require 1.5 inches of water per week, delivered directly to the soil surface to avoid wetting the foliage, which invites mildew. Keep your bypass pruners sharp; a jagged cut crushes the vascular cambium and slows the healing process. Sharpen blades using a diamond whetstone at a 20-degree angle after every ten hours of use.
The Yield:
When harvesting starts or flowers reach peak anthesis, timing is everything. For leafy greens, harvest at dawn when turgor pressure is highest and the plant is fully hydrated. Use a sharp blade to make clean cuts, preventing the "bleeding" of sap.
Post-harvest handling is a race against respiration. Immediately plunge stems into 40-degree Fahrenheit water to remove field heat. This slows the metabolic breakdown of sugars and preserves the structural integrity of the cell walls. For flowers, remove any submerged foliage to prevent bacterial bloom in the water, which can block the xylem and cause premature wilting.
FAQ:
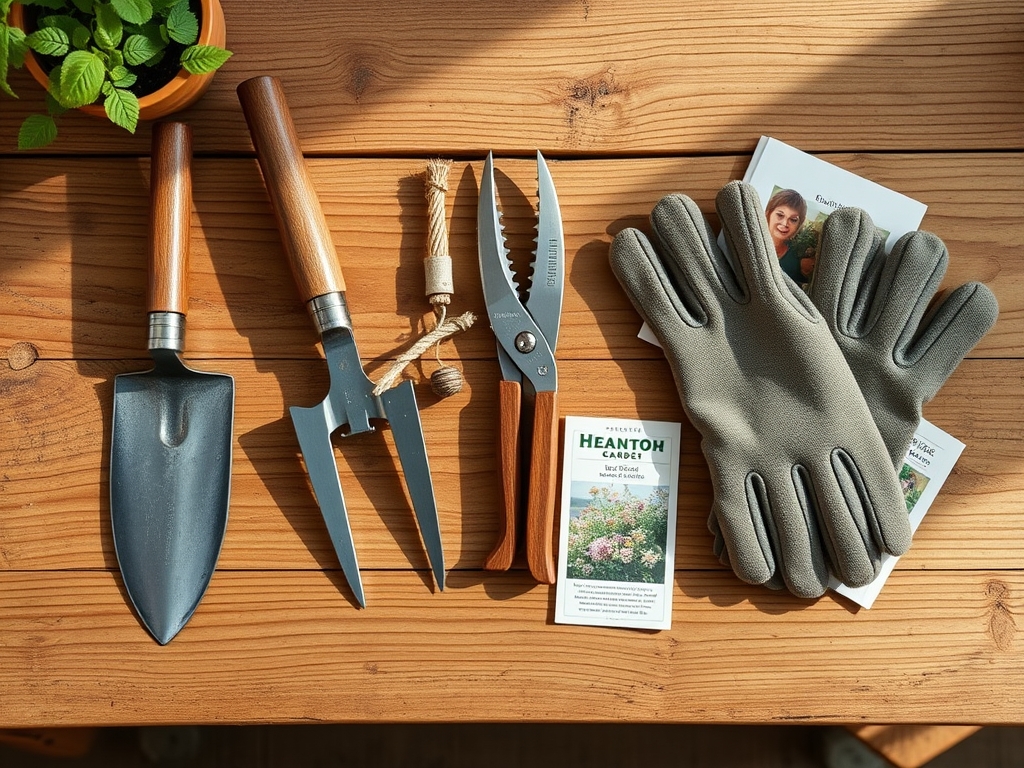
What is the best height for a potting bench?
Set the primary work surface at 34 to 36 inches high. This aligns with the average gardener's waist, allowing for optimal leverage and reducing spinal compression during repetitive tasks like sifting soil or transplanting heavy containers.
How do I prevent leggy seedlings in my workspace?
Provide high-intensity light (at least 2,000 lumens per square foot) and keep the source within 3 to 4 inches of the canopy. This prevents the "stretch" caused by phototropism as plants reach for insufficient light sources.
What pH is best for a general garden workspace?
Maintain a substrate pH between 6.0 and 7.0. This range ensures maximum bioavailability for the "Big Three" macronutrients: Nitrogen, Phosphorus, and Potassium. Values outside this range cause nutrient lockout, regardless of how much fertilizer you apply.
How often should I calibrate my soil moisture meter?
Calibrate your meter once every thirty days or at the start of each new planting phase. Use a known saturated sample and a completely dry sample to ensure the sensors provide accurate data for irrigation scheduling.