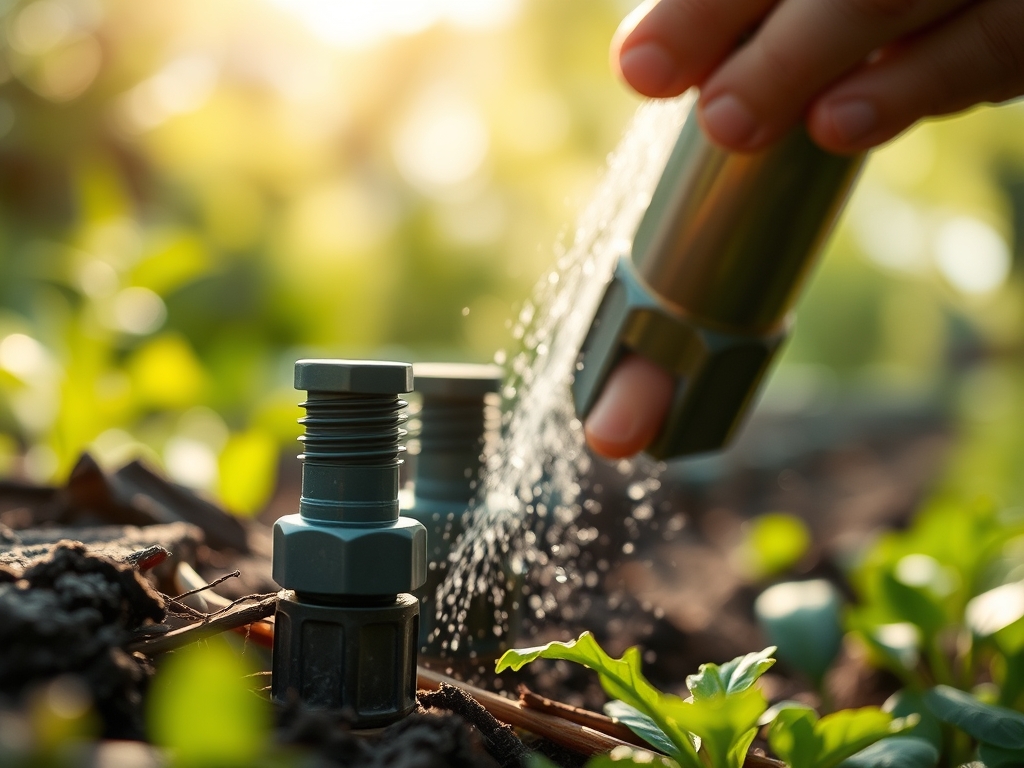
8 Simple Steps to Clean Irrigation Emitters
Turgor pressure dictates the structural integrity of every cell wall in the rhizosphere. When water delivery fails, the plant loses its ability to transport nutrients, leading to rapid wilting and eventual senescence. Maintaining consistent flow requires mastery of the steps to clean irrigation emitters to prevent localized droughts within your garden beds. A drop in line pressure often signals mineral scaling or organic biofilm accumulation. You must intervene before the vascular system of your crops begins to collapse from lack of hydration.
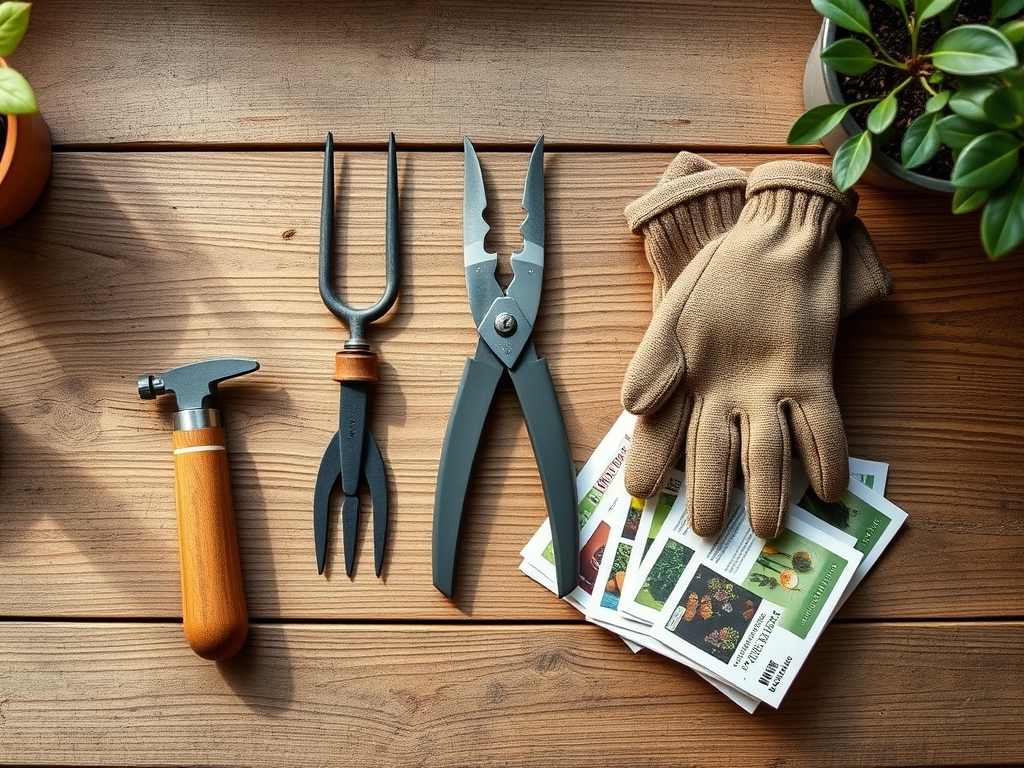
Materials:
Effective irrigation maintenance requires understanding the substrate it serves. A friable loam with a high Cation Exchange Capacity (CEC) relies on precise moisture to facilitate nutrient uptake. If your soil pH sits between 6.0 and 7.0, the solubility of phosphorus is maximized; however, hard water in your lines can precipitate calcium carbonates that clog small orifices.
To manage this, assemble a 5 percent acetic acid solution (white vinegar) for mineral dissolution. You will also need a 200-mesh stainless steel filter for the main line and a stiff nylon brush. For the plants themselves, maintain a balanced NPK ratio of 10-10-10 during the vegetative stage to support cellular repair once water flow is restored. High-nitrogen fertilizers (e.g., 21-0-0) can be used if plants show signs of chlorosis after a period of water stress, as nitrogen is highly mobile and requires water for root absorption.
Timing:
Irrigation maintenance should be performed during the dormant season or early spring before the "Biological Clock" shifts from the vegetative to the reproductive stage. In Hardiness Zones 5 through 7, this window occurs between the last hard frost and the first surge of spring growth. Once the photoperiod exceeds 12 hours, plants increase their transpiration rates, making irrigation failure catastrophic.
Perform a full system flush when soil temperatures reach a consistent 55 degrees Fahrenheit. This is the point when microbial activity in the soil begins to accelerate, and the demand for oxygen and water in the root zone spikes. If you miss this window, you risk stressing the plant during the critical transition to flowering, which can abort fruit sets or stunt terminal buds.
Phases:

Sowing and Initial Flow
Before seeds are placed in the ground, run the system to check for "dry spots." Each emitter should provide a consistent flow rate, typically 0.5 to 2.0 gallons per hour. If a zone shows uneven wetting patterns, the emitters are likely compromised by fine particulates.
Pro-Tip: Maintaining consistent moisture during germination is vital because of imbibition. The seed must absorb water to trigger the metabolic processes that break dormancy; if the emitter is clogged, the embryo may desiccate before it can establish a radicle.
Transplanting and Pressure Regulation
When moving seedlings from a greenhouse to the field, the transition requires high turgor pressure to survive transplant shock. Use a soil moisture meter to verify that the emitters are delivering water directly to the root ball.
Pro-Tip: Proper hydration at transplanting prevents auxin suppression. When a plant is water-stressed, it produces abscisic acid, which overrides growth hormones like auxins and cytokinins, effectively stalling the plant's development for weeks.
Establishing the Root Architecture
As the plant matures, the root system expands. You must ensure emitters are clean to encourage deep root penetration. Clogged emitters lead to shallow rooting, making the plant vulnerable to heat spikes.
Pro-Tip: Deep, consistent watering encourages mycorrhizal symbiosis. These beneficial fungi require a stable moisture film on soil particles to colonize roots and extend the plant's reach for phosphorus and micronutrients.
The Clinic:
Symptom: Interveinal Chlorosis
Solution: This is often a sign of iron or magnesium deficiency. However, it is frequently caused by poor irrigation rather than a lack of minerals in the soil. If the emitter is clogged, the plant cannot pull these immobile ions into its vascular system.
Fix-It: Clean the emitter using a 0.5 mm wire probe and apply a chelated micronutrient spray to the foliage for immediate uptake while the roots recover.
Symptom: Marginal Leaf Burn
Solution: Salt accumulation in the soil. When emitters provide insufficient water, they fail to leach salts away from the root zone.
Fix-It: Perform a heavy flush of the irrigation line. Ensure the EC (Electrical Conductivity) of your runoff is below 2.0 dS/m to prevent osmotic stress.
Symptom: Blossom End Rot
Solution: Calcium deficiency in the fruit, caused by erratic watering.
Fix-It: Clean all emitters in the affected zone to ensure a steady supply of water. Calcium moves via the transpiration stream; if water flow stops, calcium delivery to the fruit stops, regardless of soil calcium levels.
Maintenance:
Precision is the hallmark of a professional horticulturist. Most row crops require 1.5 inches of water per week delivered at the drip line. Use a hori-hori knife to periodically cut back encroaching roots that may attempt to grow into the emitter orifices (root intrusion).
Every 30 days, open the end caps of your lateral lines and flush the system at 20 PSI for three minutes to remove accumulated sediment. Use bypass pruners to trim any low-hanging foliage that touches the emitters, as this can provide a bridge for pathogens like Phytophthora to enter the irrigation system. Always verify your work with a soil moisture meter at depths of 4, 8, and 12 inches.
The Yield:
Harvesting should occur when the plant is at peak turgidity, usually in the early morning before the sun induces transpiration stress. For leafy greens, harvest when the temperature is below 65 degrees Fahrenheit. For fruiting bodies, wait for the "slip stage" or specific brix levels.
Post-harvest, submerge the produce in 40-degree Fahrenheit water to remove field heat. This process, known as hydro-cooling, preserves the "day-one" freshness by slowing down the metabolic rate and preventing the degradation of sugars and vitamins.
FAQ:
How do I remove mineral scale from emitters?
Submerge the emitters in a 5 percent acetic acid solution for 24 hours. This dissolves calcium and magnesium carbonates. Rinse with fresh water before reattaching to the lateral line to prevent root zone acidification.
What is the best way to prevent organic clogs?
Install a 200-mesh filter and use a periodic injection of hydrogen peroxide at 50 to 100 ppm. This oxidizes biofilm and algae that accumulate in the lines during high-temperature periods in mid-summer.
How often should I flush my irrigation lines?
Flush the main and lateral lines every four to six weeks. If using well water with high sediment loads, increase the frequency to every two weeks. Always flush the system after any repairs to the main line.
Can I use a needle to clear a clogged emitter?
Use a 0.5 mm wire or a specialized emitter tool. Avoid oversized needles that can deform the internal diaphragm. A damaged diaphragm will result in unregulated flow, leading to overwatering and potential root rot in the rhizosphere.