10 Best PH Meters for Home Gardens
The smell of damp, decaying organic matter signifies a functioning rhizosphere where microbial activity converts minerals into plant-available ions. When you crush a handful of friable soil, the gritty texture and earthy aroma indicate a healthy Cation Exchange Capacity (CEC). However, without precision data, you are gardening in the dark. Utilizing the best ph meters for home gardens allows you to monitor the logarithmic scale of hydrogen-ion activity that dictates nutrient solubility. A shift of just one pH point represents a tenfold change in acidity, which can instantly lock out phosphorus or trigger manganese toxicity. Maintaining a target range between 6.2 and 7.0 ensures maximum bioavailability for most vascular plants. High turgor pressure in the leaves and thick, lignified stems are the direct results of a root system operating at its optimal electrochemical potential. Professional-grade sensors provide the empirical evidence required to manage these subterranean chemical reactions. By measuring the electrical conductivity and pH of the soil solution, you transition from guesswork to horticultural engineering.
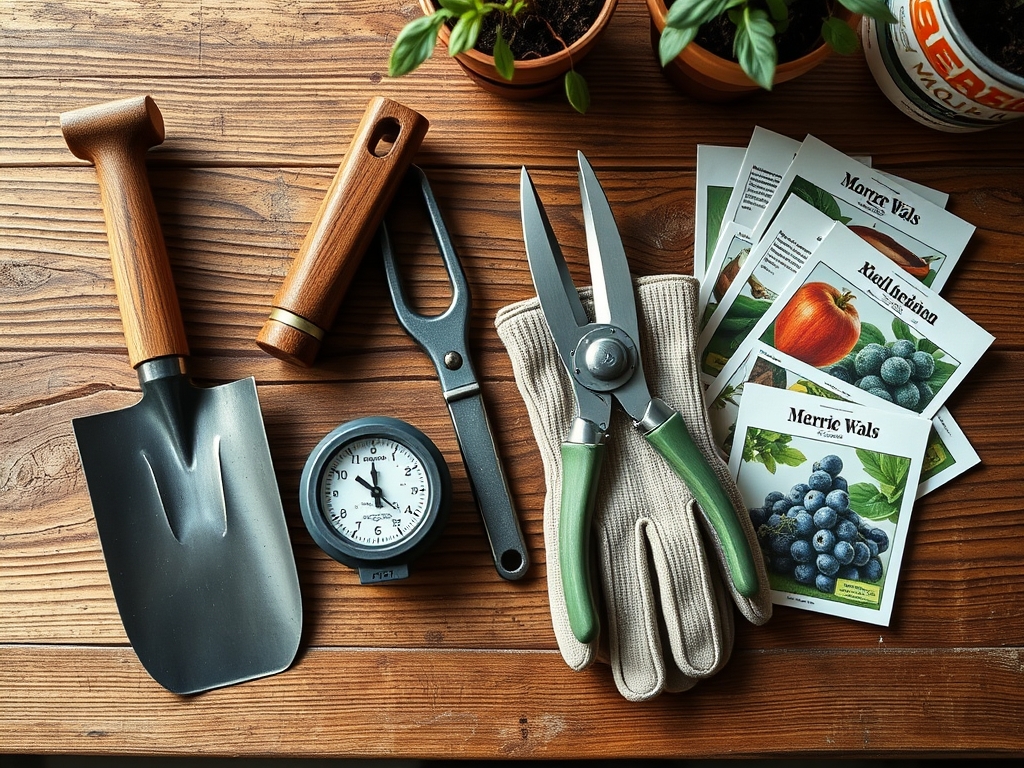
Materials:
The ideal substrate for testing is a **friable loam** consisting of approximately **40 percent sand, 40 percent silt, and 20 percent clay**. This balance provides sufficient surface area for cation exchange while maintaining macropores for oxygen diffusion. When selecting fertilizers to adjust your profile, focus on specific NPK ratios tailored to the developmental stage. For vegetative growth, a **10-5-5** ratio supports chlorophyll synthesis; for reproductive stages, a **5-10-10** ratio encourages floral primordia development.
Soil pH directly influences the solubility of these macronutrients. In soils with a pH above 7.5, iron and phosphorus become tightly bound to calcium, leading to interveinal chlorosis. Conversely, in acidic soils below 5.5, aluminum toxicity can stunt root elongation. Use a digital glass electrode meter for the highest accuracy. These devices measure the potential difference between a reference electrode and a sensing electrode submerged in a 1:1 soil-to-distilled-water slurry.
Timing:
Successful cultivation requires syncing botanical cycles with local climate data. In Hardiness Zones 5 through 7, the primary growing window opens after the last spring frost, typically between April 15 and May 15. Monitoring the soil temperature is as critical as monitoring pH; most nitrifying bacteria remain dormant until the soil reaches a consistent 55 degrees Fahrenheit.
The Biological Clock of the plant governs the transition from the vegetative stage to the reproductive stage. This is often triggered by the photoperiod, where the ratio of light to darkness influences hormone production. For short-day plants, the accumulation of the protein Phytochrome Far-Red (Pfr) during long nights signals the plant to cease leaf production and begin flowering. Mapping your planting dates against the average first frost date in autumn ensures that the plant completes its life cycle before senescence is forced by freezing temperatures.
Phases:

Sowing
Seeds require a consistent temperature of 65 to 75 degrees Fahrenheit and a steady supply of moisture to initiate imbibition. This process swells the seed coat and activates metabolic enzymes. Use a sterile, peat-based starting mix with a pH adjusted to 6.0 to prevent "damping off" caused by fungal pathogens.
Pro-Tip: Maintain high humidity to prevent the desiccation of the radicle. This supports geotropism, the biological process where gravity-sensing cells in the root cap ensure the primary root grows downward into the substrate.
Transplanting
Move seedlings when they have developed at least two sets of true leaves. This indicates the root system is robust enough to handle the mechanical stress of relocation. Dig a hole twice the width of the root ball using a hori-hori knife to avoid glazing the sides of the planting hole, which can restrict lateral root penetration.
Pro-Tip: Inoculate the planting hole with endomycorrhizal fungi. This creates a mycorrhizal symbiosis that effectively increases the root surface area by up to 100 times, enhancing the uptake of immobile nutrients like phosphorus.
Establishing
During the first 14 to 21 days post-transplant, the plant focuses on root expansion rather than upward growth. Maintain soil moisture at field capacity, ensuring the rhizosphere does not dry out. Monitor the pH weekly during this phase, as the application of ammonium-based fertilizers can gradually acidify the root zone.
Pro-Tip: Avoid heavy pruning during establishment to prevent auxin suppression. Auxins are hormones produced in the apical meristem that travel downward to stimulate root initiation; removing too much top growth can stall root development.
The Clinic:
Physiological disorders often mimic infectious diseases but are usually rooted in environmental stress or chemical imbalances.
- Symptom: Blossom End Rot (dark, sunken leathery spots on the bottom of fruit).
Solution: This is a calcium deficiency often caused by inconsistent moisture levels rather than a lack of calcium in the soil. Calcium moves through the plant via transpiration; if the soil dries out, the flow stops. Ensure 1.5 inches of water per week. - Symptom: Interveinal Chlorosis (yellowing between green leaf veins).
Solution: This typically indicates Iron or Magnesium deficiency. Check the soil pH immediately. If the pH is above 7.2, iron is locked out. Lower the pH using elemental sulfur or chelated iron foliar sprays. - Symptom: Purple coloration on older leaves and stems.
Solution: This is a classic sign of Phosphorus deficiency. It often occurs in early spring when soil temperatures are below 50 degrees Fahrenheit, which inhibits phosphorus uptake regardless of soil concentration.
Maintenance:
Precision maintenance prevents the "boom and bust" cycles of plant health. Deliver exactly 1.5 inches of water per week at the drip line using a soaker hose to minimize foliar moisture and prevent fungal spores from germinating. Use a soil moisture meter to verify that water is penetrating at least 6 inches deep.
Keep your tools surgical. Use bypass pruners for clean cuts on living tissue; anvil pruners can crush vascular bundles and create entry points for pathogens. Every autumn, perform a comprehensive soil test. If the pH has drifted, apply pelletized lime to raise it or aluminum sulfate to lower it. Always calibrate your digital pH meter using buffer solutions of pH 4.0 and 7.0 before every testing session to ensure data integrity.
The Yield:
Harvesting is the climax of the plant's metabolic investment. For fruiting crops, harvest when the fruit reaches "full slip" or exhibits the specific color break indicative of maturity. For leafy greens, harvest in the pre-dawn hours when turgor pressure is at its peak. This ensures the cells are fully hydrated, providing maximum crispness.
Post-harvest handling is critical for maintaining "day-one" freshness. Rapidly cooling the produce reduces the respiration rate, slowing the breakdown of sugars and starches. For woody herbs or flowers, use a sharp blade to make a 45-degree angle cut and immediately plunge the stems into 110-degree Fahrenheit water to break air locks in the xylem and facilitate rapid rehydration.
FAQ:
How often should I calibrate my pH meter?
Calibrate your device once a month or before any critical planting phase. Use standardized buffer solutions to ensure the glass electrode provides an accurate millivolt reading. Accuracy is essential for managing nutrient solubility in the rhizosphere.
Can I use a pH meter in dry soil?
No. Sensors require an aqueous solution to conduct electrical ions. Always moisten the soil with distilled water and wait 15 minutes before testing to allow the chemical profile to stabilize for an accurate reading.
Why does my soil pH keep changing?
Soil pH is dynamic. Factors like nitrogen fertilization, root respiration, and rainfall introduce hydrogen ions, typically increasing acidity over time. Regular monitoring with the best ph meters for home gardens identifies these shifts before they cause chlorosis.
What is the difference between a 2-way and 3-way meter?
A 2-way meter typically measures pH and moisture. A 3-way meter adds a light sensor. While convenient, professional horticulturists prefer dedicated, high-quality digital probes for pH to ensure the highest degree of precision and durability.