7 Basic Steps to Winterize Gas Tillers
The scent of damp, cooling earth signals the onset of plant senescence and the immediate need to secure your mechanical assets. When the soil loses its friable texture and turgor pressure drops in the surrounding flora, your equipment faces the threat of internal corrosion. Following the correct steps to winterize gas tillers ensures that the internal combustion components remain viable through the dormant season. Neglecting this protocol allows ethanol-blended fuels to undergo phase separation; this chemical breakdown creates a corrosive sludge that obstructs the carburetor and degrades fuel lines.
Materials:
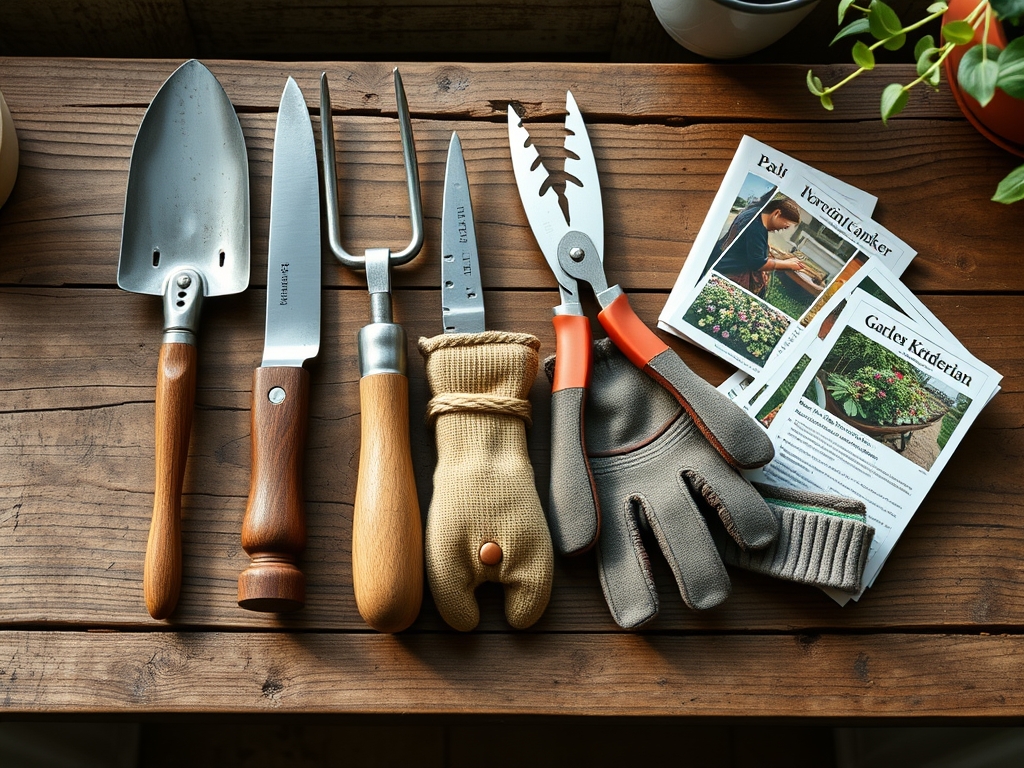
While the tiller prepares for storage, the soil it services requires specific inputs to maintain a high Cation Exchange Capacity (CEC). For a **friable loam** substrate with a **pH of 6.5**, you must prepare a top-dressing of organic matter to prevent erosion. Maintain an **NPK ratio of 5-10-10** for fall applications; the lower nitrogen prevents late-season vegetative surges that would succumb to frost. High phosphorus and potassium levels support root cell wall integrity. Gather **SAE 30W oil**, a fresh **F7TC spark plug**, fuel stabilizer, and a high-pressure washer to remove compacted clay from the tines.
Timing:
In Hardiness Zones 4 through 6, the window for winterization begins when soil temperatures drop below 50 degrees Fahrenheit. This coincides with the biological clock of most perennial weeds, which shift from vegetative growth to reproductive seed dispersal. You must complete the steps to winterize gas tillers at least two weeks before the first hard freeze. In Zones 7 and 8, this window extends into late November. Monitoring the photoperiod is essential; as daylight hours diminish, the reduction in photosynthetic activity means the tiller is no longer required for suppressing competitive growth in the rhizosphere.
Phases:

Sowing the Maintenance Plan
The first step involves fuel management. You must either drain the tank completely or add a high-quality stabilizer to a full tank of fresh gasoline. Run the engine for ten minutes to ensure the treated fuel reaches the carburetor jets.
Pro-Tip: Running the engine ensures the stabilizer coats the internal needle valves. This prevents the oxidation of metal components, a process driven by the same electrochemical principles that govern nutrient uptake in the rhizosphere.
Transplanting Fresh Lubricants
Drain the crankcase while the engine is warm. Warm oil has lower viscosity, allowing it to carry away more metallic particulates and carbon deposits. Refill with the manufacturer-specified volume, typically 20 ounces for standard residential tillers.
Pro-Tip: Fresh oil provides a hydrophobic barrier against atmospheric moisture. This prevents "flash rust" on the cylinder walls, much like how a waxy cuticle prevents desiccation in xerophytic plants.
Establishing Mechanical Integrity
Remove the spark plug and pour one tablespoon of clean engine oil into the cylinder. Pull the starter cord slowly three times to distribute the oil over the piston rings and cylinder bore. Reinstall a new plug but do not connect the lead.
Pro-Tip: This manual lubrication bypasses the standard oil pump cycle. It ensures that the piston does not experience "dry start" friction in the spring, which would otherwise cause micro-fissures in the metal through heat expansion.
The Clinic:
Physiological disorders in the garden often mirror mechanical failures in the shed. Use the following diagnostic criteria to troubleshoot your equipment and your soil.
Symptom: Engine surges or "hunts" at idle.
Solution: This indicates a lean fuel mixture caused by varnish in the carburetor. Use a pressurized solvent to clear the primary jet.
Symptom: Tines fail to rotate under load.
Solution: Inspect the drive belt for glazing or cracking. Replace if the width has decreased by more than 1/16th of an inch.
Symptom: Interveinal chlorosis in nearby cover crops.
Solution: This is a classic Magnesium deficiency. Apply Epsom salts (Magnesium Sulfate) at a rate of 1 pound per 100 square feet to restore chlorophyll production.
Fix-It for Nitrogen Chlorosis: If your fall cover crop appears pale yellow, the carbon-to-nitrogen ratio in your mulch may be too high. Add a quick-release 21-0-0 Ammonium Sulfate fertilizer to provide immediate nitrogen ions to the root zone.
Maintenance:
Post-winterization, store the tiller in a dry, ventilated environment. Use a soil moisture meter to monitor the garden beds throughout the winter; even dormant perennials require moisture if the soil dries to a depth of 3 inches. If you are managing a winter orchard, use bypass pruners to remove deadwood, ensuring cuts are made at a 45-degree angle to shed water. A hori-hori knife is the ideal tool for extracting deep-taproot weeds that emerge during mid-winter thaws. Maintain a consistent mulch layer of 2.5 inches to regulate soil temperature fluctuations.
The Yield:
While the tiller is dormant, the "yield" refers to the preservation of soil structure. A well-winterized tiller ensures that when the spring soil reaches 55 degrees Fahrenheit, you can immediately incorporate organic matter. Proper tillage at the right moisture level (the "ball test" where soil crumbles under slight pressure) prevents the destruction of soil aggregates. This maintains the macropores necessary for oxygen diffusion, ensuring that your spring transplants achieve maximum turgor within 48 hours of being set into the ground.
FAQ:
How do I prevent fuel from going bad?
Add a fuel stabilizer to a full tank of gasoline. Run the engine for 5 to 10 minutes to circulate the treated fuel through the carburetor. This prevents ethanol separation and gum formation during the six-month dormant period.
Should I leave the spark plug in?
Remove the old plug and add 15ml of oil to the cylinder. Pull the starter rope to coat the walls, then install a new spark plug. Leave the wire disconnected to prevent accidental ignition during off-season handling.
Why must I clean the tines before storage?
Dried mud traps moisture against the metal, accelerating oxidation. Use a pressure washer to remove all debris. Apply a thin coat of WD-40 or vegetable oil to the tines to create a protective moisture barrier.
Can I store my tiller outside under a tarp?
Outside storage exposes the unit to temperature swings and condensation. If necessary, use a breathable fabric cover rather than plastic. Plastic traps moisture, which leads to rapid corrosion of the ignition system and control cables.