7 Best Galvanised Tops for Benches
The smell of damp earth and the iron tang of wet metal define a functional potting shed. When turgor pressure in a seedling is at its peak; usually just after dawn; the workstation must provide a sterile and resilient surface. Selecting the best galvanised tops for benches is a requirement for any serious horticultural operation. These surfaces must resist the corrosive nature of humic acids and the constant moisture of a high-humidity greenhouse. A zinc-coated steel surface provides a non-porous barrier that prevents the buildup of fungal pathogens like Pythium or Rhizoctonia. This guide examines the technical specifications of top-tier galvanized surfaces through the lens of soil science and structural integrity.
Materials:
The ideal substrate for a potting bench is a **friable loam** consisting of 40 percent sand, 40 percent silt, and 20 percent clay. This mixture ensures a high **Cation Exchange Capacity (CEC)**, allowing the soil to hold onto essential nutrients like ammonium and potassium. When working on galvanized tops, you must manage soil pH strictly between **6.0 and 7.0** for most vascular plants. High acidity can eventually compromise the zinc carbonate layer of the bench top.
Your nutrient management should follow specific NPK ratios depending on the growth stage. For initial root development, a 10-52-10 ratio provides the phosphorus necessary for ATP production and cellular division. For vegetative growth, a 20-10-20 ratio is preferred to maintain leaf turgidity and chlorophyll density. The galvanized surface acts as a sterile staging area where these amendments can be mixed without contaminating the native rhizosphere.
Timing:
Timing your operations depends on your specific USDA Hardiness Zone. In Zones 5 through 7, the frost-free window typically opens between late April and mid-May. The biological clock of the plant dictates the transition from vegetative to reproductive stages based on the photoperiod. Long-day plants require more than 12 hours of light to trigger flowering, while short-day plants require extended periods of darkness to initiate the shift in hormonal balance.
Monitoring the soil temperature is more critical than monitoring air temperature. Seeds generally require a minimum of 65 degrees Fahrenheit for consistent germination. Use a digital probe to check the temperature of your starting trays on your galvanized bench. The metal surface reflects ambient light, which can slightly increase the temperature of the trays through conductive heat transfer, accelerating the metabolic rate of the embryos.
Phases:
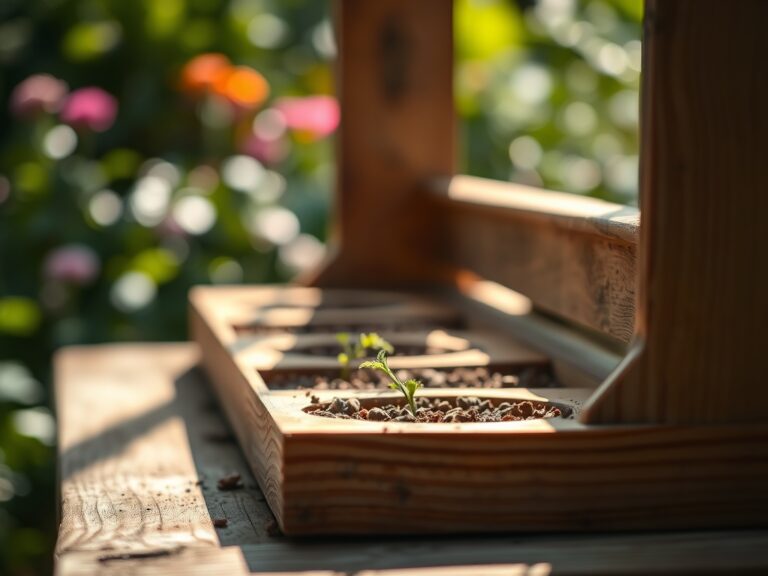
Sowing
Place your seed flats on the galvanized surface to ensure a level plane for uniform water distribution. Sow seeds at a depth of two to three times their diameter. Use a fine-mist sprayer to saturate the media without dislodging the seeds.
Pro-Tip: Maintaining high humidity during sowing prevents the seed coat from hardening. This supports imbibition, the physical process where water enters the seed to activate enzymes that break down stored starches into glucose.
Transplanting
When the first set of true leaves appears, the plant has moved beyond its cotyledon energy stores. Carefully lift the seedlings using a hori-hori knife to minimize root trauma. Move them into larger containers filled with a mix high in organic matter to increase the water-holding capacity.
Pro-Tip: Minimize exposure to direct wind during this phase to prevent excessive transpiration. This protects the plant from wilting before the root system can establish hydraulic conductivity with the new soil.
Establishing
Once transplanted, the focus shifts to root expansion. Apply a diluted seaweed extract to encourage mycorrhizal symbiosis. This fungal relationship extends the reach of the root system, allowing the plant to access phosphorus and micronutrients that are otherwise immobile in the soil matrix.
Pro-Tip: Pinching off the terminal bud of certain species suppresses auxin production at the apex. This redirects energy to lateral buds, resulting in a bushier, more structurally sound plant.
The Clinic:
Physiological disorders often manifest as visible changes in the foliage. Use the following diagnostic data to identify and correct issues on your bench.
Symptom: Interveinal Chlorosis
- Cause: Iron or Manganese deficiency.
- Solution: Check soil pH. If pH is above 7.0, iron becomes insoluble. Lower the pH using elemental sulfur or apply chelated iron foliar spray.
Symptom: Purpling of Lower Leaves
- Cause: Phosphorus deficiency.
- Solution: This often occurs in cold soils where phosphorus uptake is inhibited. Increase the ambient temperature of the root zone to at least 60 degrees Fahrenheit.
Symptom: Marginal Leaf Burn
- Cause: Potassium deficiency or salt buildup.
- Solution: Flush the growing medium with distilled water to leach excess salts. Adjust the NPK ratio to include higher potash.
Fix-It: Nitrogen Chlorosis
If the entire leaf turns a pale yellow starting from the bottom of the plant, the plant is scavenging nitrogen for new growth. Apply a high-nitrogen fertilizer with a ratio of 30-10-10 to restore chlorophyll production immediately.
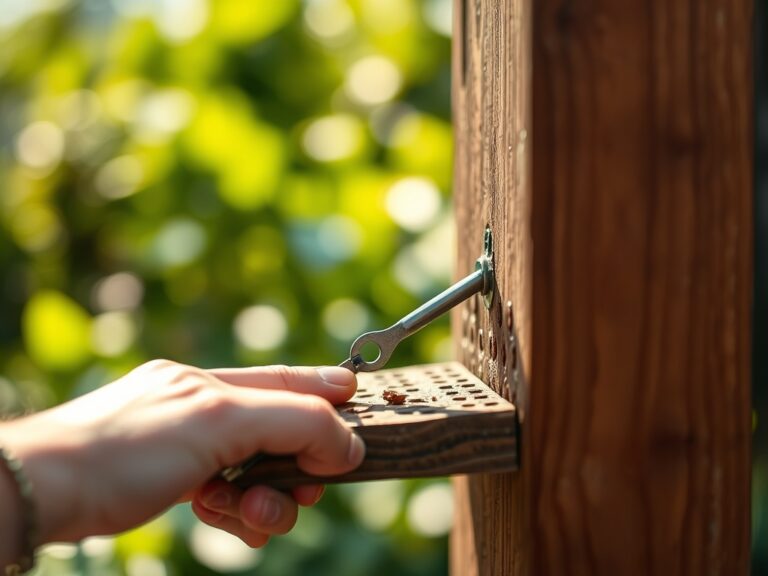
Maintenance:
A professional garden requires precise maintenance. Apply 1.5 inches of water per week at the drip line of established plants. Use a soil moisture meter to verify that the moisture has penetrated at least 6 inches deep into the soil profile.
Clean your bypass pruners and galvanized bench tops with a 10 percent bleach solution after every use to prevent the spread of viral pathogens. When pruning, always cut at a 45-degree angle just above a node to facilitate rapid callusing of the wound. This prevents the entry of opportunistic bacteria into the vascular system of the plant.
The Yield:
Harvesting should occur when the plant reaches its peak secondary metabolite concentration. For most herbs and leafy greens, this is in the early morning before evapotranspiration peaks. Use sharp shears to ensure a clean cut that does not crush the xylem and phloem tissues.
Post-harvest handling is critical for "day-one" freshness. Immediately plunge harvested stems into 40-degree Fahrenheit water to remove field heat. This slows the rate of senescence, the biological aging process, and maintains the crispness of the cell walls by preserving high turgor pressure. Store the produce in a high-humidity environment to prevent moisture loss.
FAQ:
Why is galvanisation important for garden benches?
Galvanisation creates a zinc coating that prevents rust and corrosion. This is essential because fertilizers and soil moisture are chemically aggressive. A galvanized top provides a sterile, easy-to-clean surface that prevents the cross-contamination of soil-borne pathogens between different plant batches.
How do I clean a galvanized bench top safely?
Use a mild soap and a soft brush to remove organic debris. Avoid using high-acidity cleaners like vinegar, as they can etch the zinc coating. For disinfection, a diluted bleach solution is effective for killing fungi and bacteria without damaging the metal.
What is the best gauge for a galvanized bench top?
A 16-gauge or 14-gauge steel is recommended for professional use. Thicker gauges provide the structural rigidity needed to support heavy ceramic pots and saturated soil bags without bowing. This ensures a level surface for consistent drainage in seedling trays.
Can I use a galvanized bench for food preparation?
While galvanized steel is excellent for horticultural work, it is not recommended for direct contact with acidic foods. The zinc can leach into the food. For gardening, however, it remains the industry standard for durability and resistance to wet environments.