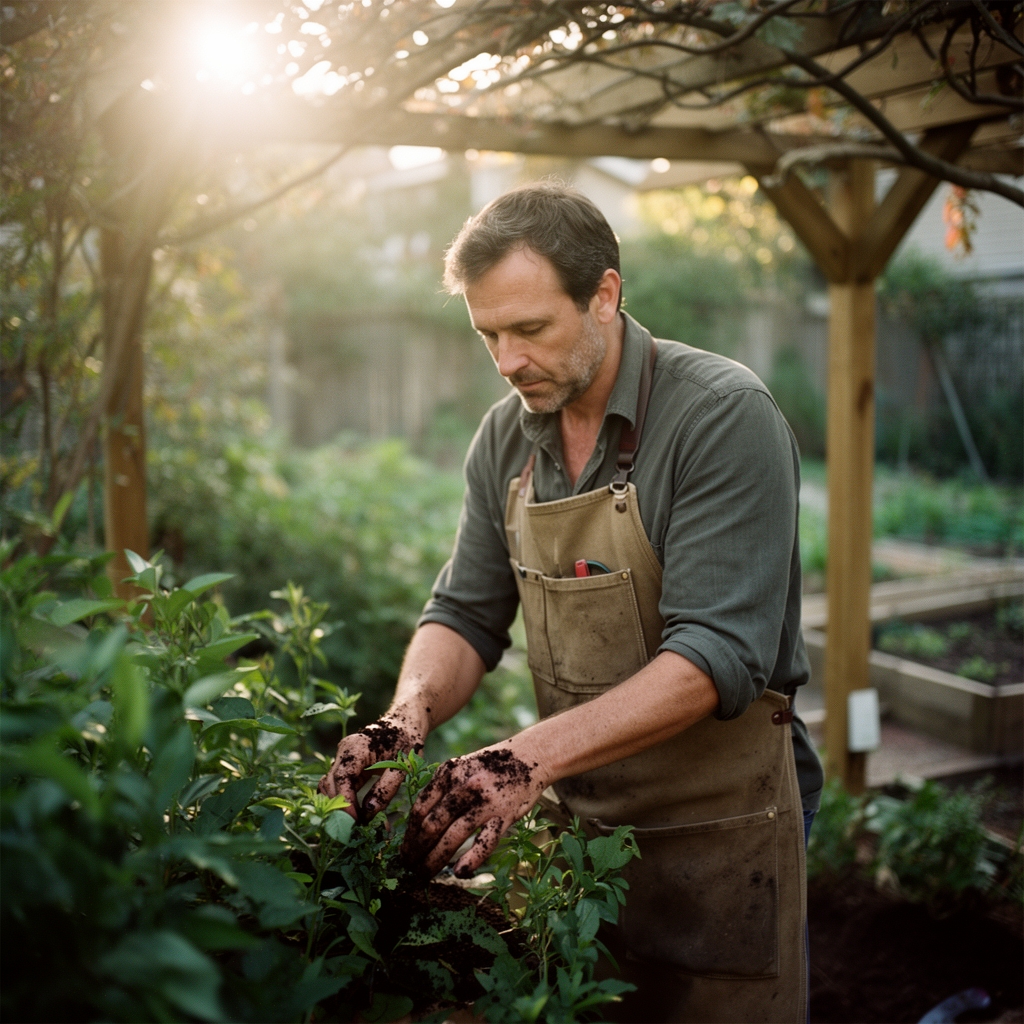
5 Simple Steps to Build Wood Pergolas
The scent of fresh-cut cedar fills the air as saw teeth bite through lumber, releasing aromatic oils that promise decades of outdoor shelter. A well-built pergola transforms unused yard space into a defined garden room, supporting climbing roses, wisteria, or grape vines while filtering harsh afternoon sun. Understanding the steps to build wood pergolas ensures structural integrity and longevity, whether you're constructing a freestanding arbor or attaching a lean-to against your home's southern exposure.
Materials
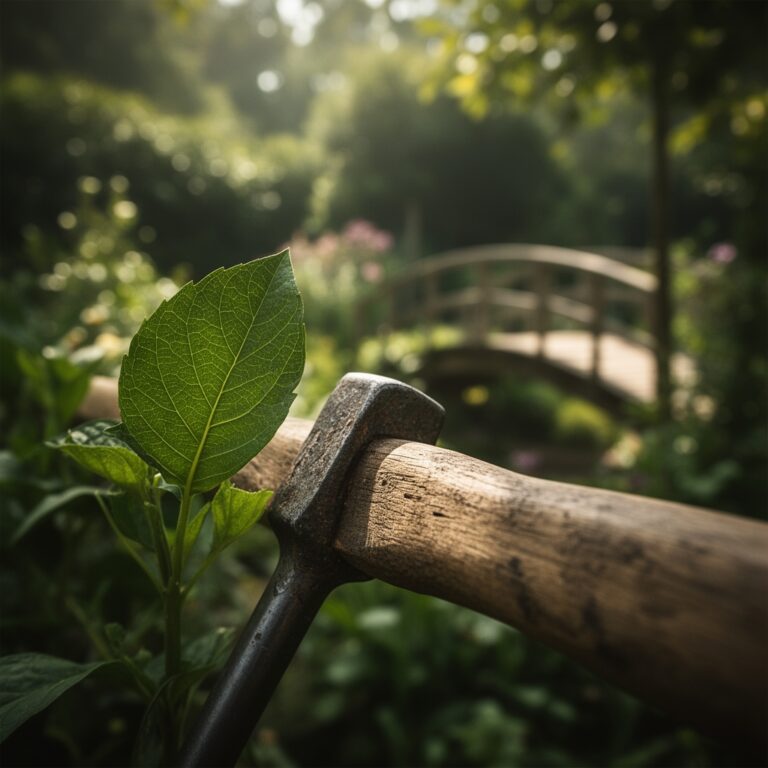
Select pressure-treated pine rated for ground contact (minimum 0.40 pcf retention) for posts, or opt for naturally rot-resistant species like cedar, redwood, or black locust. Cedar heartwood contains thujaplicins, organic compounds that inhibit fungal growth without chemical treatment. For hardware, use hot-dipped galvanized or stainless steel fasteners rated for exterior exposure. Galvanized lag bolts (3/8-inch diameter, 6-inch length) secure beams to posts. Joist hangers rated for your beam dimensions prevent lateral movement.
Post anchors come in two categories: direct-burial (extending 36 inches below grade in zones with freeze-thaw cycles) and surface-mounted brackets paired with concrete footings. Concrete mix should achieve 3,000 psi compressive strength. Calculate one 60-pound bag per cubic foot of hole volume. If planning to grow nitrogen-fixing climbers like wisteria, amend surrounding soil with a 4-4-4 organic fertilizer blend (bone meal, blood meal, and kelp) to support initial establishment, then rely on the plant's rhizobial bacteria to fix atmospheric nitrogen.
For soil pH adjustment near footings, incorporate dolomitic limestone (raises pH) or elemental sulfur (lowers pH) based on a soil test revealing cation exchange capacity. Most ornamental vines thrive between pH 6.0 and 7.0, where nutrient availability peaks.
Timing
Begin construction after the last frost date in USDA Hardiness Zones 3 through 7, typically mid-April through May. In Zones 8 through 10, fall construction (September through November) allows lumber to acclimate during milder weather, reducing warping from moisture fluctuations. Avoid building during periods of heavy rain. Wet lumber dimensions shift as wood dries, compromising joinery precision.
Concrete footings cure to 70% strength within seven days at 70°F, reaching full strength at 28 days. Schedule beam installation no earlier than the seven-day mark. If planting companion vines immediately after construction, coordinate with their dormant season to minimize transplant shock. Bare-root wisteria, for example, establishes best when planted February through March in Zone 7, just as auxin distribution shifts toward root initiation.
Phases
Layout and Footings: Mark post locations with batter boards and mason's line, verifying square corners using the 3-4-5 triangle method (measure 3 feet along one line, 4 feet along the perpendicular, and confirm the diagonal equals 5 feet). Excavate post holes to a depth of one-third the post's above-ground height plus 6 inches for gravel drainage. Install 6 inches of crushed stone, tamp firm, and set posts plumb using a 48-inch level on adjacent faces. Pour concrete, sloping the top 2 inches away from the post to shed water.
Pro-Tip: Coat below-grade post sections with copper naphthenate wood preservative. This fungicide penetrates deeper than surface treatments, extending service life by 15 to 20 years in high-moisture environments.
Beam and Rafter Installation: Once footings cure, cut beams to span post-to-post with a 12-inch overhang on each end. Notch post tops 1.5 inches deep to cradle beams, or use galvanized post caps. Secure with two lag bolts per connection, pre-drilling pilot holes 1/16-inch smaller than bolt diameter to prevent splitting. Space rafters 16 to 24 inches on center, depending on load requirements and desired shade density. A 16-inch spacing blocks approximately 60% of midday sun, ideal for shade-loving hostas or ferns below.
Pro-Tip: Install rafters perpendicular to the sun's east-west path for maximum midday shade. In northern latitudes (above 45°), angle rafters 15 degrees off perpendicular to account for the sun's southern arc.
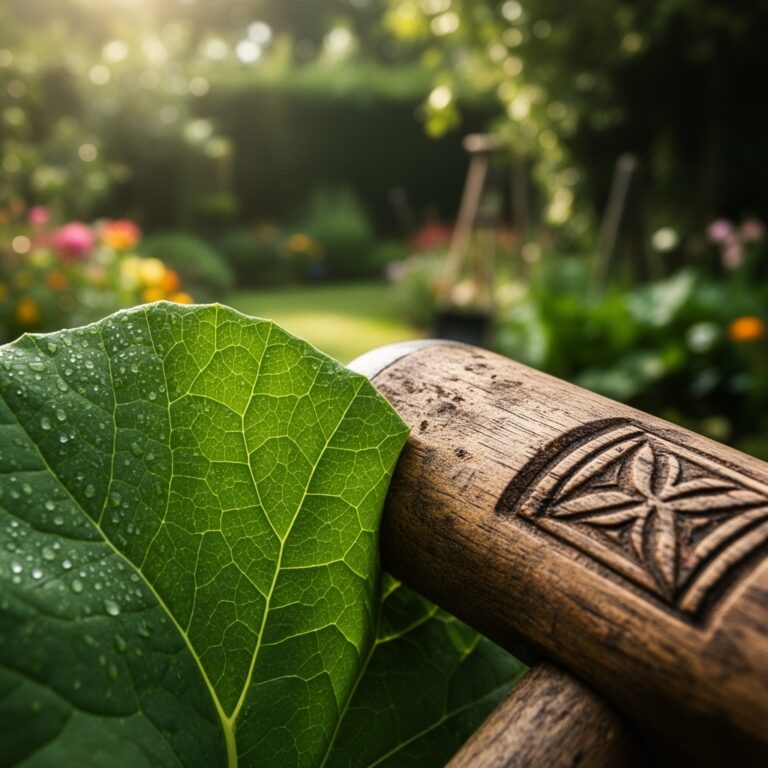
Finishing: Sand all exposed edges to a 1/8-inch radius, eliminating splinter hazards. Apply penetrating oil-based stain or leave untreated for a weathered gray patina. Cedar develops its characteristic silver-gray as UV light degrades lignin, exposing cellulose fibers. This process takes 12 to 18 months in full sun.
Pro-Tip: Inoculate post bases with mycorrhizal fungi spores if planting clematis or honeysuckle nearby. These symbiotic fungi extend effective root surface area by 100 to 1,000 times, improving drought tolerance and phosphorus uptake.
Troubleshooting
Symptom: Posts wobble after concrete cures.
Solution: Concrete likely failed to fill voids around post base. Drill 1-inch diameter holes at 45-degree angles into existing footing, inject hydraulic cement, and brace post for 48 hours.
Symptom: Boards cup or twist within first season.
Solution: Lumber moisture content exceeded 19% at installation. Remove affected boards, kiln-dry to 12-15% moisture, and reinstall with stainless screws to allow minor movement.
Symptom: Carpenter bees bore 1/2-inch holes in rafters.
Solution: Fill existing holes with wood putty mixed with carbaryl dust. Paint all surfaces; carpenter bees avoid finished wood. Install bee traps with 3/8-inch entrance holes nearby.
Symptom: Black sooty mold appears on beams beneath climbing roses.
Solution: Mold feeds on honeydew from aphids. Spray roses with insecticidal soap (2% potassium salts of fatty acids) to eliminate aphids; mold will desiccate and flake off within two weeks.
Maintenance
Apply penetrating wood sealer every 24 months if using cedar or redwood, every 18 months for pressure-treated pine. Clean surfaces with oxygen bleach solution (1 cup per gallon of water) before resealing to remove mildew and tannin stains. Inspect lag bolts annually, retightening any loosened by wood shrinkage. Replace joist hangers showing rust perforation.
Water newly planted companion vines with 1 inch of water weekly during the first growing season, measured with a rain gauge placed at the drip line. Mulch with 3 inches of shredded bark to moderate soil temperature and retain moisture, keeping mulch 6 inches away from post bases to prevent rot.
Prune climbing plants in late winter to remove dead canes and direct growth across rafters. Cut wisteria stems at 45-degree angles 1/4-inch above an outward-facing bud to encourage horizontal branching.
FAQ
How deep should pergola footings extend?
Dig to 36 inches in zones with frost heave, or 6 inches below your region's frost line, whichever is deeper. Footings above the frost line will shift as soil freezes and expands.
What is the ideal pergola post spacing?
Space posts 8 to 12 feet apart. Spans exceeding 12 feet require beams engineered for load, typically laminated veneer lumber rated for 50 psf live load.
Can I attach a pergola directly to my house?
Yes. Bolt a ledger board to the rim joist using 1/2-inch lag bolts every 16 inches. Flash the connection with aluminum Z-flashing to direct water away from the house.
How long does a wood pergola last?
Cedar and redwood pergolas endure 20 to 25 years untreated, 30 to 40 years with biennial sealing. Pressure-treated pine lasts 15 to 20 years with proper maintenance.
What climbing plants work best on pergolas?
Select twining vines like clematis, climbing hydrangea, or trumpet vine for rafter attachment. Avoid heavy woody vines like mature wisteria on structures with rafter spacing exceeding 18 inches, as concentrated weight may cause sagging.