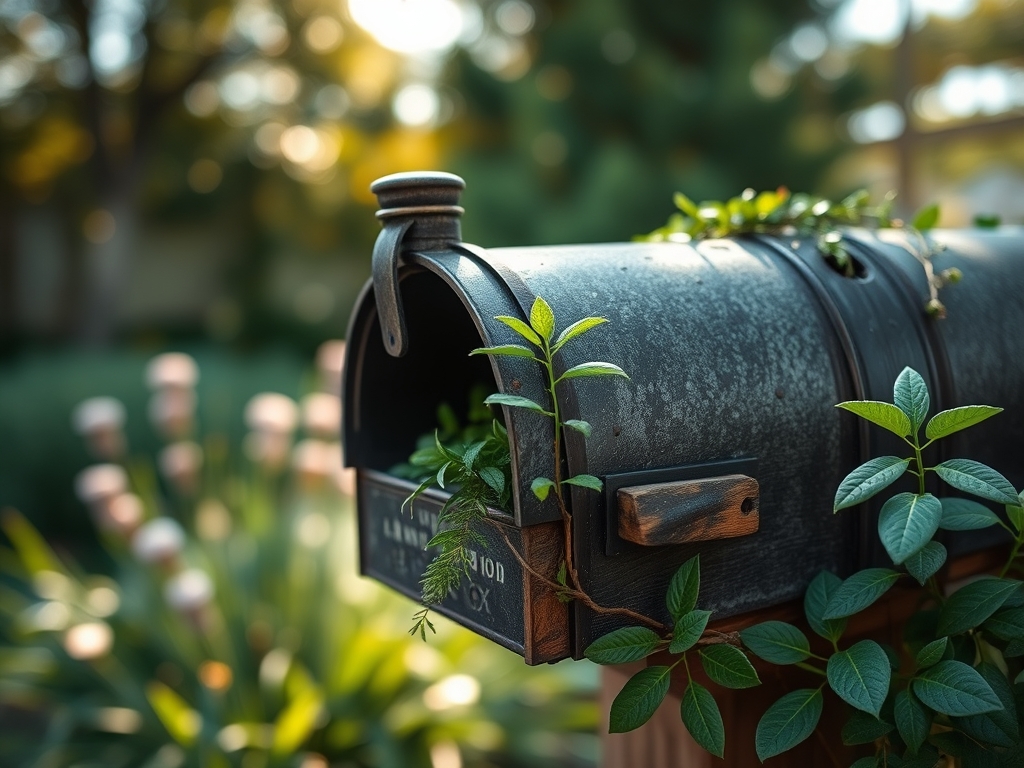
8 Decorative Ways How to Landscape Around a Mailbox
The smell of damp, anaerobic clay gives way to the earthy scent of geosmin as you break the surface of the soil. A healthy plant exhibits high turgor pressure; its cell walls are rigid and distended by internal fluid. When learning how to landscape around a mailbox, you must prioritize the structural integrity of the root zone over mere aesthetics. The mailbox island is a harsh microclimate, often subjected to road salts, heat radiation from asphalt, and heavy compaction. Success requires a mastery of soil physics and plant physiology to ensure the specimens thrive in this high-stress environment.
Materials:
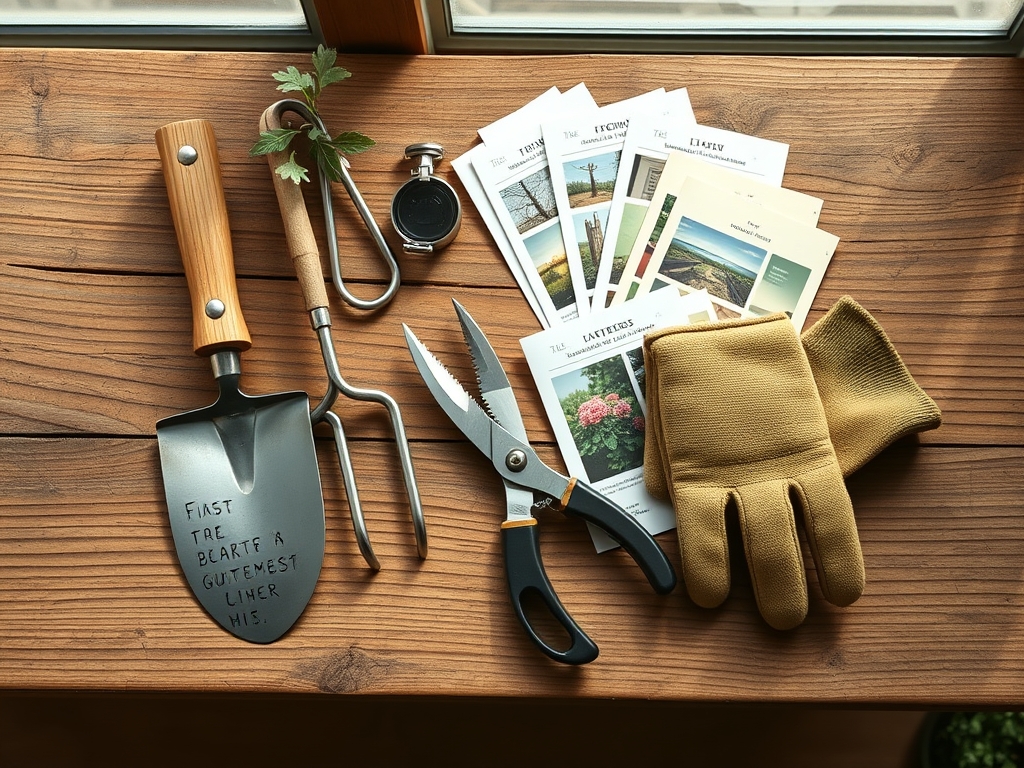
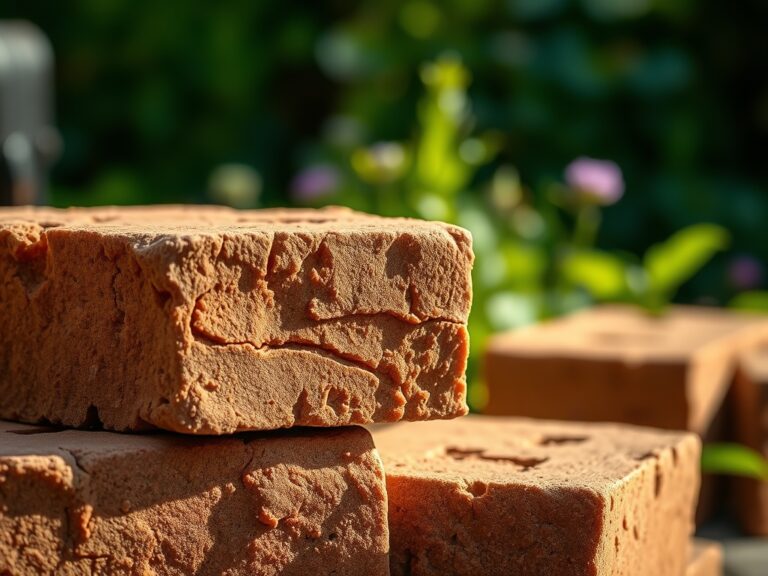
The ideal substrate for a mailbox installation is a **friable loam** with a granular structure that allows for rapid gas exchange. Aim for a soil pH between **6.2 and 6.8** to maximize nutrient availability. At this range, the Cation Exchange Capacity (CEC) is optimized for the uptake of essential minerals.
For initial establishment, incorporate a slow-release fertilizer with an NPK ratio of 10-10-10. Nitrogen (N) drives vegetative growth; Phosphorus (P) is critical for ATP production and root development; Potassium (K) regulates stomatal conductance and water potential. If you are planting woody perennials, shift to a 5-10-10 ratio to discourage excessive succulent growth that is susceptible to frost damage. Ensure the presence of secondary macronutrients, specifically Magnesium (Mg) for chlorophyll synthesis and Calcium (Ca) for cell wall stability.
Timing:
Timing is dictated by the USDA Hardiness Zone and the local frost-free window. In Zones 5 through 7, the optimal planting window opens when soil temperatures consistently reach 55 degrees Fahrenheit. This temperature threshold triggers the transition from dormancy to the vegetative stage.
The biological clock of the plant is governed by photoperiodism. Long-day plants require more than 12 hours of light to initiate flowering, while short-day plants respond to increasing darkness. When planning how to landscape around a mailbox, install perennials at least six weeks before the first hard frost. This allows the root system to establish a rhizosphere before the plant enters senescence, ensuring the crown survives the winter desiccation.
Phases:
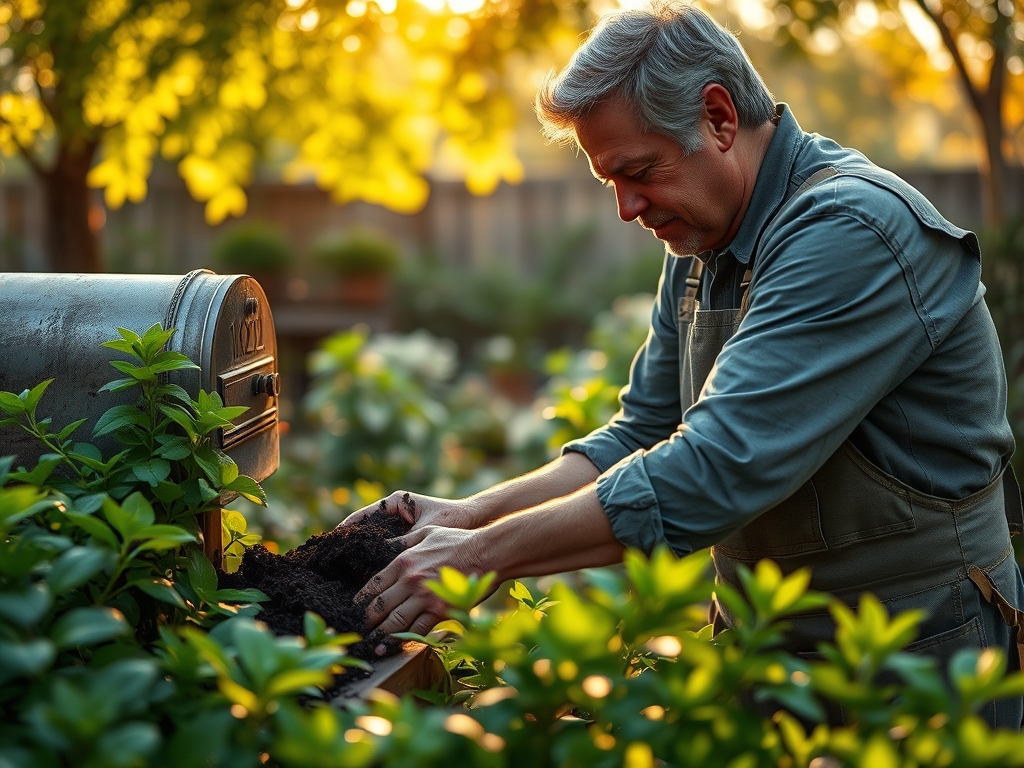
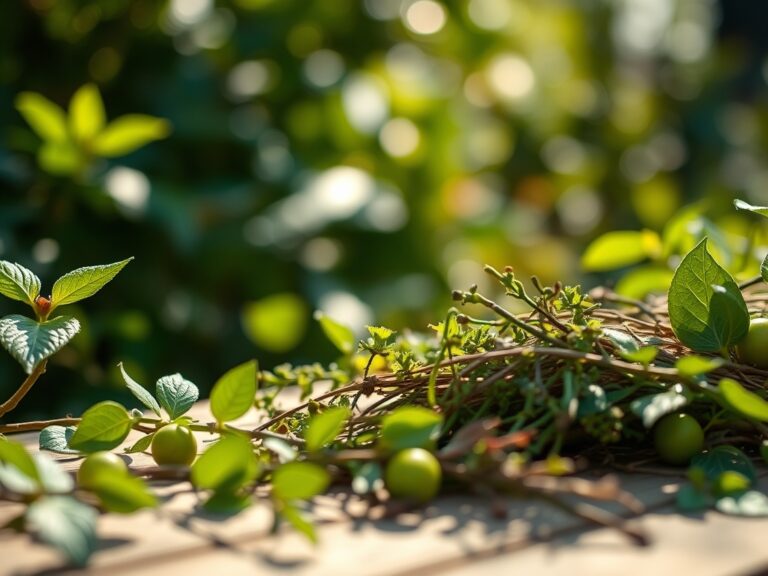
Sowing and Site Preparation
Clear a radius of 36 inches around the mailbox post to eliminate competition from turfgrass. Excavate the soil to a depth of 12 inches. If the soil is heavy clay, incorporate organic matter to improve porosity. Avoid over-tilling, which destroys soil aggregates and leads to compaction.
Pro-Tip: Inoculate the soil with mycorrhizal fungi. This biological symbiosis extends the effective root surface area by hundreds of times, allowing the plant to scavenge phosphorus and water more efficiently in the restricted mailbox zone.
Transplanting
Dig a hole twice as wide as the root ball but no deeper. Ensure the root flare is at or slightly above the soil line. If the plant is pot-bound, use a hori-hori knife to make vertical incisions in the root mass. This breaks the circular growth pattern and encourages lateral root expansion into the surrounding soil.
Pro-Tip: Apply a transplant drench high in Auxins. These phytohormones suppress apical dominance temporarily and stimulate the rapid initiation of adventitious roots, reducing transplant shock and increasing survival rates.
Establishing
Apply a 3-inch layer of organic mulch, such as shredded hardwood, keeping it 2 inches away from the plant stems. This regulates soil temperature and prevents moisture loss through evaporation. Water the area immediately to settle the soil and eliminate air pockets that can desiccate tender root hairs.
Pro-Tip: Monitor the plants for Phototropism. If the mailbox structure casts a significant shadow, plants may lean toward the light source. Pruning the lead shoots can redistribute growth hormones and encourage a more compact, structurally sound form.
The Clinic:
Physiological disorders in mailbox landscapes are often caused by environmental stressors rather than pathogens.
- Symptom: Interveinal chlorosis (yellowing between leaf veins).
Solution: This typically indicates an Iron (Fe) or Magnesium (Mg) deficiency. Check the soil pH. If pH is above 7.2, iron becomes insoluble. Lower the pH using elemental sulfur. - Symptom: Marginal leaf scorch (browning of leaf edges).
Solution: This is a sign of salt toxicity or drought stress. Flush the soil with 3 gallons of water per square foot to leach accumulated road salts from the root zone. - Symptom: Stunted growth and purple-tinted foliage.
Solution: This indicates Phosphorus (P) deficiency, often caused by cold soil temperatures below 50 degrees Fahrenheit. Apply a water-soluble high-phosphorus fertilizer once temperatures rise.
Fix-It for Nitrogen Chlorosis: If the oldest leaves are uniformly pale green or yellow, the plant is scavenging nitrogen for new growth. Apply a quick-release 20-0-0 ammonium sulfate fertilizer at a rate of 0.5 pounds per 100 square feet to restore nitrogen levels.
Maintenance:
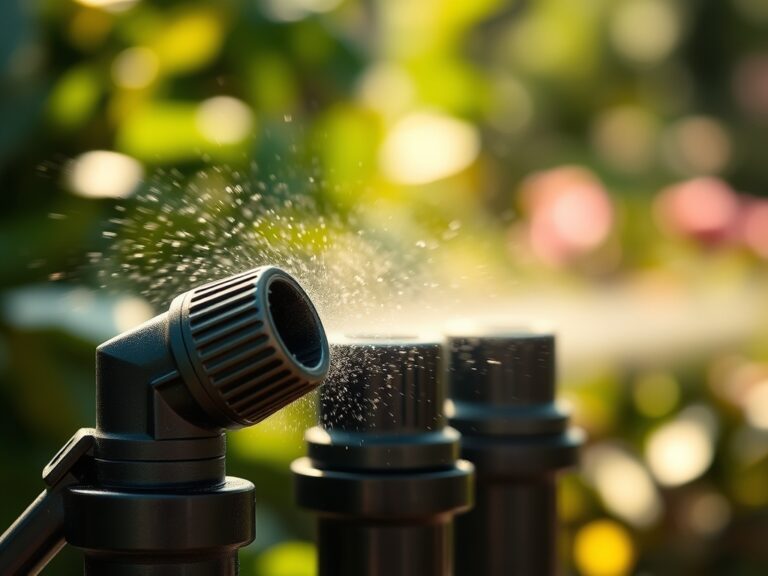
Precision is required for long-term health. Provide 1.5 inches of water per week at the drip line, measured using a rain gauge or a soil moisture meter. Irrigation should occur in the early morning to allow foliage to dry, reducing the risk of fungal proliferation.
Use bypass pruners to remove dead or diseased wood. Make cuts at a 45-degree angle just above a lateral bud to promote outward growth. For herbaceous perennials, deadhead spent blooms to prevent the plant from diverting energy into seed production, which extends the flowering duration. Every three years, use a spade to divide crowded perennials; this prevents nutrient competition and improves airflow within the canopy.
The Yield:
If your mailbox landscape includes cut flowers like Zinnia or Echinacea, harvest when the petals are fully expanded but the central disc is still tight. Use a sharp knife to cut the stem at a node. To maintain "day-one" freshness, immediately submerge the stems in 110-degree Fahrenheit water and store them in a cool, dark location for two hours. This process, known as conditioning, ensures maximum hydration of the vascular tissues before the flowers are displayed.
FAQ:
How do I protect mailbox plants from road salt?
Select salt-tolerant species like Rosa rugosa or Sedum. In late autumn, apply a heavy layer of mulch and consider a burlap screen to intercept salt spray. Flush the soil with fresh water in early spring to dilute accumulated ions.
What is the best way to prevent weeds around the mailbox?
Maintain a 3-inch depth of wood mulch to block light from reaching weed seeds. For persistent perennial weeds, use a hori-hori knife to extract the entire taproot. Avoid tilling, which brings dormant seeds to the surface.
How often should I fertilize mailbox perennials?
Apply a balanced, slow-release fertilizer once in early spring as new growth emerges. Avoid late-summer fertilization, as this stimulates tender growth that cannot harden off before the first frost, leading to significant winter kill and vascular damage.
Can I plant large shrubs next to my mailbox?
Avoid large shrubs that exceed 3 feet in height at maturity. Overgrown plants can obstruct the mail carrier's access and decrease visibility for drivers. Always check local postal regulations regarding height and setback distances before selecting your plant material.
Why are my mailbox plants wilting despite regular watering?
This may be caused by soil compaction or root rot. If the soil is compacted, oxygen cannot reach the roots, leading to cellular hypoxia. Use a garden fork to gently aerate the soil around the drip line without damaging the primary roots.