9 Useful Ways How to Build a Bird Feeding Station
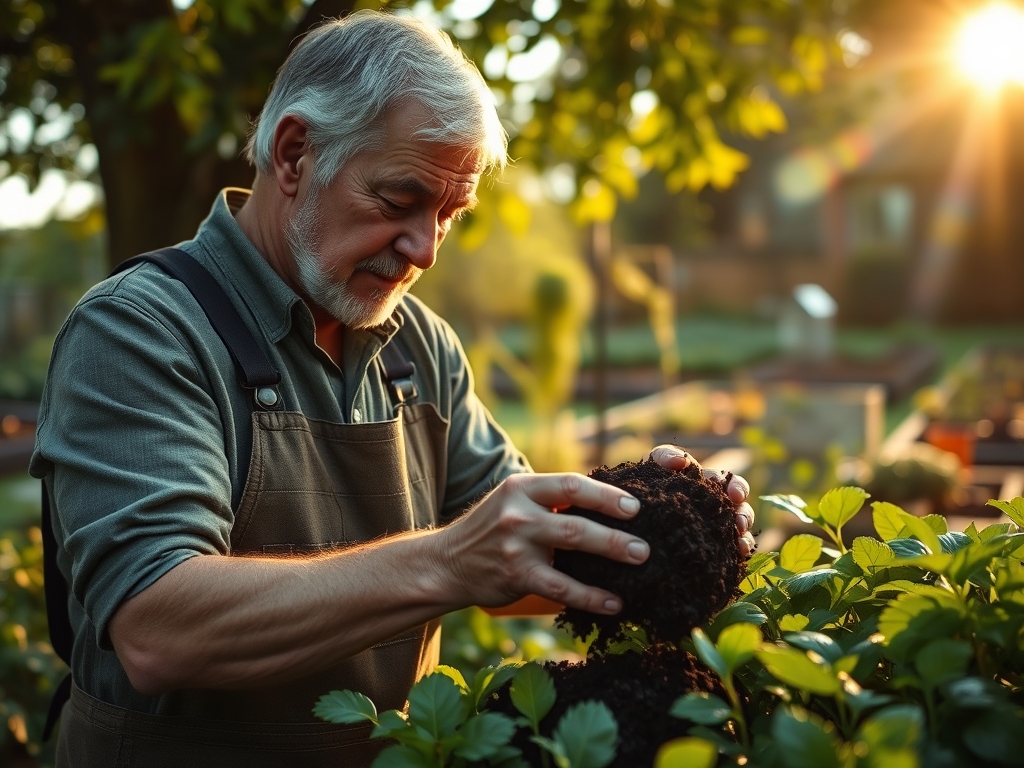
The smell of damp earth and the high turgor pressure of a well hydrated leaf signal a garden in peak physiological health. Achieving this balance requires more than just planting; it involves creating an integrated ecosystem where avian activity supports pest management and nutrient cycling. Learning how to build a bird feeding station is a technical exercise in site selection and structural integrity. A properly installed station acts as a focal point for biodiversity, bringing in species that provide natural predation of phytophagous insects. Success depends on understanding the intersection of avian biology and horticultural stability.
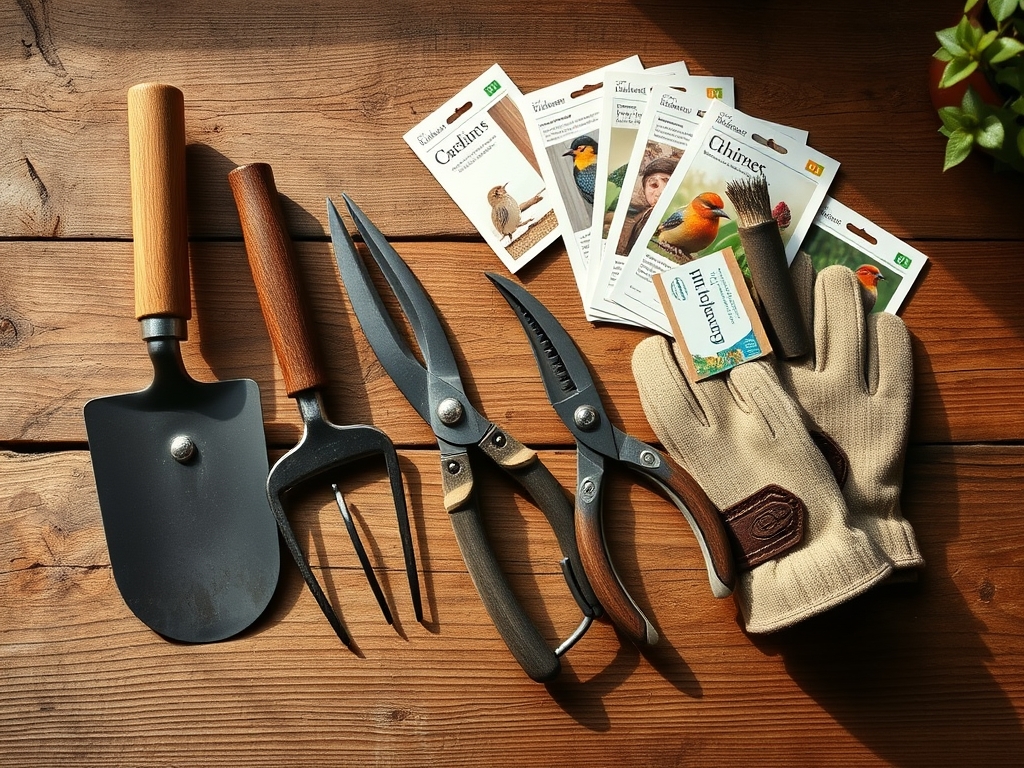
Materials:
The foundation of any structural garden element begins with the substrate. For a permanent bird feeding station, the soil must be a **friable loam** with a high Cation Exchange Capacity (CEC) to support the weight of the post and any surrounding sacrificial plantings. The ideal soil pH for the surrounding rhizosphere should be maintained between **6.2 and 6.8**. This range ensures that essential micronutrients remain bioavailable to the plants that provide cover for the birds.
Specific NPK ratios are critical for the vegetation surrounding the station. Use a 5-10-10 fertilizer for woody shrubs near the base to encourage strong root development and lignification without overstimulating soft, vegetative growth that attracts aphids. The physical texture of the soil should allow for rapid drainage to prevent anaerobic conditions around the post base. Avoid heavy clays that exhibit high plasticity when wet; instead, incorporate organic matter to achieve a granular structure that resists compaction.
Timing:
Timing the installation of your bird feeding station aligns with the biological clock of your local ecosystem. In Hardiness Zones 5 through 8, the primary installation window occurs during the dormant season, typically between the first hard frost and the spring thaw. This prevents soil compaction that occurs when working wet, active soil.
The biological clock of the garden dictates that structural changes should be completed before the transition from the vegetative stage to the reproductive stage in local flora. Installing the station in late winter ensures that avian populations establish territory before the spring nesting season begins. Monitor your local frost-date windows; the soil should be workable but cold enough that the microbial activity in the rhizosphere is minimal, preventing the spread of soil-borne pathogens during the digging process.
Phases:
Sowing the Foundation
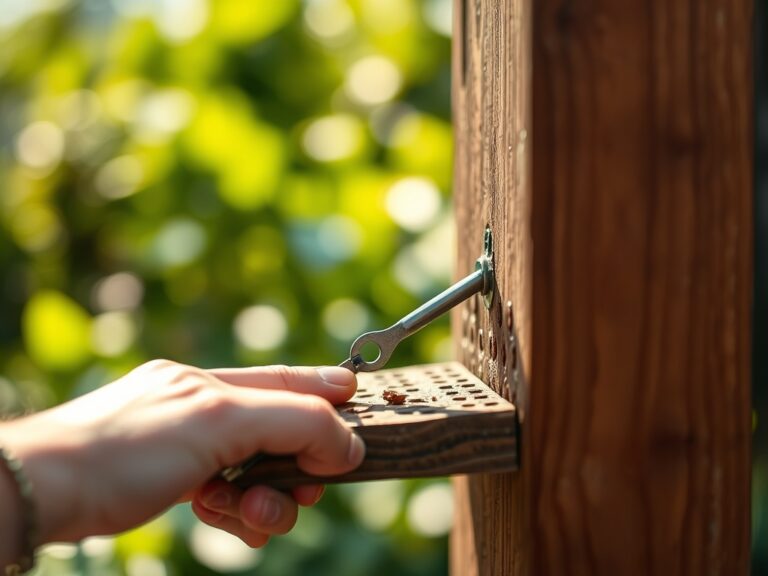
Excavate a hole to a depth of 24 inches to ensure the post sits below the frost line. This prevents heaving during freeze-thaw cycles. Backfill the bottom 4 inches with crushed stone to facilitate drainage away from the wood or metal.
Pro-Tip: Use a soil moisture meter to ensure the ground is not at field capacity before digging. Digging in saturated soil destroys soil aggregates and leads to long term compaction, which inhibits oxygen diffusion to nearby roots.
Transplanting Cover Species
Once the station is upright, plant native shrubs within a 5 foot radius. These plants provide essential thermal cover and protection from predators. Ensure the root balls are placed so the crown is level with the soil surface to prevent stem rot.
Pro-Tip: Dip the root systems in a mycorrhizal inoculant before planting. This symbiotic relationship increases the surface area for water absorption and improves the plant's ability to uptake phosphorus, which is vital for the energy transfer required during the flowering phase.
Establishing the Micro-Ecosystem
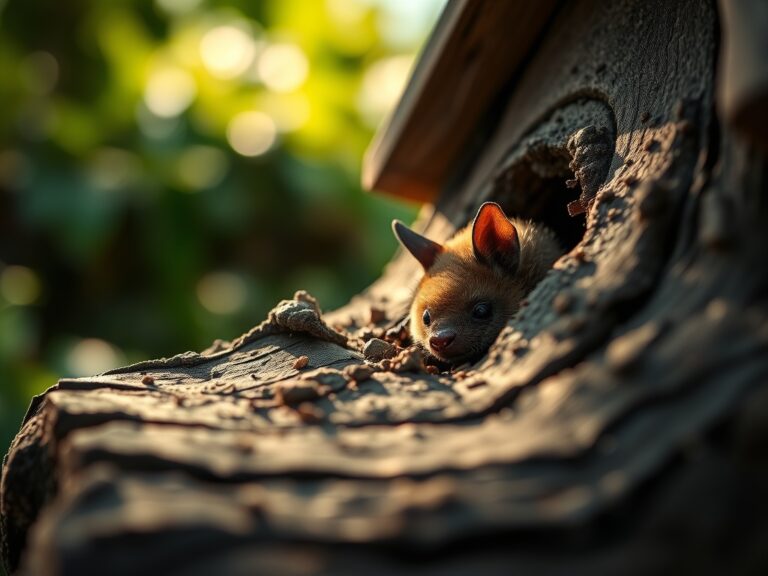
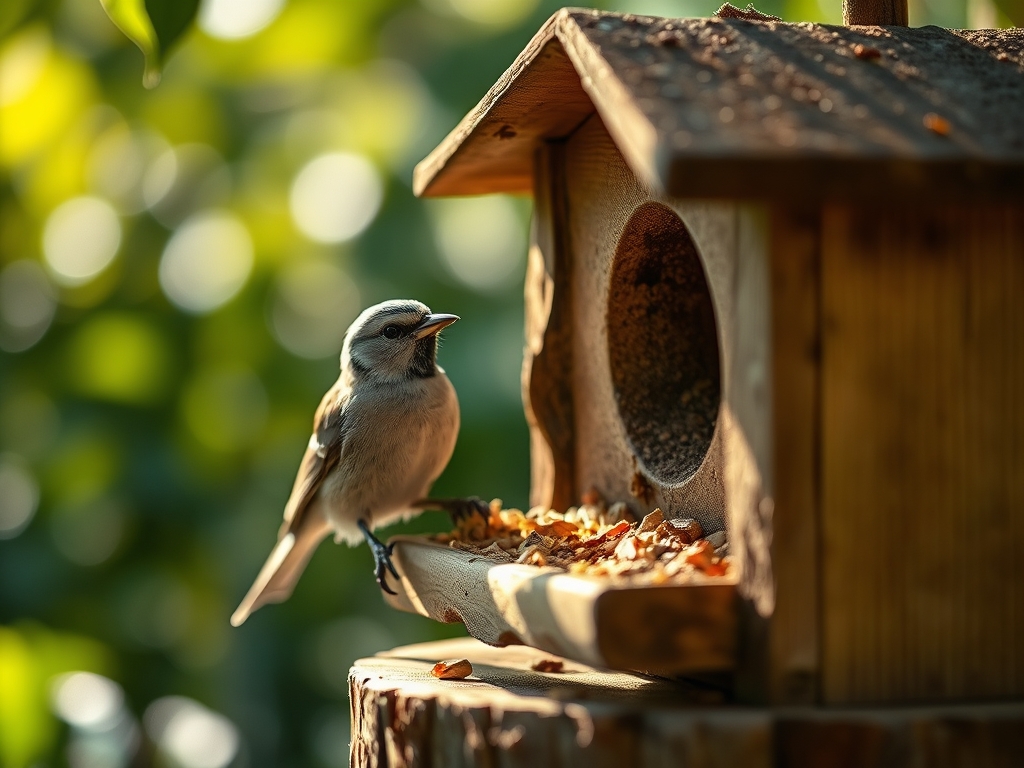
Install a variety of feeder types, including hopper, tube, and suet feeders, at heights ranging from 5 to 7 feet. This vertical stratification allows different species to feed simultaneously without competitive exclusion.
Pro-Tip: Position the station to maximize photoperiod exposure for the birds while maintaining shade for the feeders to prevent seed spoilage. Birds utilize the sun for thermoregulation, and proper placement leverages their natural circadian rhythms to increase visitation rates.
The Clinic:
Physiological disorders in the surrounding landscape can indicate issues with the feeding station's placement or maintenance.
Symptom: Yellowing of older leaves with green veins (Interveinal Chlorosis).
Solution: This is often a Magnesium deficiency. Apply Epsom salts at a rate of 1 tablespoon per gallon of water to the root zone. High bird traffic can sometimes alter soil pH through waste accumulation, locking out this nutrient.
Symptom: Stunted growth and dark purple tint on foliage.
Solution: This indicates a Phosphorus deficiency, common in cold, wet soils. Ensure the area around the station has adequate drainage and apply a high-phosphate bone meal to the top 2 inches of soil.
Symptom: Rapid wilting despite moist soil.
Solution: This suggests root rot (Phytophthora). The soil around the station has become too compacted. Use a hori-hori knife to gently aerate the soil around the base of nearby plants without severing primary lateral roots.
Fix-It for Nitrogen Chlorosis: If plants show a uniform pale green or yellow color, they lack Nitrogen. Apply a blood meal or a high-nitrogen liquid fertilizer (20-0-0) at half strength to quickly restore chlorophyll production and turgor.
Maintenance:
A bird feeding station requires rigorous maintenance to remain a healthy asset to the garden. Use a soil moisture meter weekly to ensure the surrounding plants receive exactly 1.5 inches of water per week at the drip line. Overwatering leads to leaching of mobile nutrients like Nitrogen and Potassium.
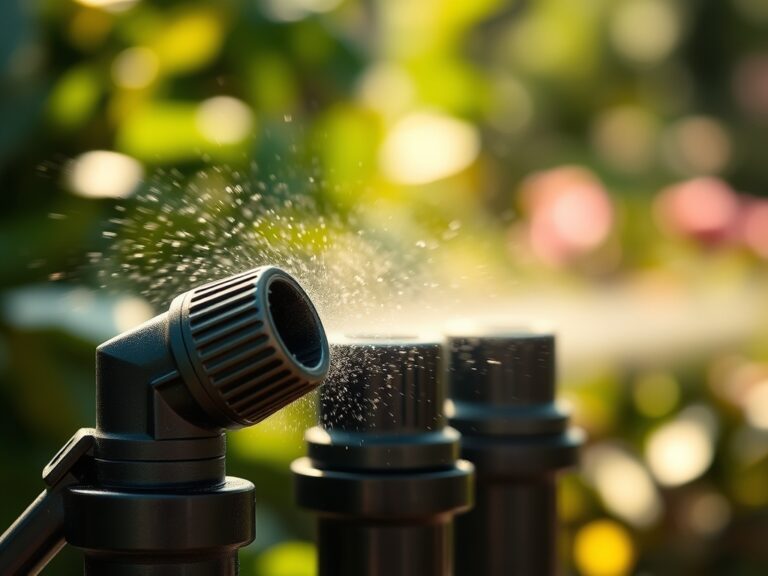
Clean the feeders every 14 days using a 10 percent bleach solution to prevent the spread of avian diseases. Use bypass pruners to maintain a clear flight path for the birds, removing any dead or crossing branches from nearby shrubs. This encourages auxin suppression in the lower buds, leading to a bushier, more protective habit in the cover plants. Inspect the post base for signs of decay or shifting using a hori-hori knife to probe the soil-to-wood interface.
The Yield:
While the yield of a bird feeding station is not a caloric crop for humans, the "harvest" is the reduction in pest pressure. By attracting insectivorous birds during the peak growing season, you reduce the population of beetles, caterpillars, and aphids. To maximize this biological control, maintain the station year-round. If you grow sacrificial sunflowers or millet nearby, harvest the seed heads once they reach senescence (turning brown and dry). Store them in a cool, dry place at 40 degrees Fahrenheit to maintain "day-one" freshness and high oil content for winter supplemental feeding.
FAQ:
How deep should I bury the feeding station post?
Bury the post at least 24 inches deep. In colder climates, ensure the base sits below the local frost line to prevent soil heaving. This provides structural stability against wind loads and heavy snow.
What is the best soil for surrounding plants?
A friable loam with a pH of 6.2 to 6.8 is ideal. This allows for optimal nutrient uptake and drainage. High organic matter content improves the Cation Exchange Capacity, supporting vigorous plant growth.
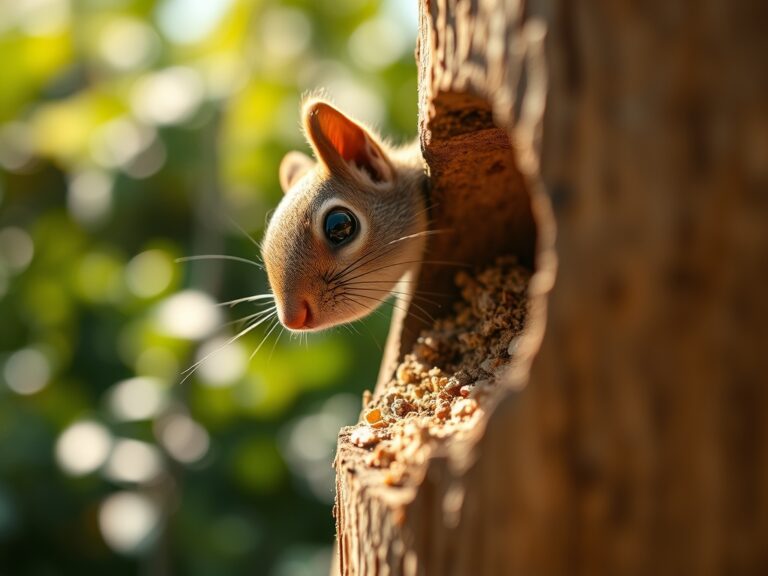
How do I prevent squirrels from reaching the feeders?
Install a baffle at least 4 feet above the ground. Ensure the station is placed 10 feet away from jumping points like fences or trees. This distance exceeds the average horizontal leap of most rodent species.
Can bird waste damage my garden soil?
In concentrated amounts, bird droppings can lower soil pH and create localized Nitrogen toxicity. Regularly rake the area under the feeders and incorporate garden lime if the soil becomes excessively acidic over time.