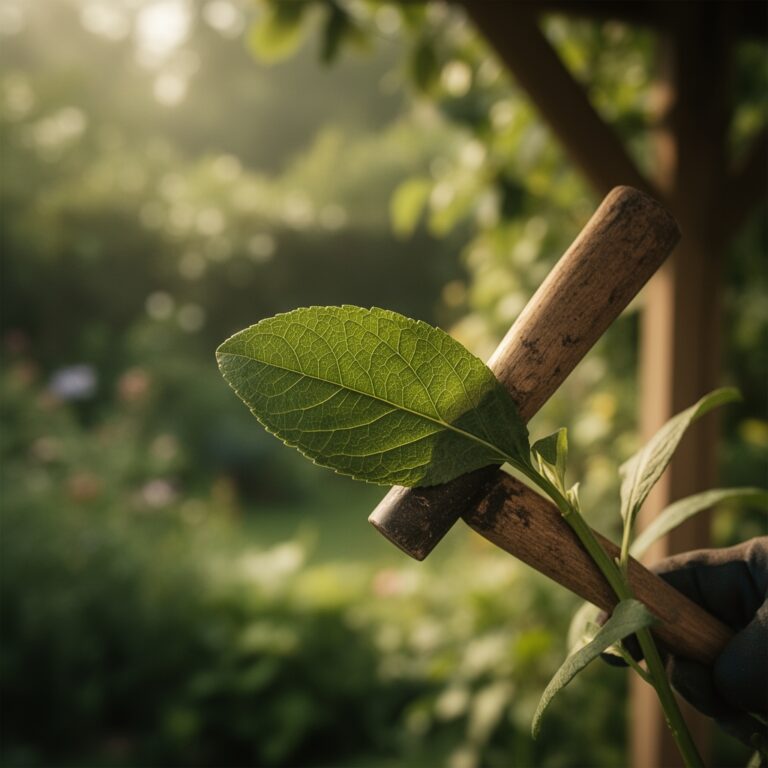
7 Pro Tips How to Use Nursery Pots
The moment you lift a seedling by its stem instead of the root ball, you compress vascular tissue and set back transplant establishment by 7 to 10 days. Learning how to use nursery pots correctly transforms a routine task into a precise horticultural operation that maximizes root architecture, reduces transplant shock, and synchronizes plant development with your growing calendar. Nursery pots are not passive containers. They are active tools that regulate moisture, temperature, and root pruning if you understand their material properties and drainage geometry.
Materials
Nursery pots fall into three material classes, each with distinct thermal and moisture characteristics. Black polyethylene pots absorb solar radiation and can raise root-zone temperatures by 15 to 20 degrees Fahrenheit above ambient air in direct sun. White or tan pots reflect 60 to 70 percent of incident light and maintain cooler root environments. Fabric pots permit lateral air exchange, pruning roots through desiccation at the fabric interface and increasing fibrous root density by 30 to 40 percent compared to rigid plastic.
Pair pot selection with substrate chemistry. A soilless mix of 60 percent peat, 30 percent perlite, and 10 percent composted bark offers a cation exchange capacity of 80 to 120 milliequivalents per 100 grams and a starting pH of 5.8 to 6.2. Incorporate a balanced 4-4-4 organic meal at 2 tablespoons per gallon of media to supply slow-release nitrogen, phosphorus, and potassium over 8 to 10 weeks. For acid-loving species such as blueberries or rhododendrons, adjust to pH 4.5 to 5.5 using elemental sulfur at 1 teaspoon per gallon.
Include mycorrhizal fungi inoculant at seeding or first transplant. Endomycorrhizae colonize 80 percent of agricultural and ornamental species, extending effective root surface area by 10 to 100 times and enhancing phosphorus uptake in low-fertility substrates.
Timing
Hardiness zone and last frost date govern when to begin nursery pot operations. In USDA Zone 5, with an average last frost of May 15, start warm-season annuals such as tomatoes and peppers indoors 6 to 8 weeks prior, around March 20 to April 1. Cool-season brassicas tolerate light frost and can be started 8 to 10 weeks earlier, by February 15.
Perennials require stratification periods that mimic winter dormancy. Cold-stratify seeds of Echinacea or Rudbeckia at 35 to 40 degrees Fahrenheit for 30 days in moist sand before sowing into nursery pots. This satisfies embryo dormancy and synchronizes germination within a 5-day window.
Monitor soil temperature with a probe thermometer. Most vegetable seeds germinate optimally at substrate temperatures between 70 and 85 degrees Fahrenheit. Root development slows by 50 percent below 60 degrees, and fungal pathogens such as Pythium proliferate in cold, saturated media.
Phases
Sowing: Fill pots to within 0.5 inch of the rim to allow adequate water reservoir. Firm the substrate gently to eliminate large air pockets but preserve 15 to 25 percent porosity. Sow seeds at a depth equal to two times their diameter. Press fine seeds such as lettuce or petunia onto the surface and mist lightly rather than burying them, as they require light for germination.
Pro-Tip: Apply a 0.25-inch layer of milled sphagnum moss over the seed surface to suppress damping-off fungi while maintaining moisture. Sphagnum has natural antifungal properties and a pH of 3.5 to 4.5 that inhibits Rhizoctonia and Fusarium.
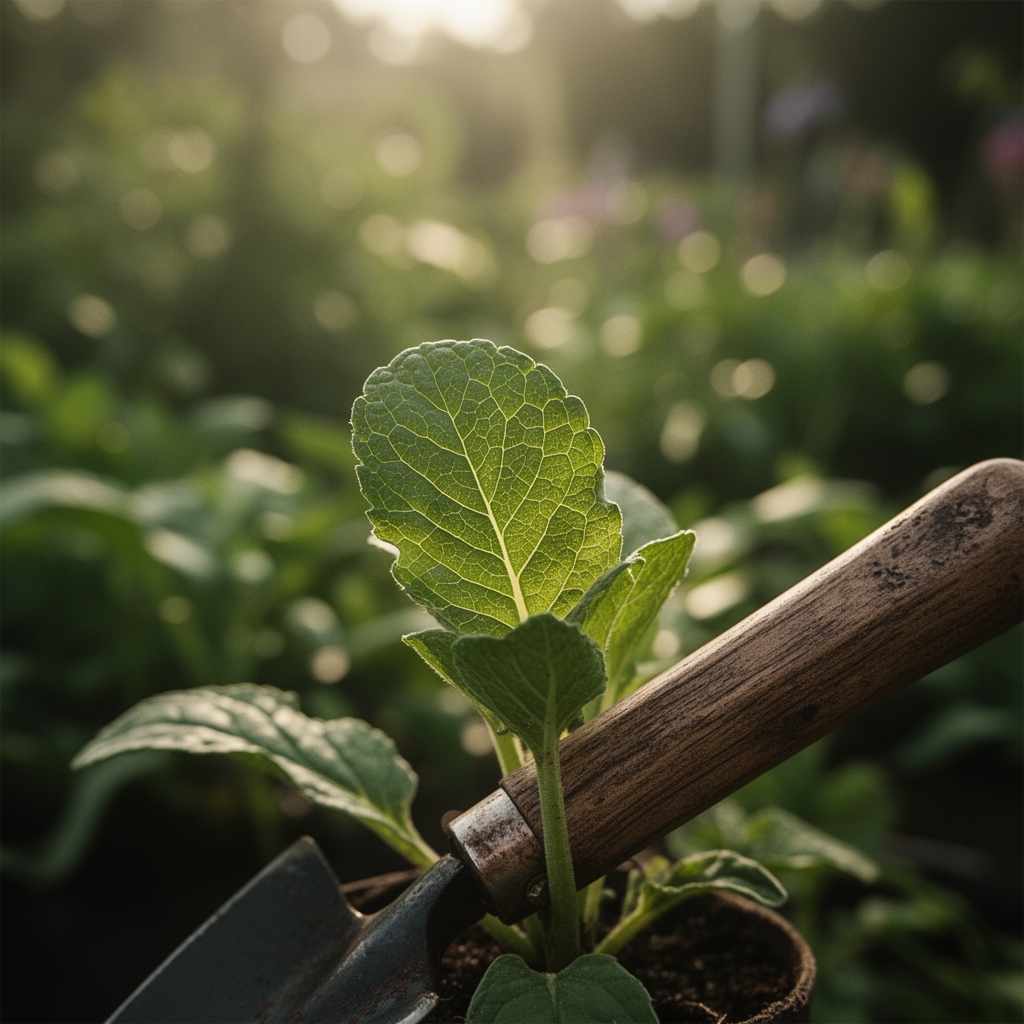
Transplanting: Begin hardening off seedlings 7 to 10 days before final transplant. Gradually increase outdoor exposure by 2 hours daily, starting in shade and moving to filtered sun. This thickens the cuticle layer and increases epicuticular wax, reducing transplant water loss by 20 to 30 percent.
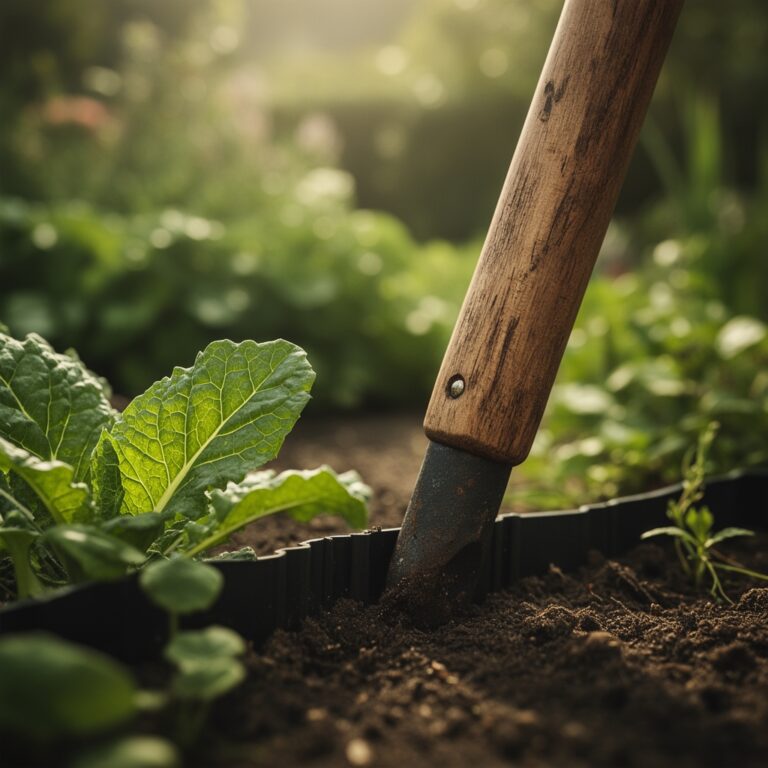
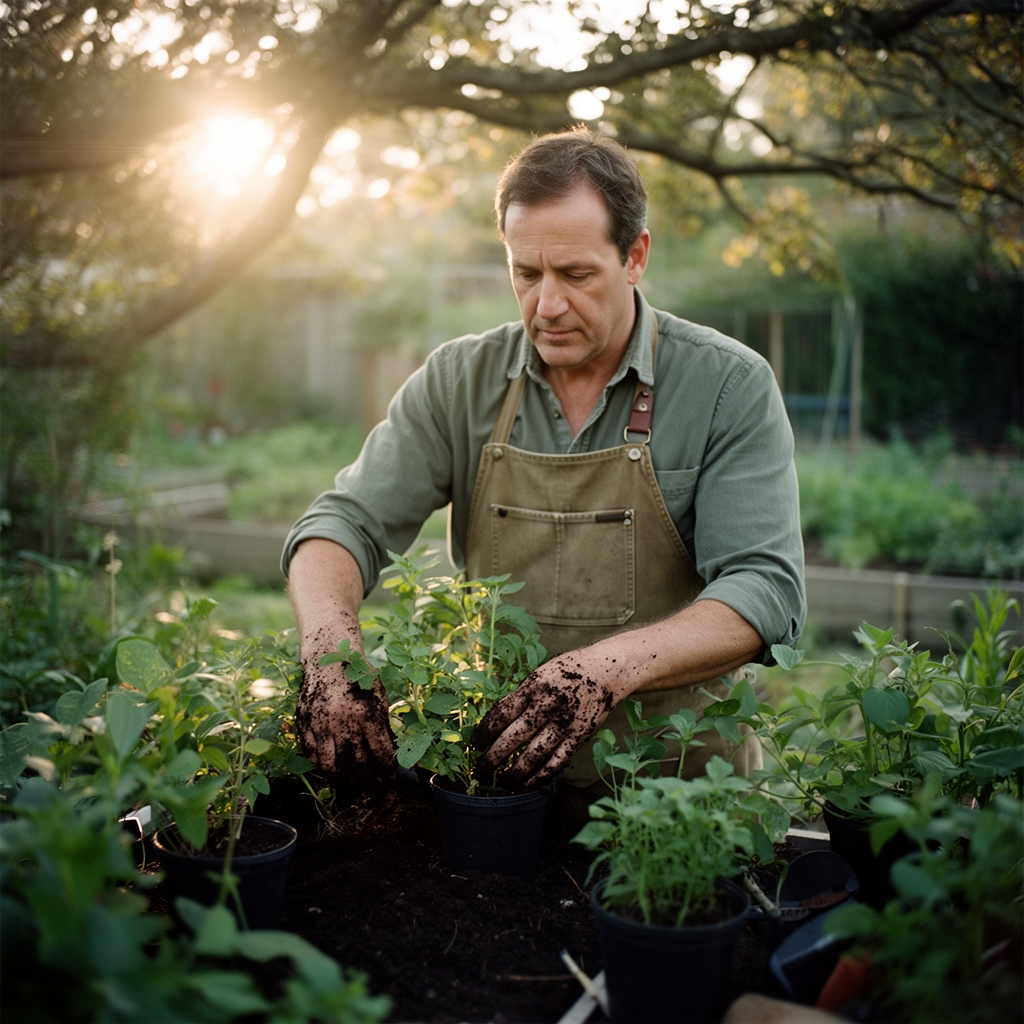
When transplanting into larger nursery pots, handle only the root ball. Grip the base of the stem cluster gently and invert the pot, tapping the rim to release the root mass. Inspect for circling roots and tease them outward or score the root ball vertically with a clean blade at four points to redirect auxin distribution and stimulate lateral branching.
Pro-Tip: Water the seedling 1 hour before transplant to ensure the root ball holds together and reduce mechanical root damage by up to 40 percent.
Establishing: Place pots on gravel or slatted benches to ensure drainage and air pruning of roots that exit drainage holes. Elevating pots by 1 to 2 inches prevents waterlogging and root disease. In hot climates, group pots to create a microclimate that reduces individual pot temperature by 5 to 8 degrees through mutual shading.
Pro-Tip: Rotate pots 90 degrees every 5 days to equalize light exposure and prevent phototropic lean. This maintains symmetrical canopy architecture and uniform stem caliper.
Troubleshooting
Symptom: Yellow lower leaves with green veins, slow growth.
Solution: Indicates iron chlorosis in alkaline substrates. Drench with chelated iron at 1 tablespoon per gallon or lower pH to 6.0 to 6.5 using sulfur.
Symptom: White crust on pot rim and substrate surface.
Solution: Soluble salt accumulation from over-fertilization or evaporative concentration. Leach pots with clear water equal to twice the pot volume, allowing full drainage between flushes.
Symptom: Wilting despite moist substrate, blackened roots.
Solution: Root rot caused by Pythium or Phytophthora. Remove affected plants, discard substrate, sterilize pots with 10 percent bleach solution, and improve drainage by adding 20 percent coarse perlite.
Symptom: Fungus gnats hovering near pots.
Solution: Larvae feed on organic matter and fine roots. Allow top 1 inch of substrate to dry between waterings and apply Bacillus thuringiensis israelensis (Bti) drench at label rate.
Symptom: Stunted growth, roots circling pot perimeter.
Solution: Root-bound condition. Transplant into a pot 2 to 4 inches larger in diameter or score root ball and transplant into ground.
Maintenance
Water when the substrate surface feels dry 0.5 inch below the surface. Apply 1 inch of water per pot, measured by collecting runoff in a pan and ensuring 10 to 15 percent leaches from drainage holes. This prevents salt buildup and ensures oxygen reaches the root zone.
Fertilize every 14 days with a water-soluble 20-20-20 formula at half strength, or 1 teaspoon per gallon. Alternate with a high-nitrogen 30-10-10 during vegetative growth phases for leafy crops.
Prune apical meristems when seedlings reach 4 to 6 inches to encourage lateral branching. Remove the top 0.25 inch of stem tissue with a clean blade at a 45-degree angle just above a node.
FAQ
How often should I water nursery pots?
Water when the top 0.5 inch of substrate is dry. Frequency depends on pot size, plant species, and temperature. Small pots may require daily watering in 85-degree heat.
Can I reuse nursery pots?
Yes. Wash with warm soapy water and soak in a 10 percent bleach solution for 10 minutes. Rinse thoroughly to remove residual chlorine.
What size nursery pot should I use for seedlings?
Start seeds in 2-inch pots or cell trays. Transplant to 4-inch pots when the first true leaves appear, typically 10 to 14 days after germination.
Do drainage holes matter?
Yes. Minimum four 0.25-inch holes per 6-inch pot ensure adequate drainage and oxygen diffusion. Poor drainage causes anaerobic conditions and root death.
Should I use saucers under nursery pots?
Use saucers to protect surfaces but empty them within 30 minutes of watering to prevent water reabsorption and root rot.