6 Basic Steps to Care for Philodendron Birkin
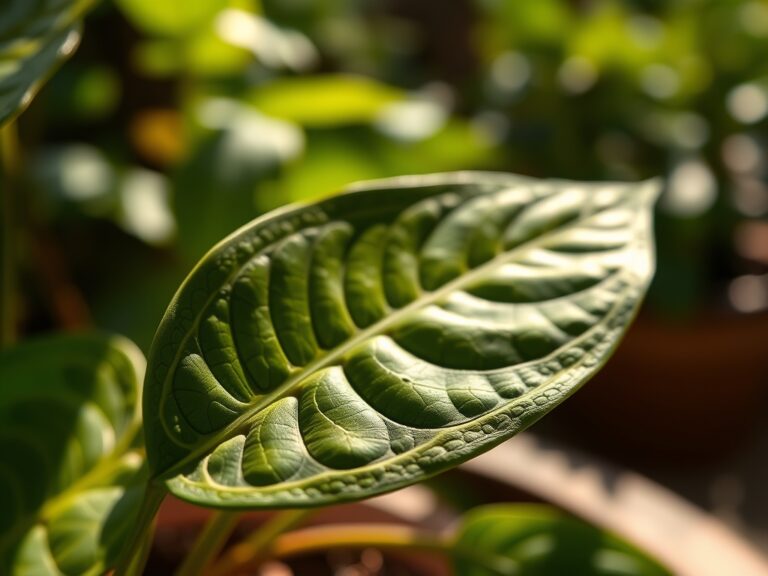
Crushing a handful of well-draining substrate reveals the earthy scent of geosmin; a chemical byproduct of Actinobacteria indicating a healthy soil microbiome. A thriving Philodendron Birkin displays high turgor pressure within its petioles; the leaves feel rigid and thick rather than flaccid. Mastering the steps to care for philodendron birkin requires understanding its mutation from the Philodendron Rojo Congo. This chimeric cultivar demands precise environmental stability to maintain its white pinstripe variegation and structural integrity.
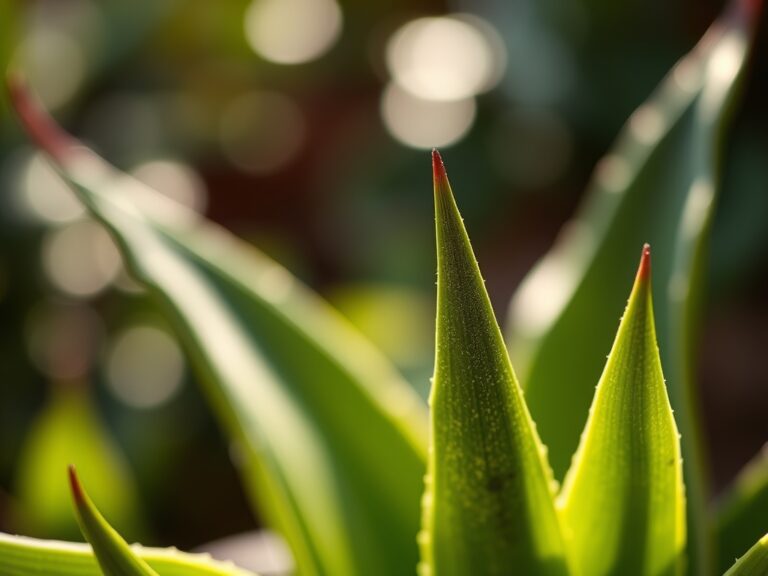
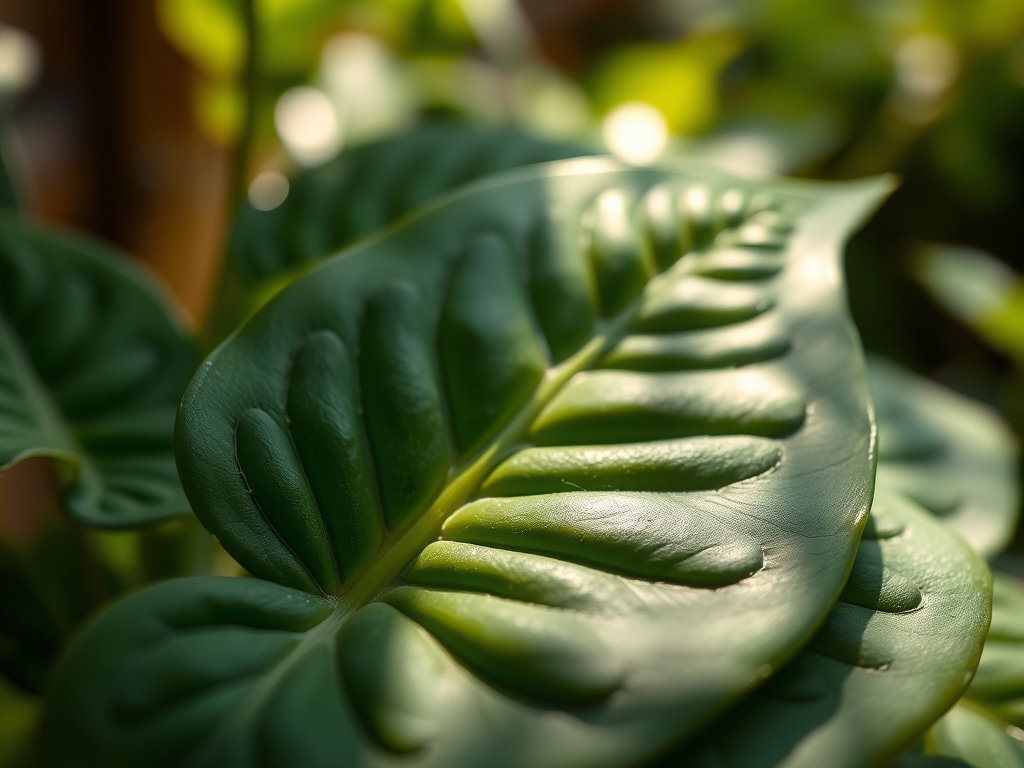
Maintaining this plant involves managing light intensity and cellular hydration. If the plant experiences low light, it reverts to solid green to maximize chlorophyll production for survival. Conversely, excessive light destroys the delicate white tissues through photo-oxidation. You must balance the metabolic rate of the plant with its nutrient uptake. A successful specimen demonstrates a compact growth habit with short internodes and waxy, reflective leaf surfaces. This guide provides the technical protocols required to sustain this specific aroid in a controlled indoor environment.
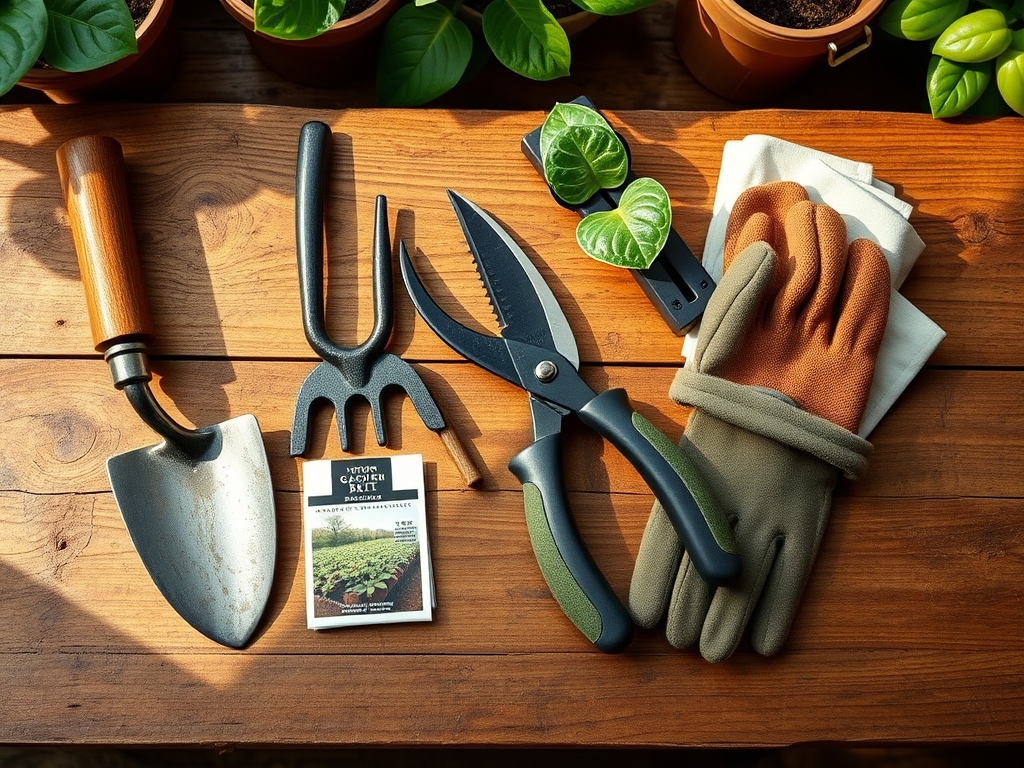
Materials:
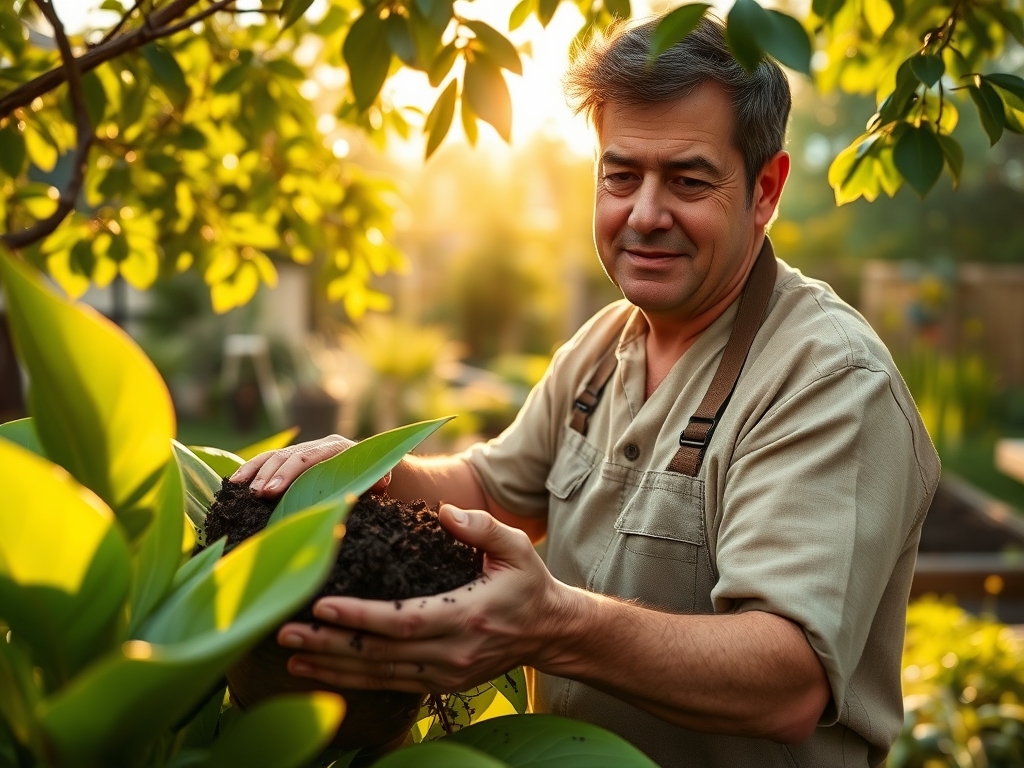
The substrate is the foundation of the rhizosphere. Philodendron Birkin requires a pH range of 5.8 to 6.5. This acidity ensures that micronutrients like iron and manganese remain bioavailable. The physical texture must be a friable loam with high porosity to prevent anaerobic conditions.
- Substrate Composition: Mix 40 percent orchid bark, 30 percent coco coir, 20 percent perlite, and 10 percent worm castings. This provides a high Cation Exchange Capacity (CEC) of approximately 15 to 25 meq/100g.
- Fertilizer: Use a water-soluble fertilizer with an NPK ratio of 3-1-2. This ratio supports vegetative leaf production without over-stimulating the root system to the point of pot-binding.
- Container: A pot with at least three drainage holes is mandatory. Terracotta is preferred for its gas exchange properties; however, plastic or glazed ceramic works if the drainage is sufficient.
- Testing Equipment: A digital pH meter and a calibrated light meter measuring in Foot-Candles (FC) or Lux.
Timing:
Philodendron Birkin is native to tropical climates and is restricted to USDA Hardiness Zones 10 through 12. In temperate regions, it must remain indoors once ambient temperatures drop below 55 degrees Fahrenheit. The biological clock of this plant is driven by the photoperiod. During the spring and summer (March to September), the plant enters its primary vegetative stage. Growth slows significantly during the winter months as the plant enters a period of relative dormancy.
The ideal temperature range for cellular respiration is between 65 and 85 degrees Fahrenheit. If temperatures exceed 90 degrees, the plant increases its transpiration rate to cool itself; this can lead to leaf tip burn if the humidity is below 50 percent. Aim to repot or propagate during the spring equinox to take advantage of the natural increase in auxins and cytokinin levels.
Phases:
Sowing and Propagation
Philodendron Birkin is rarely grown from seed due to its chimeric nature; seeds often revert to the parent Rojo Congo. Propagation is best achieved via stem cuttings with at least one node. Place the cutting in a medium with a temperature of 72 degrees Fahrenheit.
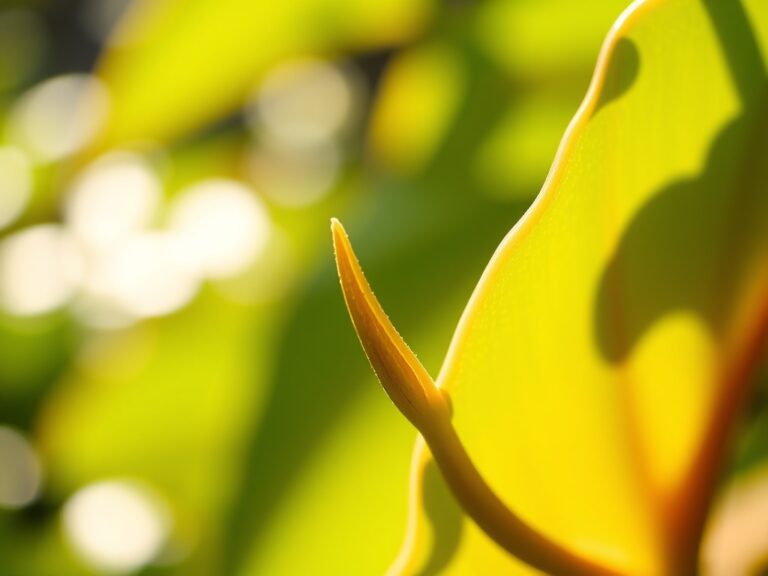
Pro-Tip: Ensure the node is submerged while the leaf remains dry. This stimulates adventitious root growth through the accumulation of auxins at the cut site; a biological response to wounding that triggers undifferentiated cells to become root tissue.
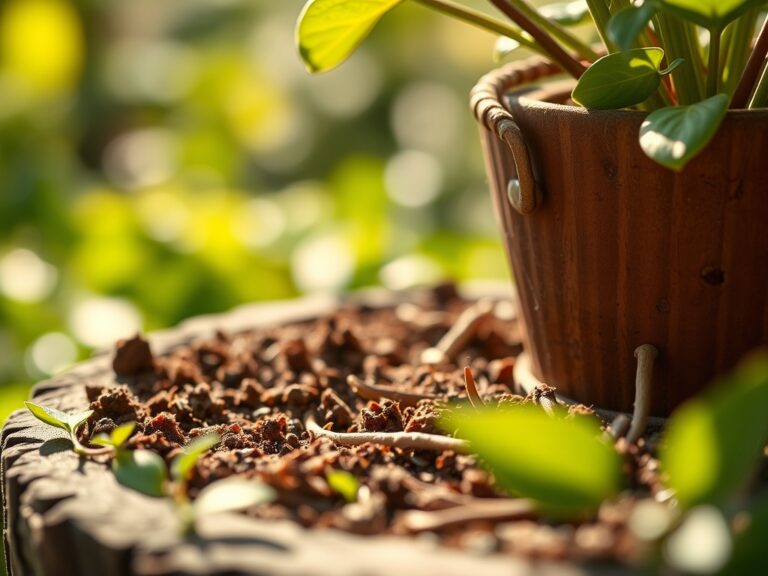
Transplanting
When roots begin to circle the perimeter of the pot, the plant is ready for up-sizing. Select a container only 2 inches wider than the current one. Gently loosen the root ball to break the mechanical memory of the roots.
Pro-Tip: Avoid burying the stem deeper than its previous level. Deep planting can lead to stem rot by exposing the non-submerged tissue to soil-borne pathogens like Pythium; keeping the crown at the surface level ensures proper oxygenation of the upper root system.
Establishing
Once transplanted, the Birkin requires a "settling" period of 14 to 21 days. During this time, do not apply high-nitrogen fertilizers. Focus on maintaining a consistent moisture level to encourage mycorrhizal symbiosis.
Pro-Tip: Maintain high humidity (60 to 70 percent) during this phase. This reduces the vapor pressure deficit (VPD); allowing the plant to focus energy on root establishment rather than transpirational water loss through the stomata.
The Clinic:
Symptom: Yellowing Lower Leaves (Chlorosis)
Solution: This is often a sign of Nitrogen deficiency or overwatering. Check the moisture level. If the soil is dry, apply a 20-20-20 fertilizer at half strength. If the soil is wet, the roots are likely suffocating, preventing nutrient uptake.
Symptom: Brown, Crispy Leaf Margins
Solution: This indicates low humidity or excessive salt buildup in the substrate. Flush the soil with distilled water until it runs clear from the bottom. Increase ambient humidity to at least 50 percent.
Symptom: Small, Solid Green Leaves
Solution: The plant is reverting due to low light. Increase light intensity to 200 to 400 Foot-Candles. The plant needs more energy to produce the variegated tissue which lacks chlorophyll.
Fix-It: Magnesium Deficiency
If leaves show interveinal chlorosis (yellowing between green veins), apply 1 teaspoon of Epsom salts per gallon of water. Magnesium is the central atom in the chlorophyll molecule; without it, photosynthesis fails.
Maintenance:
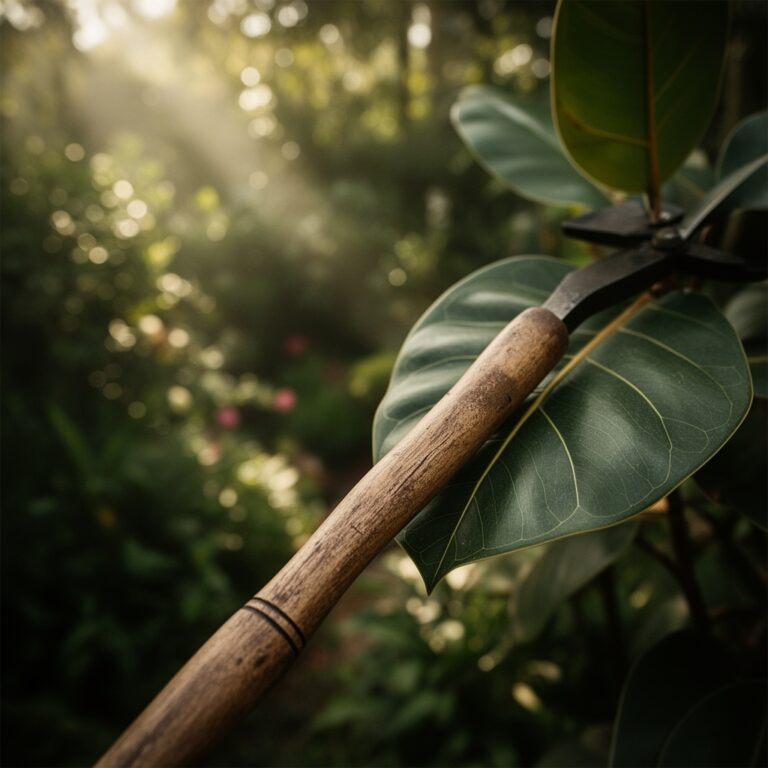
Precision is required for long-term health. Provide 1 to 1.5 inches of water per week, or until the top 2 inches of soil feel dry to the touch. Use a soil moisture meter to verify the moisture level at the root zone before adding water. For pruning, use bypass pruners sterilized with 70 percent isopropyl alcohol to prevent the spread of pathogens.
When removing dead foliage, cut at the base of the petiole. Use a hori-hori knife to gently probe the soil every few months to check for compaction. Dust the leaves every 14 days with a damp microfiber cloth. Dust accumulation blocks the stomata and reduces the light-gathering efficiency of the leaf surface by up to 30 percent. Monitor the light using a light meter; the Birkin performs best in bright, indirect light between 2,000 and 4,000 Lux.
The Yield:
While the Birkin is not an edible crop, its "yield" is measured in leaf size and variegation quality. To maximize the aesthetic yield, ensure the plant receives consistent phosphorus during the peak growing season to support strong vascular tissue. When the plant reaches a height of 18 to 24 inches, it may require a moss pole for vertical support. This mimics its natural epiphytic growth habit; allowing the aerial roots to attach and transport supplemental moisture and nutrients to the upper foliage.
FAQ:
How much light does a Philodendron Birkin need?
It requires 200 to 400 Foot-Candles of bright, indirect light. Avoid direct midday sun; the UV rays will scorch the white variegated patches. A north or east-facing window is usually the most stable light source for this cultivar.
Why are the leaves on my Birkin turning brown?
Brown tips usually indicate low humidity or salt accumulation from tap water. Use filtered water and maintain humidity above 50 percent. If the browning is soft and dark, it likely indicates root rot from over-saturation of the substrate.
How often should I fertilize my Philodendron Birkin?
Apply a balanced liquid fertilizer at half strength every four weeks during the spring and summer. Cease fertilization during the winter months. Over-fertilizing can lead to salt burn and leggy growth with weak cellular structures.
Is the Philodendron Birkin toxic to pets?
Yes. Like most aroids, it contains calcium oxalate crystals. If ingested, these crystals cause immediate oropharyngeal edema and gastrointestinal distress. Keep the plant on high shelving or in a dedicated greenhouse cabinet away from domestic animals and children.