5 Easy Ways How to Care for Ficus Audrey Plants
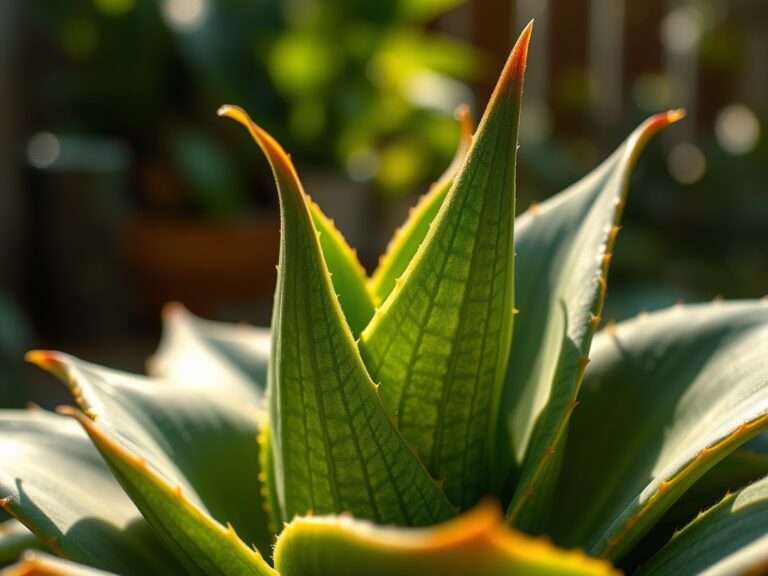
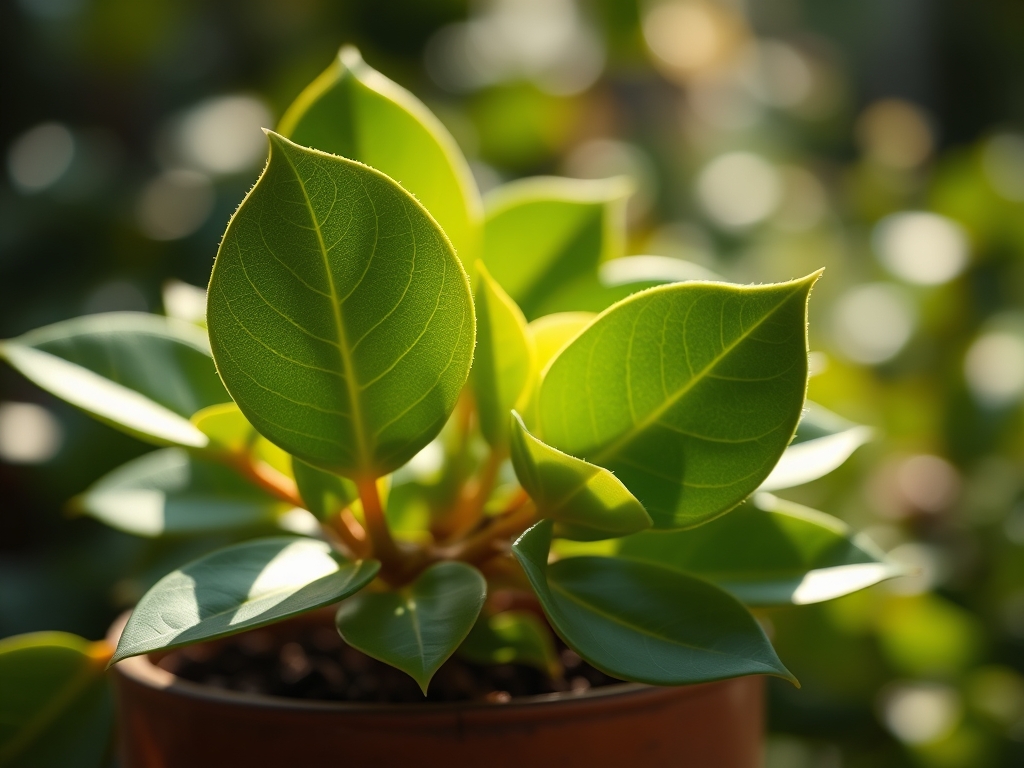
Ficus benghalensis 'Audrey' commands attention in any indoor collection with its velvety leaves and compact crown, yet its reputation for leaf drop intimidates growers. Learning how to care for ficus audrey plants transforms this anxiety into confidence, because the species thrives under predictable conditions that mirror its native Indian habitat. The Audrey cultivar tolerates lower light than its cousin Ficus lyrata, making it a superior choice for north-facing rooms and offices where photon flux density remains below 200 micromoles per second.
Materials and Soil Chemistry
The foundation of successful Ficus Audrey cultivation begins with substrate composition. A blend of 40% aged pine bark fines, 30% peat moss or coir, 20% perlite, and 10% worm castings creates a medium with pH 6.0 to 6.5. This range optimizes cation exchange capacity while preventing nutrient lockout common in alkaline mixes.
For fertilization, select a balanced 4-4-4 organic meal containing blood meal, bone meal, and kelp. Synthetic alternatives include 20-20-20 water-soluble formulations diluted to quarter strength. The NPK ratio matters less than consistent micronutrient availability, particularly iron and manganese, which prevent interveinal chlorosis in new growth. Apply mycorrhizal fungi granules at transplanting to colonize roots and extend nutrient uptake capacity by 40%.
Containers require drainage holes and materials that breathe. Terracotta suits dry climates, while glazed ceramic or nursery pots work in humid regions. Size pots 2 inches wider than the root ball to prevent excessive moisture retention that encourages Pythium root rot.
Timing and Environmental Windows
Ficus Audrey grows year-round indoors but enters active growth from April through September in USDA Hardiness Zones 10 to 12. Outdoor cultivation remains possible only where nighttime temperatures stay above 55°F. The species shows no true dormancy but reduces transpiration and auxin distribution when day length drops below 10 hours.
Transplant in early spring as root tips show white growth. Avoid repotting from October through February when cellular division slows and wound healing takes three times longer. Monitor your last frost date if transitioning plants outdoors for summer acclimation. Move specimens outside only after soil temperatures stabilize at 60°F for seven consecutive nights.
Phases of Establishment

Acclimation Phase (Weeks 1-3)
Position your Ficus Audrey 4 to 6 feet from an east or west window. Direct sun scorches leaves, while distances beyond 8 feet reduce photosynthetic efficiency below maintenance threshold. Maintain ambient temperature between 68°F and 78°F with humidity at 50% to 60%. Use a pebble tray or humidifier if levels drop below 40%.
Pro-Tip: Rotate the plant 90 degrees weekly to ensure even auxin distribution and prevent phototropic lean exceeding 15 degrees from vertical.
Transplanting Phase (Day 1)
Remove the plant from its nursery container and inspect roots. Healthy roots appear cream to tan with firm texture. Prune any circling roots at a 45-degree angle to stimulate lateral branching. Position the root flare 1 inch below the final soil surface to prevent stem rot.
Backfill with prepared medium, tamping gently to eliminate air pockets that desiccate fine root hairs. Water until liquid flows from drainage holes, then allow the top 2 inches to dry before the next irrigation. This wet-dry cycle encourages deep root penetration rather than shallow mat formation.
Pro-Tip: Apply rooting hormone containing 0.1% IBA (indole-3-butyric acid) to cut root ends before transplanting to accelerate establishment by 30%.
Establishing Phase (Months 2-6)
New leaf emergence signals successful establishment. Feed with diluted 4-4-4 solution every 14 days during active growth. Reduce frequency to monthly from October through March. Monitor electrical conductivity of drainage water; readings above 2.0 mS/cm indicate salt accumulation requiring substrate leaching with distilled water.
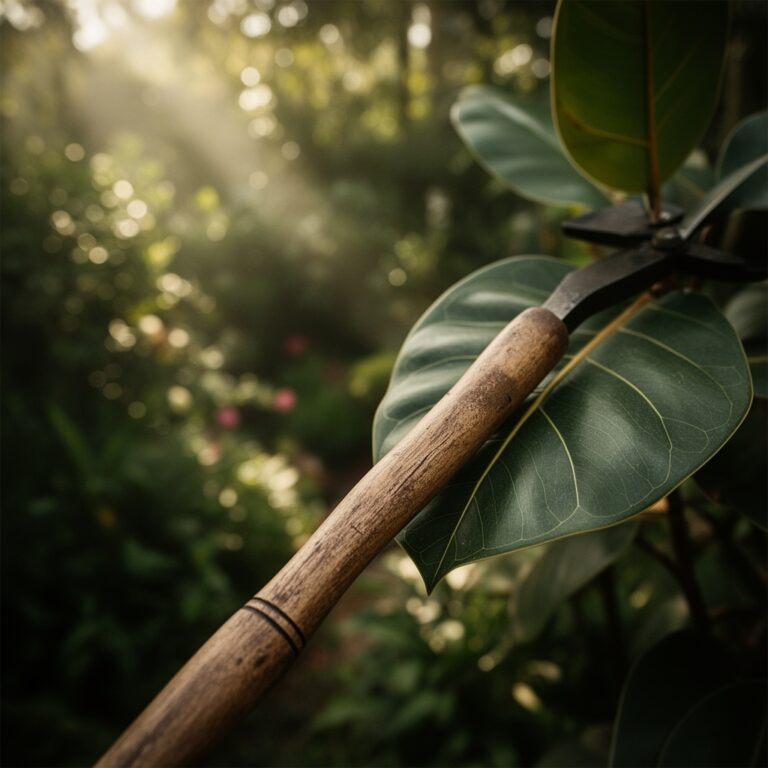
Prune to shape during this phase, making cuts 1/4 inch above nodes at 30-degree angles. This geometry prevents water accumulation on cut surfaces and directs new growth outward rather than into the canopy interior.
Pro-Tip: Pinch apical meristems on leggy stems to trigger axillary bud activation and increase branch density by 200%.
Troubleshooting Physiological Disorders
Symptom: Yellow leaves with green veins, starting on newest growth.
Solution: Iron chlorosis from pH above 7.0. Drench with chelated iron at 150 ppm and amend substrate with sulfur to lower pH.
Symptom: Brown leaf margins and tips curling upward.
Solution: Salt burn from fertilizer accumulation or low humidity. Flush substrate with three times container volume of water. Increase ambient moisture to 55%.
Symptom: Sudden leaf drop without yellowing.
Solution: Environmental shock from temperature fluctuation, draft exposure, or light change exceeding 50%. Stabilize conditions and avoid moving the plant for 30 days.
Symptom: Sticky residue on leaves with sooty appearance.
Solution: Honeydew from mealybugs or scale insects. Apply horticultural oil at 2% concentration, coating leaf undersides and stem junctions. Repeat every 7 days for three applications.
Symptom: Webbing between leaves and stippling on upper surfaces.
Solution: Spider mite infestation. Spray with neem oil solution (1 tablespoon per quart water) or introduce predatory mites (Phytoseiulus persimilis) at 10 per infested plant.
Maintenance Protocol
Water when the top 2 to 3 inches of substrate feels dry to touch, typically every 7 to 10 days. Deliver 1 to 1.5 cups per 6-inch pot, adjusting for container size and ambient conditions. Reduce volume by 40% in winter when transpiration slows.
Wipe leaves monthly with damp microfiber cloth to remove dust that blocks stomata and reduces gas exchange efficiency by 25%. Avoid commercial leaf shine products containing polymers that clog leaf pores.
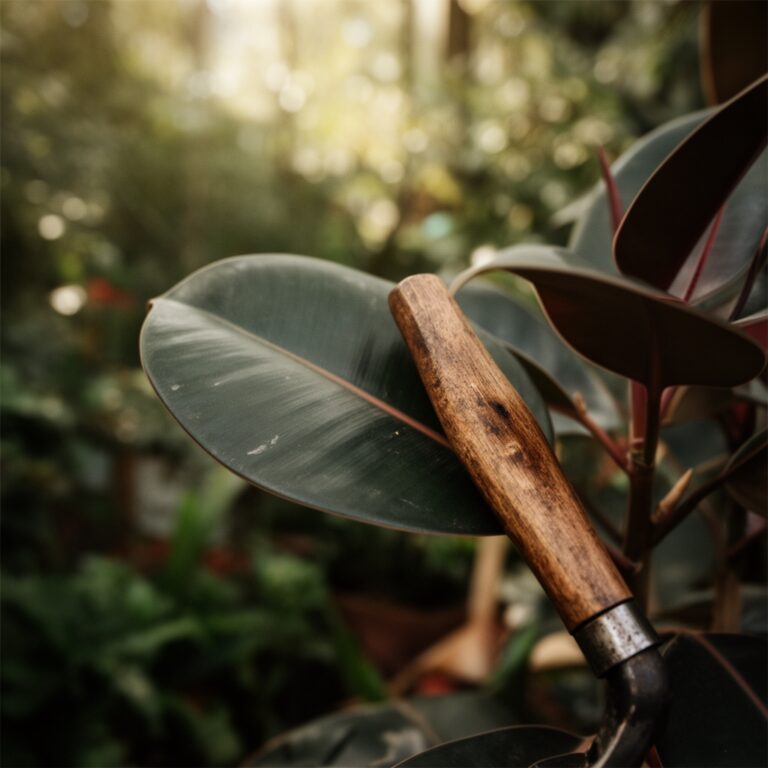
Prune annually in early spring, removing no more than 25% of canopy mass to maintain carbohydrate reserves. Sterilize tools with 70% isopropyl alcohol between cuts to prevent pathogen transmission.
Frequently Asked Questions
How much light does Ficus Audrey need?
Provide 100 to 200 foot-candles (1,000 to 2,000 lux) for maintenance and 200 to 400 foot-candles for active growth. East or west exposures deliver optimal intensity without thermal stress.
Why are leaves dropping?
Leaf abscission results from environmental inconsistency. Stabilize temperature within 5-degree range, maintain humidity above 45%, and avoid relocating the plant during adjustment periods.
Can Ficus Audrey tolerate low light?
The species survives at 75 foot-candles but shows etiolated growth and reduced leaf size. Supplement with full-spectrum LED grow lights providing 50 watts per square meter if natural light remains insufficient.
How often should I fertilize?
Apply diluted 4-4-4 solution every 14 days from April through September. Reduce to monthly applications October through March. Flush substrate quarterly to prevent salt accumulation.
Is Ficus Audrey toxic to pets?
Yes. The latex sap contains ficin enzyme and ficusin compound that cause gastrointestinal irritation in cats and dogs. Position plants beyond pet access and wash hands after pruning or handling.