5 Quick Steps to Use Tier Planters
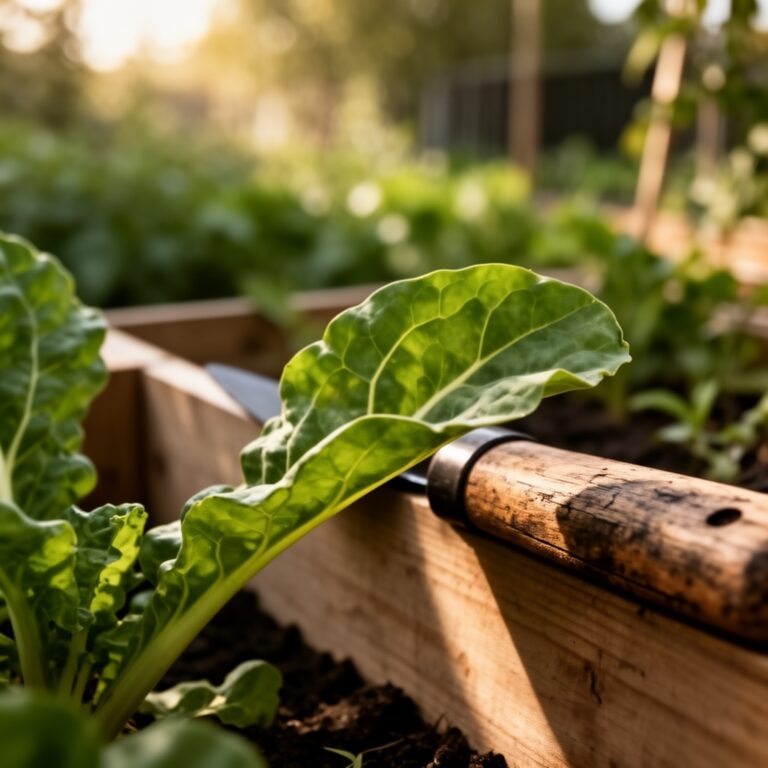
Tier planters transform vertical space into productive growing zones, stacking layers of soil and roots in a cascading structure that maximizes sunlight exposure while conserving ground area. The steps to use tier planters begin with understanding drainage physics: water flows from top tier to bottom, carrying nutrients and solutes through each level. This gravitational advantage requires careful species placement and soil amendment to prevent nutrient depletion in lower tiers. A properly configured three-tier system can yield 40% more harvest per square foot than traditional flat beds.
Materials
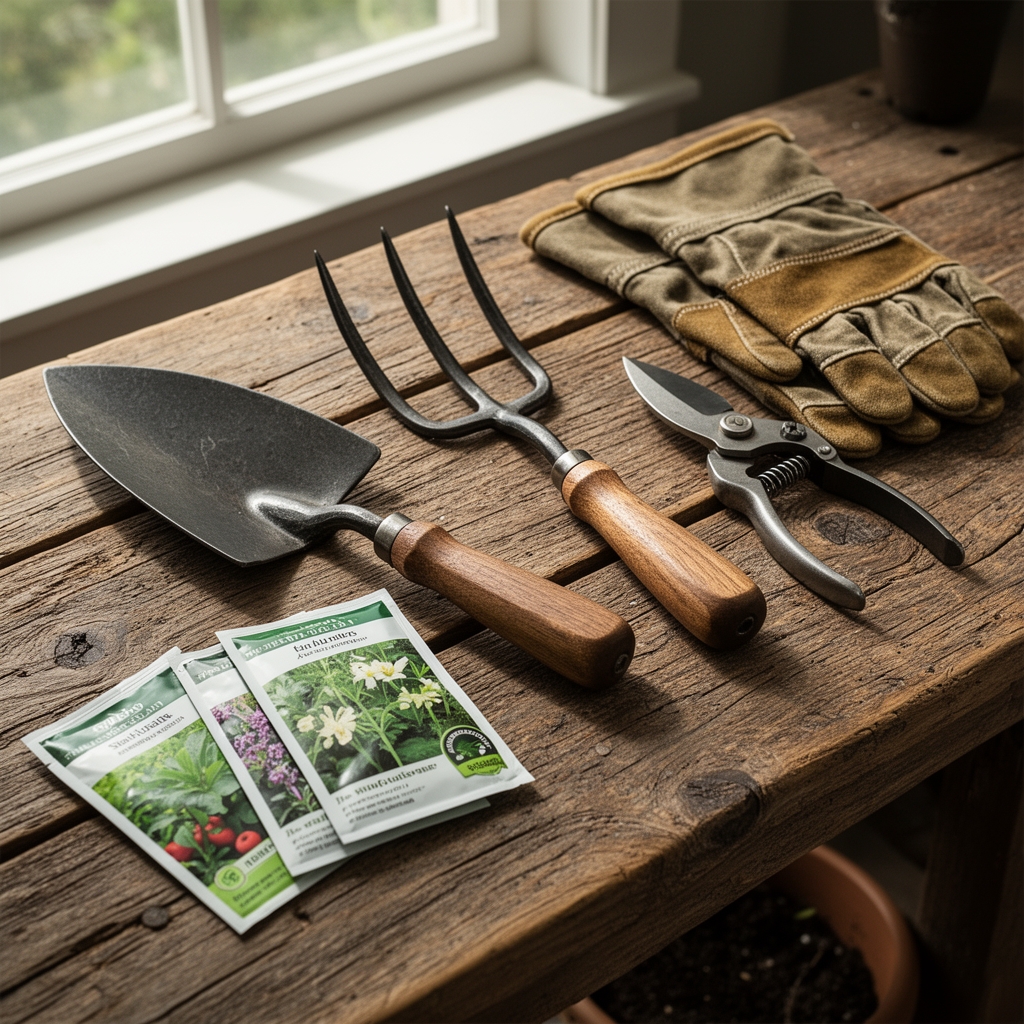
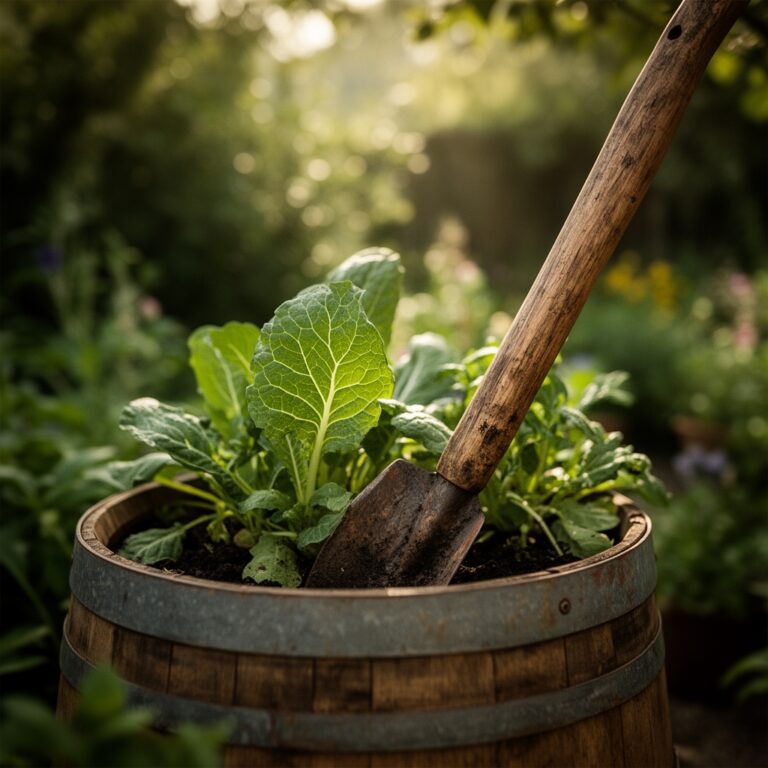
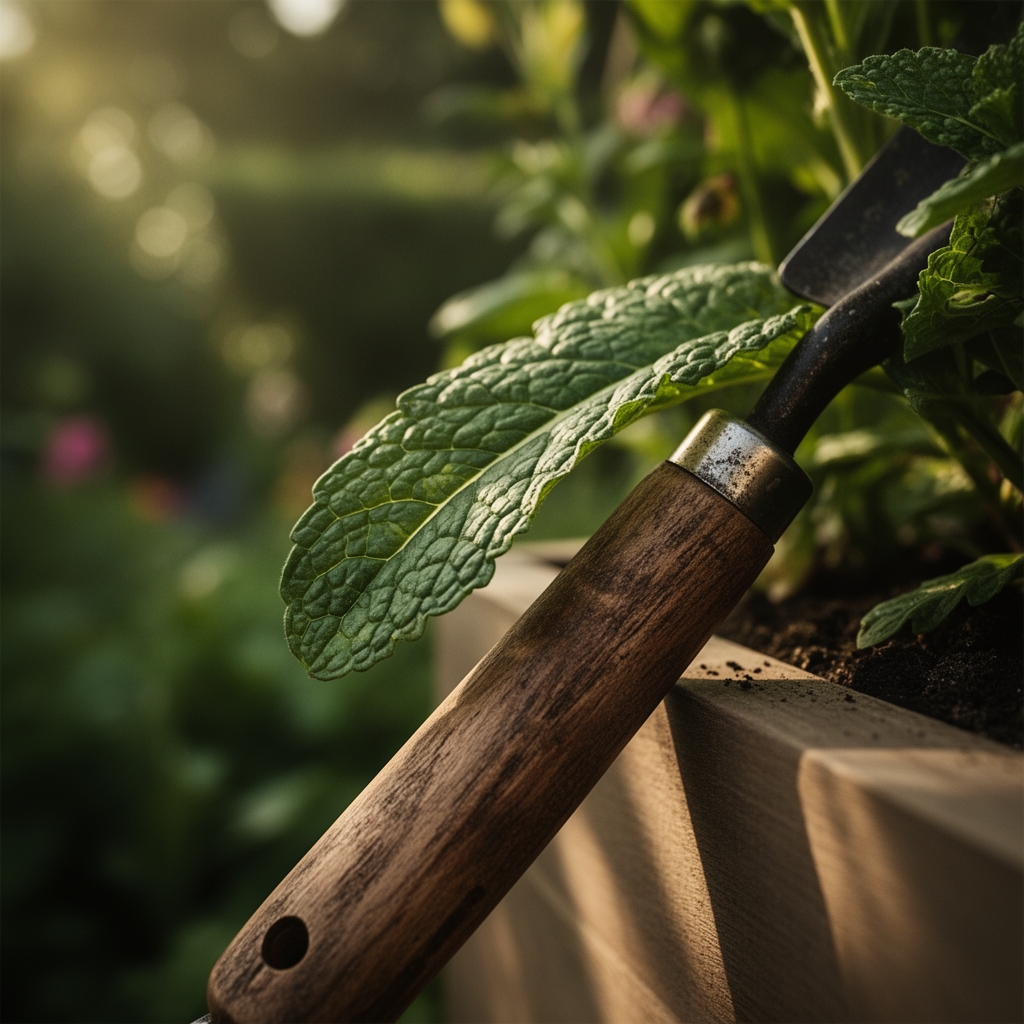
Select planter tiers constructed from cedar, composite, or food-grade resin. Cedar contains natural rot-inhibiting thujaplicins and lasts 8-12 years without treatment. Each tier requires 2-3 inches of coarse drainage aggregate at the base: pea gravel or expanded clay pellets (pH 6.5-7.0).
The growing medium should blend equal parts peat moss (pH 3.5-4.5), aged compost (pH 6.0-7.0), and perlite. For fruiting vegetables in the top tier, incorporate a balanced 4-4-4 organic meal at 2 tablespoons per gallon of soil. This provides slow-release nitrogen from feather meal, phosphorus from bone meal, and potassium from kelp.
Mid-tier leafy crops benefit from 5-3-3 ratios that prioritize foliar development. Bottom tiers housing shade-tolerant herbs require minimal amendment: a 3-4-5 formula supports root establishment in lower-light conditions.
Add mycorrhizal inoculant (Rhizophagus irregularis) at 1 gram per transplant hole. These arbuscular fungi colonize 80% of plant roots, extending phosphorus uptake radius by 10-15 cm beyond the root zone.
Install drip irrigation emitters at 1 gallon per hour for top tiers. Capillary action and overflow will hydrate lower levels.
Timing
Zone 5 gardeners should assemble tier planters two weeks after the last spring frost date, typically May 10-20. Soil temperature must reach 55°F at 4-inch depth before transplanting warm-season crops. Use a digital thermometer to verify for three consecutive mornings.
Zone 7 allows earlier installation, March 25-April 5, once nighttime lows stabilize above 40°F. Cool-season greens tolerate transplant when soil hits 45°F.
Zone 9 permits year-round planting but requires shade cloth (30% density) during June-August when ambient temperatures exceed 92°F. High heat disrupts auxin distribution, causing blossom drop in top-tier tomatoes.
Autumn planting for overwintering brassicas occurs 8-10 weeks before the first fall frost. This timing allows root establishment before dormancy without triggering premature bolting.
Phases
Sowing: Direct-seed quick-maturing crops in the top tier where solar radiation peaks at 8-10 hours daily. Radishes, lettuce, and bush beans germinate in 5-7 days at 65-70°F. Plant seeds at twice their diameter depth. Tamp soil to ensure seed-to-soil contact, which improves imbibition rates by 35%.
Pro-Tip: Dust legume seeds with Rhizobium inoculant powder before sowing. These nitrogen-fixing bacteria form nodules within 14 days, reducing fertilizer needs by half.
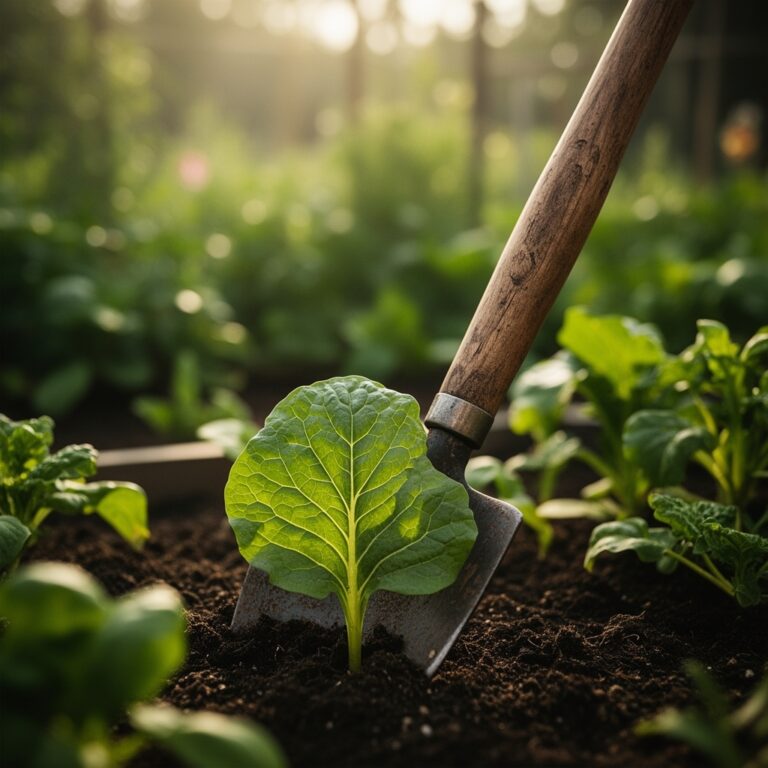
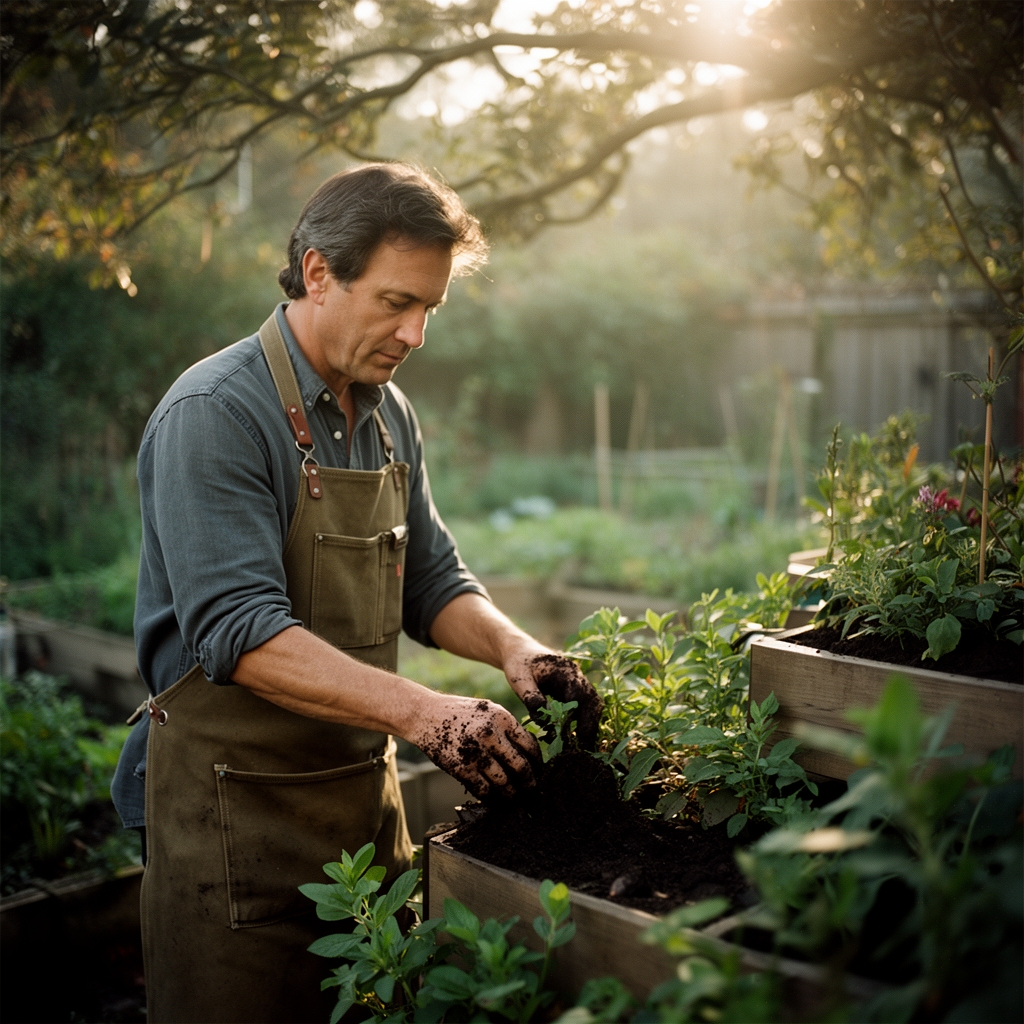
Transplanting: Move seedlings to mid and lower tiers when they develop two sets of true leaves. Transplant in late afternoon to reduce transpiration stress. Dig holes 1.5 times the root ball diameter. Position the root crown level with surrounding soil; burying stems invites collar rot from Pythium species.
Pro-Tip: Prune tomato transplants at a 45-degree angle when removing suckers. This cut angle maximizes cambium exposure for faster wound sealing, reducing pathogen entry points.
Establishing: Apply 0.5 inches of water immediately post-transplant, then withhold irrigation for 48 hours. This brief dry period stimulates lateral root exploration as plants seek moisture. Root growth accelerates 60% under mild moisture stress compared to saturated conditions.
Mulch each tier with 1 inch of straw or shredded leaves. Mulch moderates soil temperature fluctuations by 12-15°F and suppresses weed germination by blocking photosynthetically active radiation.
Pro-Tip: Introduce predatory nematodes (Steinernema feltiae) at 5 million per tier during establishment. These microscopic organisms parasitize fungus gnat larvae and thrips pupae in the soil profile.
Troubleshooting
Symptom: Chlorosis in lower-tier plants with interveinal yellowing.
Solution: Low light reduces chlorophyll synthesis. Supplement with 6500K LED grow lights for 4 hours daily, or relocate shade-intolerant species to upper tiers.
Symptom: Wilting in top tier despite adequate irrigation.
Solution: Excessive drainage or low cation exchange capacity. Amend top-tier soil with 20% coconut coir to improve water retention by 30%. Coir holds 8-10 times its weight in moisture.
Symptom: Blossom end rot on tomatoes (top tier).
Solution: Calcium deficiency caused by irregular watering disrupts calcium transport via xylem. Maintain consistent soil moisture at 60-70% field capacity. Side-dress with gypsum (calcium sulfate) at 1 tablespoon per plant.
Symptom: Powdery white coating on leaves.
Solution: Powdery mildew (Erysiphe cichoracearum) thrives in stagnant air. Space plants 12 inches apart. Apply sulfur dust at 3 grams per square foot every 10 days when humidity exceeds 70%.
Symptom: Stunted growth in bottom tier.
Solution: Nutrient leaching from upper tiers creates salt accumulation or anaerobic conditions. Flush bottom tier with 2 gallons of water monthly to leach excess solutes. Verify drainage holes remain unclogged.
Maintenance
Water top tiers when the soil surface dries to 0.5 inches depth, approximately every 2-3 days in full sun. Apply 1 inch of water per irrigation event, measured with a rain gauge placed in the tier. Bottom tiers typically require supplemental watering only during drought extending beyond 7 days.
Feed every 21 days with liquid kelp fertilizer diluted to 1 tablespoon per gallon. Kelp provides cytokinin hormones that enhance stress tolerance and 60+ trace minerals including boron, which regulates calcium uptake.
Prune determinate crops minimally; remove only diseased foliage. Indeterminate tomatoes require weekly suckering to maintain two main stems. This pruning focuses carbohydrate allocation to fruit rather than vegetative growth.
Rotate crop families annually. Follow heavy feeders (tomatoes, peppers) with nitrogen-fixing legumes, then light feeders (herbs, roots). This rotation prevents soil-borne pathogen buildup and balances nutrient depletion.
Refresh top 2 inches of soil each spring. Remove compacted surface layer and incorporate 1 inch of aged compost. This annual addition maintains organic matter above 5%, supporting beneficial bacterial populations at 10^9 cells per gram.
FAQ
Can tier planters support root vegetables?
Yes, but only in tiers with 10-12 inches of depth. Carrots and beets develop taproots 8-10 inches long. Shallow tiers cause forked or stunted roots.
How do I prevent soil washout between tiers?
Line tier junctions with landscape fabric cut into 3-inch strips. Fabric allows water passage while blocking soil particles larger than 0.05 mm.
What spacing between tiers optimizes light?
Position tiers 8-10 inches apart vertically. This spacing prevents upper-tier foliage from shading lower plants by more than 40% during peak sun hours (10 AM to 2 PM).
Do tier planters alter soil pH over time?
Top tiers trend acidic as water leaches calcium and magnesium downward. Test pH quarterly with a digital meter. Adjust to target range with dolomitic lime (raises pH) or elemental sulfur (lowers pH) at rates specified by soil test results.
Can I grow perennials in tier systems?
Perennial herbs like oregano and thyme thrive in bottom tiers where cooler soil temperatures suit their Mediterranean origins. Avoid top tiers where winter freeze-thaw cycles heave shallow roots.