9 Vital Steps to Monstera Deliciosa Care
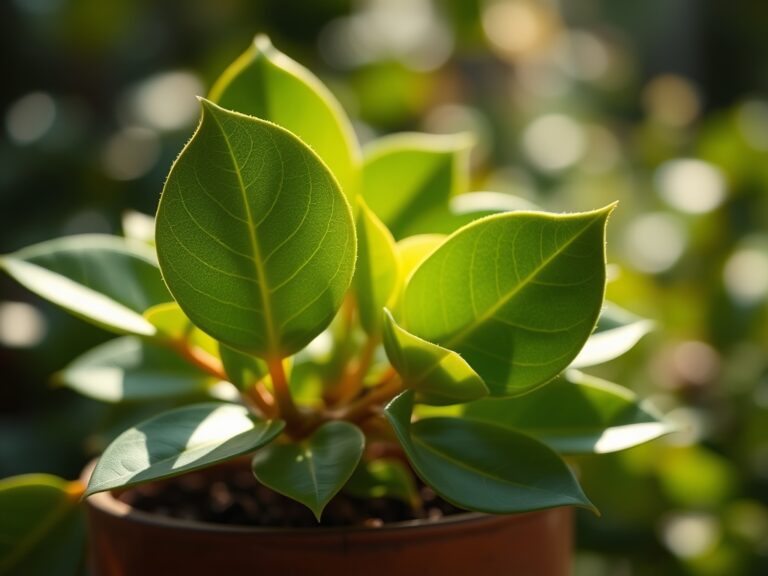
The split-leaf philodendron, properly known as Monstera deliciosa, originates from the tropical understory of Central American rainforests where it climbs 70 feet into the canopy. Its fenestrated leaves can span 36 inches when mature. Following proven steps to monstera deliciosa care transforms a houseplant into a vigorous climber that mimics its rainforest ancestry, producing aerial roots and, occasionally, edible fruit.
Materials
Success begins with substrate selection. Use a chunky aroid mix with a pH range of 5.5 to 7.0. Combine three parts orchid bark (medium grade), two parts perlite, one part peat moss or coco coir, and one part worm castings. This blend provides a cation exchange capacity (CEC) of 15-25 meq/100g, sufficient for nutrient retention without waterlogging.
For fertilization, select a balanced organic formulation such as 4-4-4 or 5-5-5 during active growth. Fish emulsion at 5-1-1 works well for foliar feeding. Apply mycorrhizal fungi inoculant at potting time. The symbiotic relationship enhances phosphorus uptake by 30-40 percent, especially critical for root development.
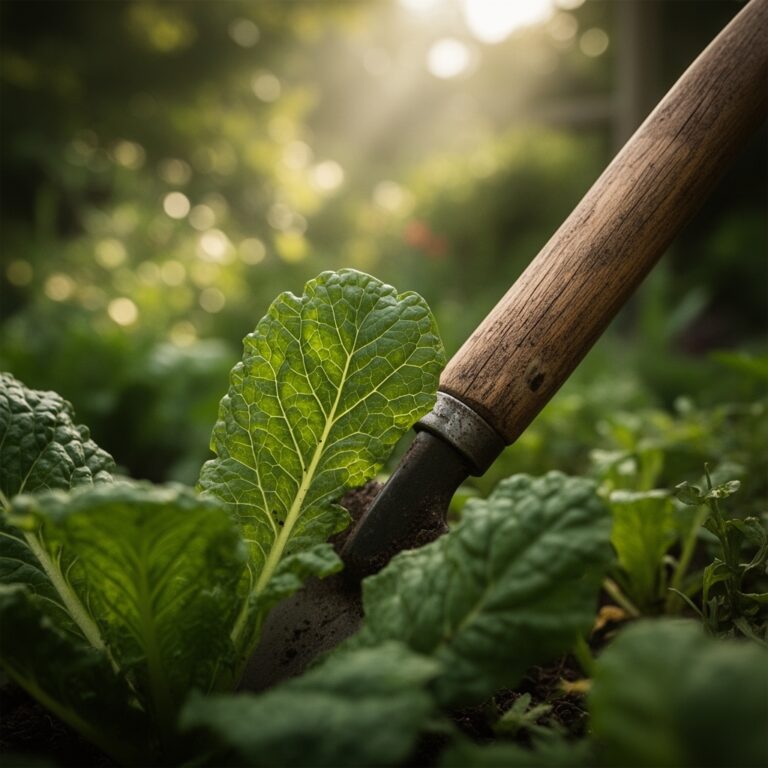
Use terracotta or unglazed ceramic containers with drainage holes. Plastic pots retain moisture longer but limit gas exchange. Install a moss pole or teak support at planting. Monstera aerial roots require vertical structure to trigger mature leaf fenestration.
Timing
Monstera deliciosa tolerates USDA Hardiness Zones 10-12 outdoors. Indoor specimens thrive year-round in controlled environments maintaining 65-85°F. Avoid temperatures below 50°F. Cold stress halts auxin distribution, causing blackened leaf margins within 48 hours.
Repot every 18-24 months in early spring, March through May, when root growth accelerates. This timing coincides with increasing photoperiod and reduces transplant shock. Fertilize monthly from April through September. Reduce feeding frequency to every eight weeks from October through March when growth slows.
Prune during the growing season when wounds compartmentalize faster. Avoid heavy pruning after September in temperate climates.
Phases

Sowing and Propagation
Monstera deliciosa propagates via stem cuttings or air layering. Select a cutting with at least one node and one aerial root. Nodes contain meristematic tissue necessary for root initiation. Submerge the node in distilled water or insert directly into moistened substrate.
Rooting occurs in 14-21 days at 75-80°F with humidity above 70 percent. Apply rooting hormone containing 0.3 percent indole-3-butyric acid (IBA) to accelerate adventitious root formation. Place cuttings under indirect light at 200-400 foot-candles.
Pro-Tip: Wrap the node in damp sphagnum moss secured with plastic wrap for air layering. Roots develop while the cutting remains attached to the parent plant, ensuring zero transplant shock.
Transplanting
Move rooted cuttings into 6-inch containers filled with aroid mix. Position the node 1 inch below the substrate surface. Water with diluted seaweed extract at one-quarter strength to stimulate root hair development.
Provide 400-600 foot-candles of filtered light. Direct sun causes leaf scorch, evidenced by tan patches between veins. Maintain substrate moisture at 40-50 percent. Use a moisture meter inserted 2 inches deep.
Install the moss pole at this stage. Secure the stem loosely with soft plant ties. Aerial roots grow toward the pole, anchoring the plant and absorbing moisture.
Pro-Tip: Mist the moss pole daily. Consistent moisture on the pole encourages aerial roots to attach, triggering the hormonal shift that produces fenestrated mature leaves.
Establishing Mature Growth
Mature Monstera deliciosa produces leaves with deep splits and perforations. This fenestration increases light capture efficiency in the understory by 30 percent. Achieving this stage requires consistent upward growth along a support structure for 12-18 months.
Feed every four weeks with 4-4-4 fertilizer at the manufacturer's recommended rate. Supplement with foliar applications of fish emulsion biweekly. Foliar feeding delivers micronutrients directly to leaf tissue, bypassing root uptake limitations.
Increase pot size to 12-14 inches once roots circle the container. Root-bound plants exhibit stunted growth and yellowing lower leaves despite adequate fertilization.
Pro-Tip: Prune stems at a 45-degree angle just above a node. This angle prevents water accumulation on the cut surface, reducing infection risk. The node below the cut will produce lateral growth, increasing plant density.
Troubleshooting
Symptom: Yellow leaves with brown edges.
Solution: Overwatering or poor drainage. Allow the top 2 inches of substrate to dry between waterings. Verify drainage holes are unobstructed.
Symptom: Small leaves without fenestration.
Solution: Insufficient light or lack of vertical support. Increase light to 600-800 foot-candles. Attach the stem to a moss pole.
Symptom: Black spots with yellow halos.
Solution: Bacterial leaf spot (Pseudomonas species). Remove affected leaves. Reduce humidity to 60 percent. Avoid overhead watering.
Symptom: Webbing and stippled leaves.
Solution: Spider mites (Tetranychus urticae). Spray with insecticidal soap at 2 percent concentration. Increase humidity above 50 percent to deter colonization.
Symptom: White cottony masses on nodes.
Solution: Mealybugs (Planococcus citri). Swab with 70 percent isopropyl alcohol. Apply neem oil at 0.5 percent concentration every seven days for three weeks.
Maintenance
Water when the top 2 inches of substrate feel dry to the touch. Provide 1 inch of water per week, adjusting for seasonal growth. Empty the drainage tray within 30 minutes to prevent root rot.
Wipe leaves monthly with a damp cloth to remove dust. Clean leaves photosynthesize 20-25 percent more efficiently. Rotate the plant 90 degrees weekly to ensure even light distribution.
Prune dead or damaged leaves at the base. Sterilize shears with 10 percent bleach solution between cuts. Fertilize every four weeks during active growth with a balanced 5-5-5 formula.
Repot when roots emerge from drainage holes or circle the interior wall. Spring repotting aligns with peak root activity.
FAQ
How often should I water my Monstera deliciosa?
Water when the top 2 inches of soil are dry, typically every 7-10 days. Frequency varies with light, temperature, and humidity.
Why are my Monstera leaves turning yellow?
Yellowing indicates overwatering, underwatering, or nutrient deficiency. Check soil moisture and ensure balanced fertilization every four weeks during growing season.
What light does Monstera deliciosa need?
Provide bright, indirect light at 600-800 foot-candles. Direct sun scorches leaves. Low light prevents fenestration.
How do I encourage fenestrated leaves?
Attach the plant to a moss pole and maintain consistent upward growth. Fenestration occurs naturally in mature specimens receiving adequate light and nutrients.
Is Monstera deliciosa toxic?
Yes. The plant contains calcium oxalate crystals that cause oral irritation in humans and pets. Keep out of reach of children and animals.