9 Simple Steps to Build a Potting Bench
Damp earth smells of geosmin and microbial activity while the turgor pressure of a healthy leaf indicates a functioning vascular system. A serious gardener requires a dedicated workspace to manage these biological variables effectively. Learning the steps to build a potting bench provides a centralized station for seed starting; soil mixing; and transplanting. This structure must facilitate ergonomic efficiency while standing up to the corrosive nature of wet soil and high-nitrogen fertilizers. Precision in the construction phase ensures that the final product supports a rigorous horticultural workflow throughout the growing season.
Materials:
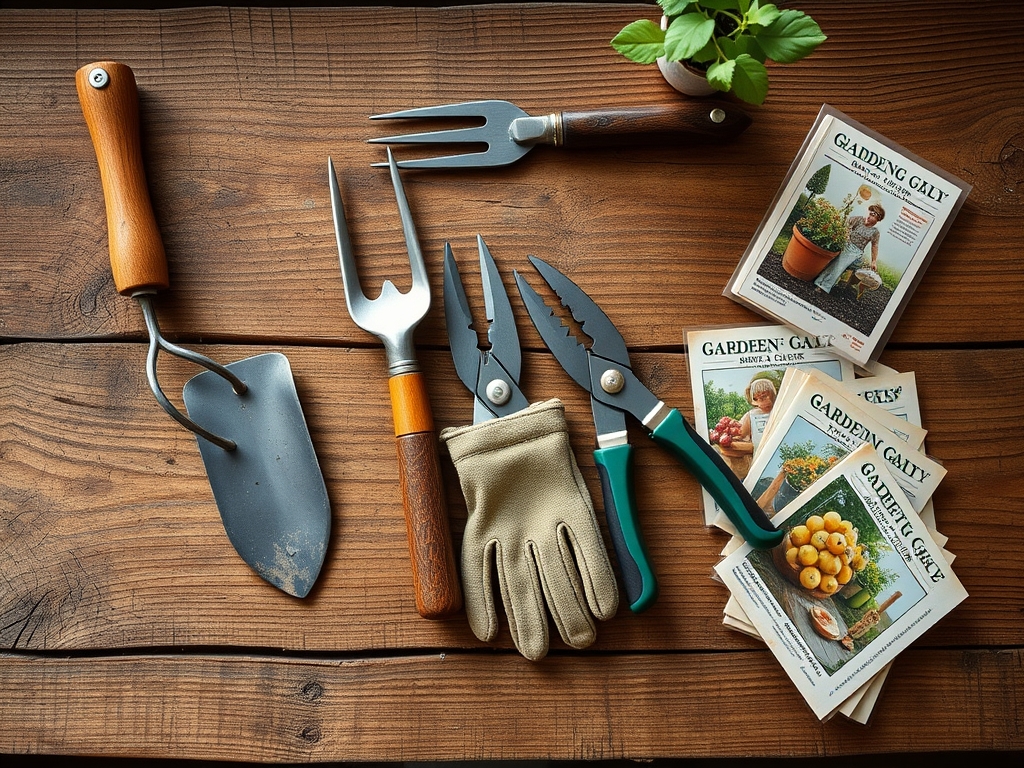
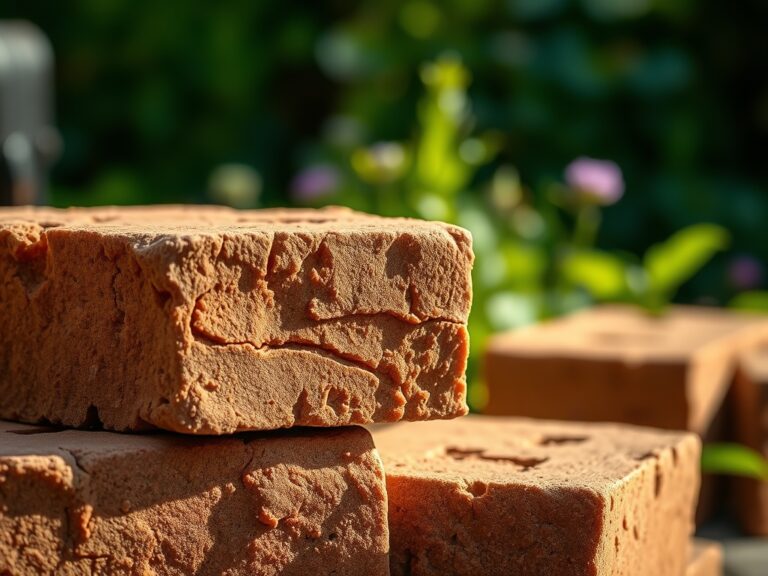
Construct the frame using pressure-treated lumber or naturally rot-resistant species like Western Red Cedar. The work surface requires a substrate that resists moisture retention. For the horticultural work performed on this bench; maintain a supply of friable loam with a **pH range of 6.0 to 7.0**. High-quality potting media should contain a balanced nutrient profile; typically an **NPK ratio of 10-10-10** for general maintenance or **5-10-5** for root development. Ensure the Cation Exchange Capacity (CEC) of your peat or coco coir base is sufficient to hold essential nutrients like Calcium and Magnesium. Use stainless steel fasteners to prevent galvanic corrosion in high-humidity environments.
Timing:
Construction should conclude before the local frost-free date to prepare for the spring surge. In Hardiness Zones 5 through 7; this typically falls between late March and early April. Understanding the biological clock of your cultivars is essential. As plants transition from the vegetative stage to the reproductive stage; their nutritional requirements shift from high nitrogen to increased phosphorus and potassium. Having a bench ready during the "window of opportunity" between the last spring frost and the summer solstice allows for maximum photosynthetic accumulation.
Phases:
Sowing
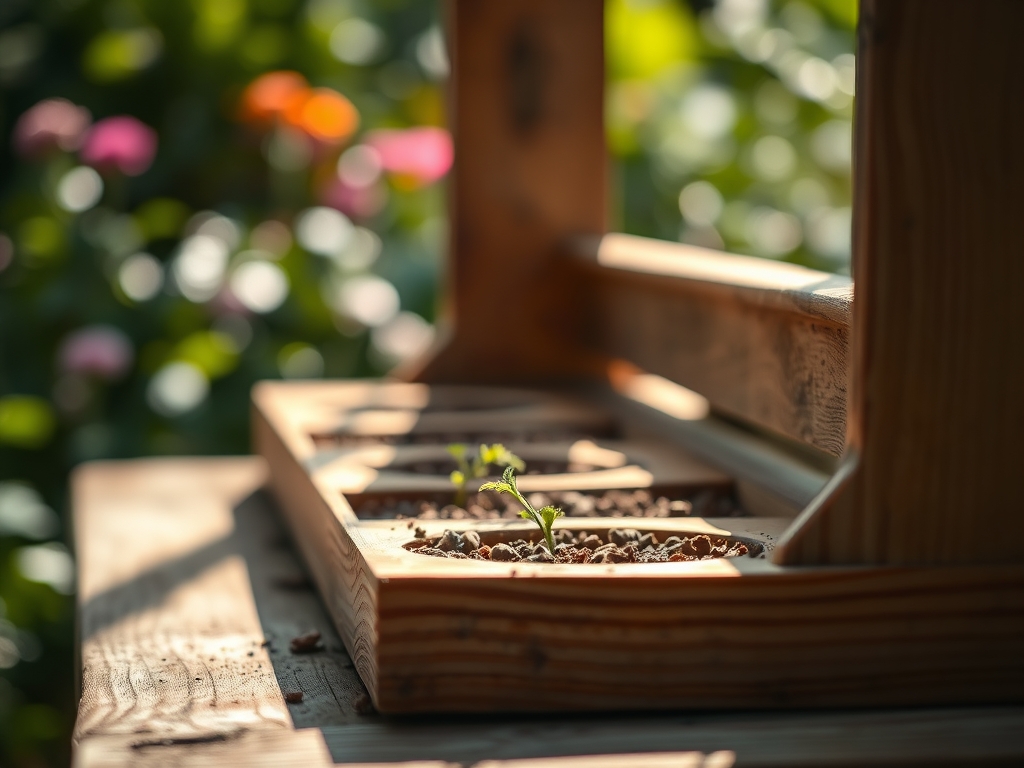
The first phase involves preparing cellular trays with a fine-textured seed-starting mix. The bench height should be approximately 36 inches to prevent lumbar strain during precision sowing. Place seeds at a depth generally twice their diameter. Maintain a consistent temperature of 65 to 75 degrees Fahrenheit for optimal germination rates.
Pro-Tip: Utilize bottom heat to stimulate cellular division in the radical. This exploits the Biological Why of enzyme activation; where specific thermal thresholds trigger the metabolic processes required to break seed dormancy.
Transplanting
When the second set of true leaves appears; the plant has reached a critical growth milestone. Move the seedlings to larger vessels to prevent the roots from becoming pot-bound. This process requires a sterile work surface to prevent the introduction of pathogens like Pythium or Rhizoctonia.
Pro-Tip: Handle seedlings only by their cotyledons or root balls; never the stems. This prevents the crushing of the xylem and phloem tissues; which would disrupt turgor pressure and lead to permanent wilting or death.
Establishing
Once transplanted; the specimens require a period of hardening off. The potting bench serves as a transition zone where light intensity and airflow can be monitored. Check the rhizosphere daily for moisture levels using a soil moisture meter.
Pro-Tip: Ensure adequate spacing between pots to allow for airflow. This manages the Biological Why of transpiration rates; preventing the micro-climate around the leaves from becoming too humid; which would otherwise encourage fungal spore germination.
The Clinic:
Physiological disorders often manifest on the bench before plants reach the field. Monitor for these specific symptoms:
- Symptom: Interveinal chlorosis on young leaves.
Solution: This indicates an Iron deficiency; often caused by a pH above 7.0. Lower the pH using elemental sulfur to increase nutrient bioavailability.
- Symptom: Purpling of the underside of leaves.
Solution: This is a classic sign of Phosphorus deficiency. Apply a water-soluble fertilizer with a high middle NPK number; such as 10-30-10; to support ATP production within the plant cells.
- Symptom: Tip burn on new growth.
Solution: This usually results from Calcium localized deficiency or inconsistent moisture. Maintain a steady transpiration stream by watering at a rate of 1.5 inches per week.
- Fix-It (Nitrogen Chlorosis): If older leaves turn uniform pale yellow; the plant is scavenging nitrogen for new growth. Apply a high-nitrogen organic amendment like blood meal to restore chlorophyll density.
Maintenance:
A potting bench is a laboratory and must be kept sterile. Use a 10 percent bleach solution to wipe down the surface after handling diseased material. Sharpen your bypass pruners and hori-hori knife weekly using a diamond whetstone to ensure clean cuts that callus quickly. For irrigation; provide 1.5 inches of water per week at the drip line of potted perennials. Use a soil moisture meter to verify that the core of the root ball is not hydrophobic. Organize your amendments by NPK ratio and keep them in airtight containers to prevent volatilization of nitrogen.
The Yield:
For benches used for herb production or floral cutting; timing is everything. Harvest at the peak of essential oil concentration; usually in the early morning after the dew has evaporated but before the sun reaches its zenith. Use sharp bypass pruners to make a clean 45-degree cut above a node. To maintain "day-one" freshness; immediately plunge the stems into cool water to maintain turgor pressure and slow the process of senescence. Store harvested material out of direct sunlight to prevent rapid oxidation of volatile compounds.
FAQ:
What is the best wood for a potting bench?
Western Red Cedar or Redwood are superior due to natural tannins that resist rot and insect infestation. If using pressure-treated lumber; ensure it is rated for ground contact to handle the constant moisture of a horticultural workspace.
How high should a potting bench be?
Standard ergonomic height is 36 inches. This aligns with the average person's waist; allowing the forearms to remain parallel to the work surface. This height reduces spinal compression during long sessions of seed starting or transplanting.
Does a potting bench need a sink?
A sink is highly beneficial for cleaning hori-hori knives and rinsing root systems during division. Ensure the drainage system does not dump sediment into standard plumbing; use a silt trap to catch soil particles and organic matter.
How do I prevent fungal growth on the bench?
Maintain a dry surface when not in use and provide adequate airflow. Periodically treat the wood with a food-safe mineral oil or a light copper-based fungicide to inhibit the colonization of wood-decaying fungi and pathogenic molds.