7 Cool Steps to Install a Misting System
The smell of damp earth and the immediate increase in leaf turgor pressure define the success of a controlled horticultural environment. When ambient temperatures exceed 85 degrees Fahrenheit, transpiration rates often outpace root water uptake; this leads to cellular wilting and metabolic stasis. Learning the steps to install a misting system allows a grower to manipulate the microclimate by reducing leaf surface temperatures by up to 20 degrees Fahrenheit. This evaporative cooling preserves the integrity of the stomata and ensures uninterrupted photosynthesis during peak solar radiation.
Materials:

A high-performance misting system is only as effective as the substrate it supports. For optimal results, use a friable loam with a **Cation Exchange Capacity (CEC) between 15 and 25 meq/100g**. This ensures the soil can retain the nutrients delivered via fertigation. Maintain a **soil pH between 6.2 and 6.8** to prevent nutrient lockout.
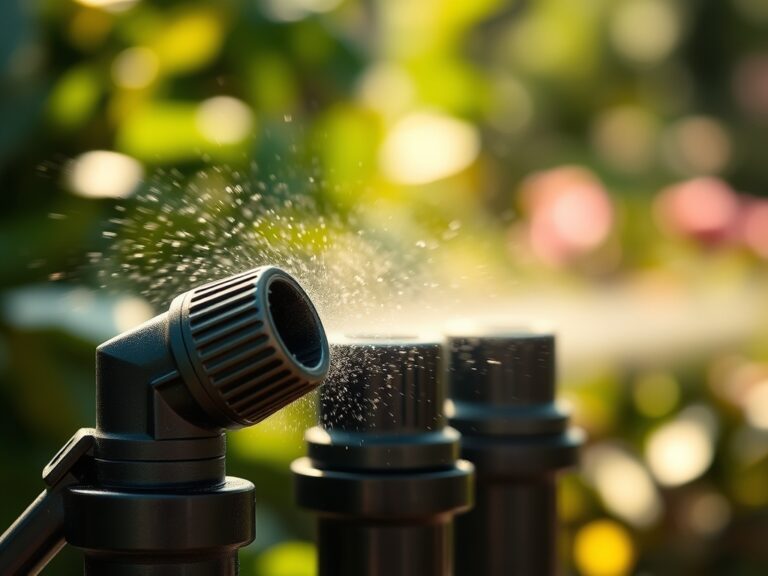
The baseline nutrient profile should focus on a 10-10-10 NPK ratio for general establishment; however, once the misting system is active, nitrogen volatility increases. Supplement with a 5-10-15 ratio if the goal is reproductive vigor. Physical materials required include UV-resistant 1/4-inch polyethylene tubing, brass nozzles with a 0.012-inch orifice, a 200-mesh stainless steel filter, and a high-pressure pump capable of maintaining 1,000 PSI to ensure true atomization rather than droplet saturation.
Timing:
Installation must occur before the transition from the vegetative stage to the reproductive stage. In Hardiness Zones 7 through 9, the window for installation begins in early spring, at least three weeks before the last expected frost date. This timing allows the rhizosphere to stabilize before the heat of July triggers high transpiration demands.
The biological clock of the plant dictates that misting should be synchronized with the photoperiod. Initiate misting cycles when solar intensity reaches 400 watts per square meter. This prevents the plant from entering a state of senescence induced by heat stress. Avoid misting after dusk; lingering moisture on the foliage during the dark cycle reduces oxygen availability and encourages the proliferation of anaerobic pathogens.
Phases:

Sowing and Layout
The first of the steps to install a misting system involves mapping the hydraulic circuit. Place the main line at a height of 8 feet to allow for evaporation before the mist reaches the foliage. Space nozzles every 24 inches to ensure a uniform mist curtain.
Pro-Tip: Proper nozzle spacing prevents "hot spots" where dry air pockets can trigger auxin suppression. When auxins are suppressed by heat, apical dominance is lost; this results in stunted, bushy growth rather than vertical structural integrity.
Transplanting and Integration
As you move young starts into the misting zone, ensure the root ball is saturated to 100 percent field capacity. Secure the tubing using galvanized clips to prevent vibration-induced fatigue at the joints. Connect the system to a programmable solenoid timer.
Pro-Tip: Use a mycorrhizal inoculant during this phase. The consistent humidity provided by the misting system supports mycorrhizal symbiosis, extending the effective root surface area by up to 40 times through fungal hyphae.
Establishing the Cycle
Calibrate the system to run for 15 seconds every 5 minutes during peak heat. Monitor the leaf angle; a 45-degree upward tilt indicates optimal turgor. If leaves begin to droop despite the mist, check the soil moisture meter to ensure the root zone is not waterlogged.
Pro-Tip: Consistent misting prevents phototropism exhaustion. By cooling the leaf, the plant spends less energy on heat regulation and more on orienting its chloroplasts toward light for maximum glucose production.
The Clinic:
Physiological disorders often arise from improper misting calibration or underlying soil chemistry issues.
Symptom: Edema. Small bumps or blisters appear on the underside of leaves.
Solution: This is caused by high water uptake and low transpiration. Reduce the misting frequency and increase airflow to allow the plant to transpire effectively.
Symptom: Tip Burn. New growth appears necrotic or scorched.
Solution: This often indicates Calcium deficiency. While the mist cools the plant, Calcium is a non-mobile element that requires consistent transpiration to move through the xylem. Ensure your water source has at least 50 ppm of Calcium.
Symptom: Nitrogen Chlorosis. Older leaves turn a uniform pale yellow.
Fix-It: Increase the Nitrogen application to a 20-10-10 water-soluble fertilizer. High-frequency misting can leach nitrogen from the top 2 inches of soil; top-dressing with organic matter can stabilize the CEC.
Maintenance:
Precision maintenance ensures the longevity of the system and the health of the botanical collection. Use a soil moisture meter daily to verify that the mist is not substituting for deep irrigation. Most woody perennials still require 1.5 inches of water per week at the drip line, delivered via deep soaking rather than surface misting.
Every 30 days, soak brass nozzles in a mild citric acid solution to remove calcium carbonate scale. Use a hori-hori knife to check for soil compaction near the misting headers; compacted soil prevents gas exchange in the rhizosphere. If you notice uneven spray patterns, use bypass pruners to clear any overhanging foliage that may be obstructing the nozzle's cone of influence.
The Yield:
For flowering or fruiting species, the misting system extends the harvest window by preventing premature bolting. Harvest during the "Golden Hour" of early morning when turgor pressure is at its maximum. Use sharp snips to make a clean 45-degree cut, minimizing the surface area of the wound to prevent sap loss.
To maintain "day-one" freshness, immediately move the harvest into a shaded area with a relative humidity of 85 percent. The misting system can be used to pre-cool the harvest area, reducing the "field heat" of the produce. This slows the rate of respiration and preserves the sugars and volatile oils within the plant tissue.
FAQ:
How much water does a misting system use?
A standard system with 0.012-inch nozzles uses approximately 0.5 gallons of water per hour per nozzle. At a high pressure of 1,000 PSI, the water atomizes instantly; this minimizes runoff while maximizing the cooling effect on the leaf surface.
Can I use tap water for my misting system?
Tap water is functional but requires a 200-mesh filter to remove particulates. If your water has a high mineral content, nozzles will clog frequently. Test your water for total dissolved solids (TDS); levels above 300 ppm require a softener.
Will misting cause powdery mildew on my plants?
Misting during daylight hours rarely causes mildew because the water evaporates quickly. Problems arise if the system runs at night. Ensure the foliage is dry before sunset to prevent the germination of fungal spores in the phyllosphere.
Does a misting system replace regular watering?
No. Misting manages the microclimate and leaf temperature. It does not provide the deep saturation required for the root zone. You must still provide 1.5 inches of water to the soil weekly to maintain the necessary hydraulic lift.