6 Vital Steps to cure a Pizza Oven
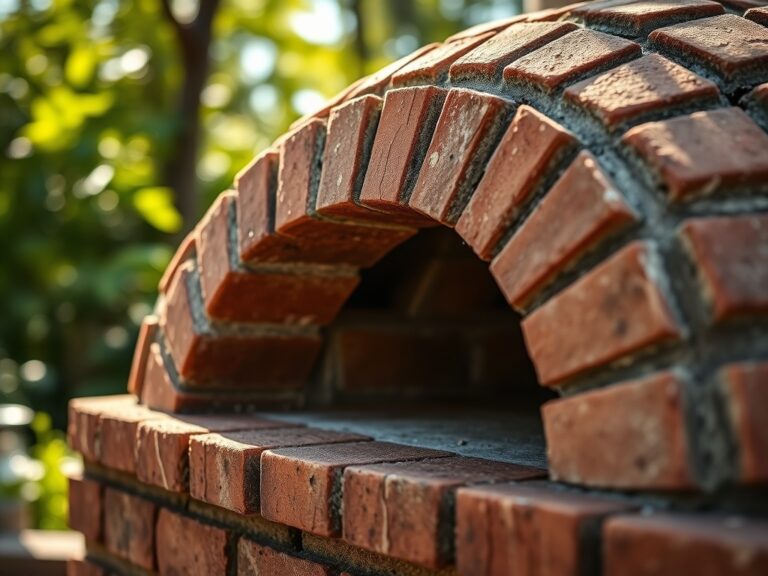
Damp earth smells of geosmin and fungal activity; it is the scent of potential. When a plant reaches full turgor, its cells are pressurized like a hydraulic system, standing rigid against the pull of gravity. This same structural integrity is required when transitioning from construction to operation in outdoor culinary spaces. You must follow the steps to cure a pizza oven with the same precision used to calibrate soil salinity. Failure to manage moisture removal results in steam pressure that compromises the refractory bond. This process is not a suggestion; it is a thermal necessity. A masonry oven contains gallons of interstitial water trapped within the mortar and firebrick. If heated too rapidly, this water converts to steam, expanding at a ratio of 1,600 to 1 and causing catastrophic structural failure. You are essentially managing the senescence of moisture within the stone. Proper curing ensures the longevity of the thermal mass, allowing it to withstand temperatures exceeding 900 degrees Fahrenheit without cracking.
Materials:

The foundation of any high performance thermal structure begins with the substrate. In horticulture, we demand a **friable loam** with a **pH between 6.0 and 7.0** to optimize the **Cation Exchange Capacity (CEC)**. For oven curing, the “substrate” is the fuel. You must use kiln-dried hardwoods such as oak or maple. Avoid softwoods like pine, which contain high resin content and can coat the refractory lining in soot, altering the thermal emissivity. The NPK ratio of the resulting ash is approximately **0-1-3**, making it an excellent top-dressing for potassium-hungry crops like tomatoes or peppers once the oven is cleaned. Ensure you have a digital infrared thermometer to monitor surface temperatures and a moisture meter to verify that your wood fuel is below **20 percent moisture content**.
Timing:
Hardiness Zones dictate the atmospheric humidity and ambient temperature during the curing window. In Zones 5 through 7, curing should occur during the stable dry periods of late spring or early autumn, avoiding the high humidity of summer or the frost-heave risks of winter. The biological clock of the oven mimics the transition from vegetative growth to reproductive maturity; it requires a gradual hardening off period. If the ambient temperature is below 50 degrees Fahrenheit, the curing process must be extended by 48 hours to account for slower evaporation rates. Do not attempt to cure during a frost window, as freezing temperatures can cause the trapped moisture to expand and crack the mortar before it has ever seen a flame.
Phases:
Sowing: The Initial Heat
The first fire must be small, located in the center of the oven floor. Use only kindling to bring the internal dome temperature to exactly 140 degrees Fahrenheit. Maintain this temperature for six hours. This low heat initiates the capillary action required to draw deep moisture to the surface of the bricks.
Pro-Tip: This phase utilizes the principle of vapor pressure gradients. Just as transpiration pulls water through a plant's xylem, the low heat creates a pressure differential that coaxes moisture out of the refractory material without causing it to boil and rupture cell-like structures within the mortar.
Transplanting: Incremental Loading
On the second and third days, increase the temperature by 50 degrees Fahrenheit each day. By day three, you should be reaching 250 degrees Fahrenheit. This is the critical threshold where liquid water converts to gas. Move the fire slightly around the floor to ensure even thermal distribution across the entire hearth.
Pro-Tip: Even heat distribution prevents localized thermal expansion. In botany, auxin suppression ensures uniform growth; here, uniform heat prevents "cold spots" that would otherwise create mechanical stress between the expanding hot zones and the contracting cool zones.
Establishing: The High Heat Saturation
By days five and six, the oven is ready for "full bloom." Increase the temperature to 500 degrees Fahrenheit on day five and finally to 750 degrees Fahrenheit on day six. The soot on the dome should begin to burn off, revealing the white refractory brick beneath. This indicates that the carbon is oxidizing and the oven is fully dry.
Pro-Tip: This final stage is akin to photomorphogenesis, where the plant reaches its final structural form. The high heat vitrifies the bond between the clay and the aggregate, creating a permanent ceramic state that is resistant to environmental degradation.
The Clinic:
Physiological disorders in masonry often mirror those in the rhizosphere.
Symptom: Fine, hair-like cracks (crazing) on the outer render.
Solution: This is normal thermal expansion. If the crack exceeds 1/8 inch, it indicates a structural failure or rapid heating.
Symptom: "Sweating" or water beads on the exterior.
Solution: The curing temperature is too low. Increase airflow to facilitate evaporation.
Symptom: Black soot that does not burn off.
Solution: Incomplete combustion. Use wood with lower moisture content and ensure oxygen saturation in the chamber.
Fix-It for Nutrient Deficiencies:
If your surrounding garden shows signs of Nitrogen chlorosis (yellowing of older leaves), do not use the oven ash immediately. Ash is alkaline and can spike soil pH, locking out micronutrients. Apply ash only to acidic soils and balance it with a high-nitrogen source like blood meal to maintain a balanced 10-10-10 profile.
Maintenance:
Precision is the difference between a thriving system and a failing one. Use a soil moisture meter to check the ground around the oven base; excessive groundwater wicking into the foundation can ruin a cure. Keep the oven dry with a breathable cover when not in use. For cleaning, use a hori-hori knife to scrape stubborn carbon deposits from the hearth, and bypass pruners to size your kindling to exactly 12 inches for optimal airflow. Apply 1.5 inches of water per week at the drip line of nearby ornamental plants to compensate for the radiant heat generated by the oven during long cooking sessions.
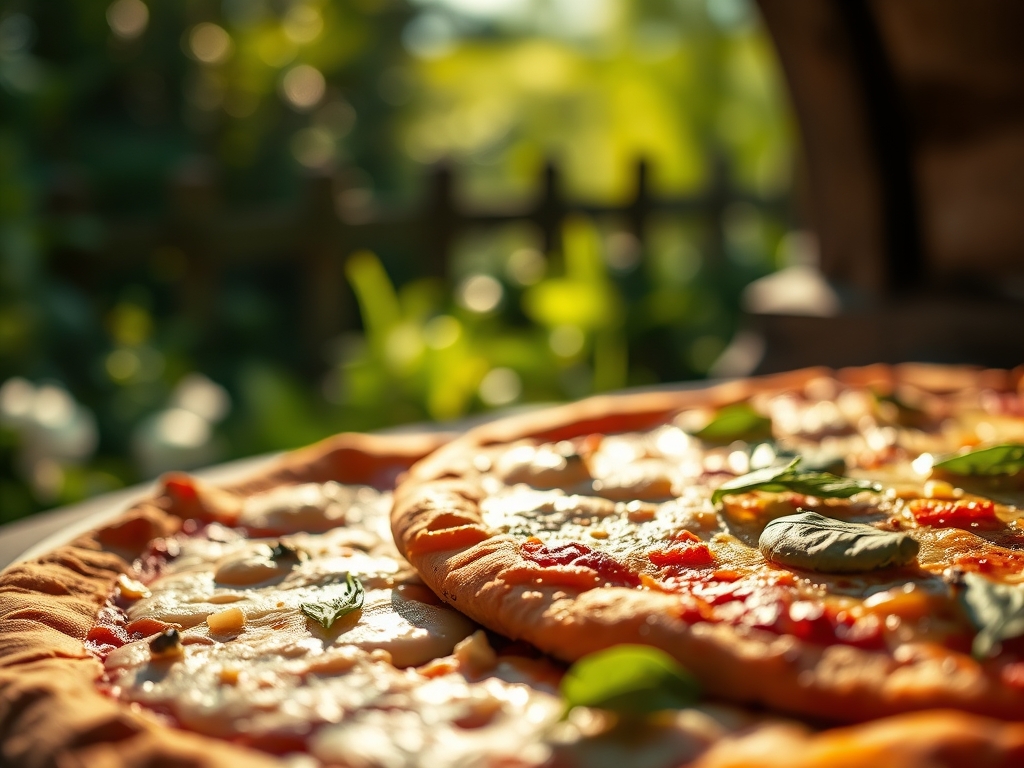
The Yield:
Harvesting the heat of a cured oven allows for the "Leopard Spotting" or charring of dough, which occurs through the Maillard reaction at temperatures above 800 degrees Fahrenheit. To maintain "day-one" freshness of your oven, always remove ash after it has cooled for 24 hours. This prevents the accumulation of lye, which can become caustic if it comes into contact with ambient moisture, potentially etching the oven floor.
FAQ:
How long does it take to cure a pizza oven?
The standard duration is six to seven days. This allows for a gradual temperature increase of approximately 50 to 100 degrees Fahrenheit per day, preventing steam-induced fractures within the refractory material and ensuring the structural integrity of the masonry.
What happens if I skip the curing process?
Skipping the cure leads to spalling, where the surface of the brick flakes off. Trapped moisture turns to steam, expands rapidly, and creates internal pressure that can cause the dome to crack or collapse entirely during the first high-heat fire.
Can I use charcoal to cure my oven?
Charcoal is not recommended for curing. It produces intense, localized heat that is difficult to regulate. Kiln-dried hardwood provides a more controlled flame and consistent heat rise, which is essential for the slow evaporation of interstitial moisture.
How do I know the oven is fully cured?
The oven is cured when the internal soot burns off the dome, leaving it clean and white. Additionally, no visible steam or moisture should be escaping from the vent or the masonry joints during a high-temperature firing of 750 degrees Fahrenheit.