6 Simple Steps to Grow Monstera Adansonii Vines
The fenestrated leaves of Monstera adansonii emerge through morning mist in its native Central American understory, each perforation a genetic adaptation to wind and filtered light. These climbing aroids transform interior walls into living architecture when given proper support and conditions. Mastering the steps to grow monstera adansonii vines requires understanding its epiphytic nature, seasonal growth patterns, and precise environmental triggers that shift the plant from juvenile to mature phenotypes.
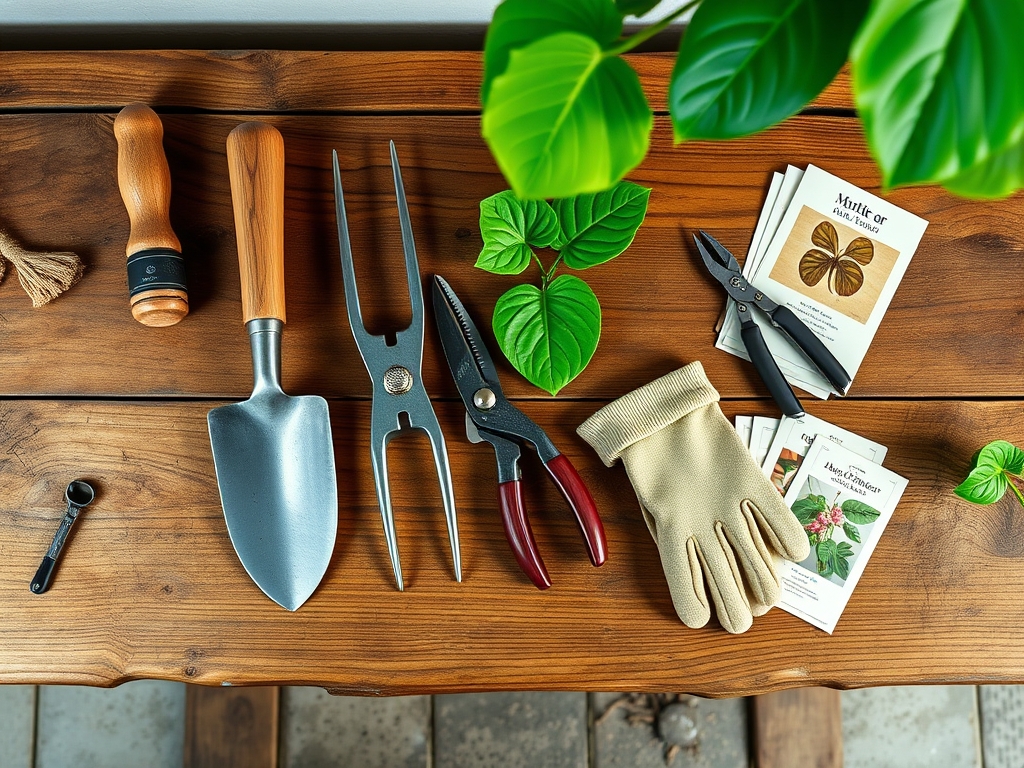
Materials
Begin with a substrate that mimics the forest floor's organic composition. Combine 40% peat moss or coco coir, 30% orchid bark (medium grade), 20% perlite, and 10% worm castings. Target a pH range of 5.5 to 6.5, measured with a calibrated soil probe. The cation exchange capacity of this mixture should fall between 15 and 25 meq/100g, ensuring adequate nutrient retention without waterlogging.
For fertilization, apply a balanced 4-4-4 organic meal during the growing season, supplemented with 3-1-2 liquid kelp extract at half strength every three weeks. Incorporate mycorrhizal fungi granules at transplanting to establish symbiotic root colonization. The arbuscular mycorrhizae species Glomus intraradices increases phosphorus uptake by 40% in aroid specimens. Use untreated bamboo stakes or moss poles wrapped in sphagnum for climbing support. The plant's aerial roots require textured surfaces with moisture retention.
Timing
Monstera adansonii thrives in USDA Hardiness Zones 10 through 12 as a landscape specimen. Indoor cultivation extends this range universally. Initiate propagation and transplanting after the last frost date when ambient temperatures stabilize above 60°F. In temperate zones, this window spans from late April through early June.
Growth accelerates when photoperiod exceeds 12 hours and nighttime temperatures remain above 65°F. The plant enters semi-dormancy below 55°F, with auxin distribution slowing in apical meristems. Position new plants in May for optimal establishment before winter. Root initiation peaks at soil temperatures between 70°F and 75°F, measured three inches below the surface.
Phases

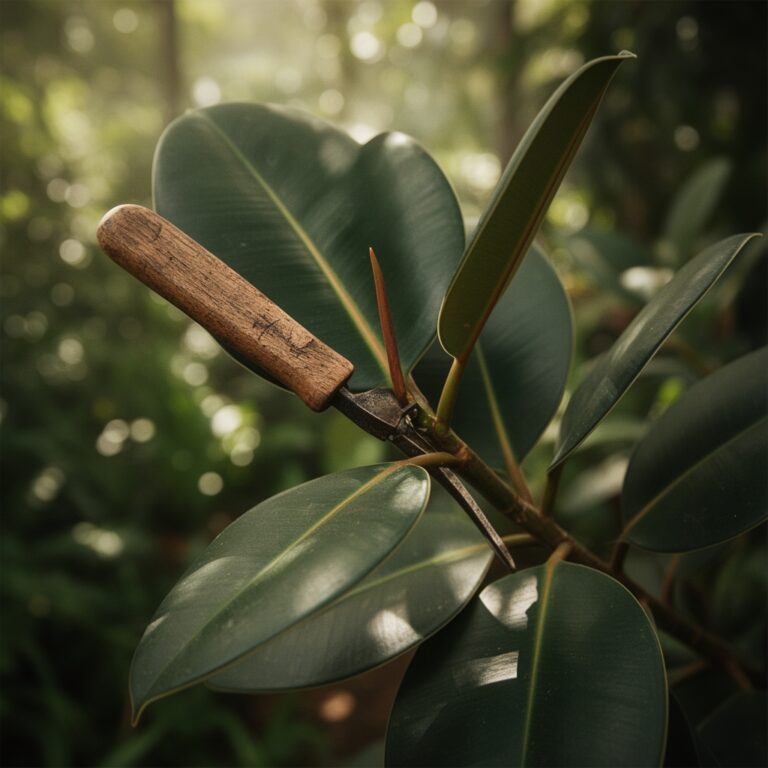
Propagation Phase: Select stem cuttings with at least two nodes and one fully expanded leaf. Make cuts 0.25 inches below a node using sterilized pruning shears at a 45-degree angle. This angle increases vascular cambium exposure by approximately 30% compared to perpendicular cuts. Place cuttings in water or directly into prepared substrate. Roots emerge from nodal tissue within 14 to 21 days at 72°F ambient temperature.
Pro-Tip: Apply rooting hormone powder containing 0.3% indole-3-butyric acid to cut surfaces. This synthetic auxin increases adventitious root formation by 60% in controlled trials with Araceae species.
Transplanting Phase: Move rooted cuttings to four-inch containers when root length reaches two inches. Handle roots minimally to prevent damage to the delicate root cap cells. Bury nodes 0.5 inches below the substrate surface. These nodes produce both aerial and subterranean roots depending on moisture gradients. Water with 0.5 cups of room-temperature water immediately after transplanting.
Pro-Tip: Add 10% biochar to the transplant mix. This increases water retention by 18% and provides colonization sites for beneficial bacteria, particularly Bacillus subtilis strains that suppress Pythium root rot.
Establishment Phase: Position plants in bright, indirect light measuring 10,000 to 20,000 lux. Direct sunlight causes chlorophyll degradation visible as bleached patches on adaxial leaf surfaces. Train vines onto support structures by gently wrapping petioles in ascending spirals. Secure with soft plant ties at six-inch intervals.
Pro-Tip: Mist aerial roots twice weekly with distilled water. These specialized roots absorb atmospheric moisture and nutrients, contributing 15% of total plant hydration in mature specimens.
Troubleshooting
Symptom: Yellow leaves with brown edges, starting with older foliage. Solution: Indicates nitrogen deficiency. Apply blood meal at 0.25 cups per gallon of substrate, or increase liquid fertilizer concentration to full strength.
Symptom: Black, mushy stem sections near the soil line. Solution: Pythium or Phytophthora root rot. Remove affected tissue one inch beyond visible damage. Drench remaining healthy roots with a solution of hydrogen peroxide (3%) diluted to 1:4 ratio with water. Reduce watering frequency by 30%.
Symptom: White cottony masses on petioles and leaf axils. Solution: Mealybug infestation (Pseudococcidae family). Isolate the plant immediately. Apply isopropyl alcohol (70%) directly to insects using cotton swabs. Follow with neem oil spray at 2% concentration every five days for three applications.
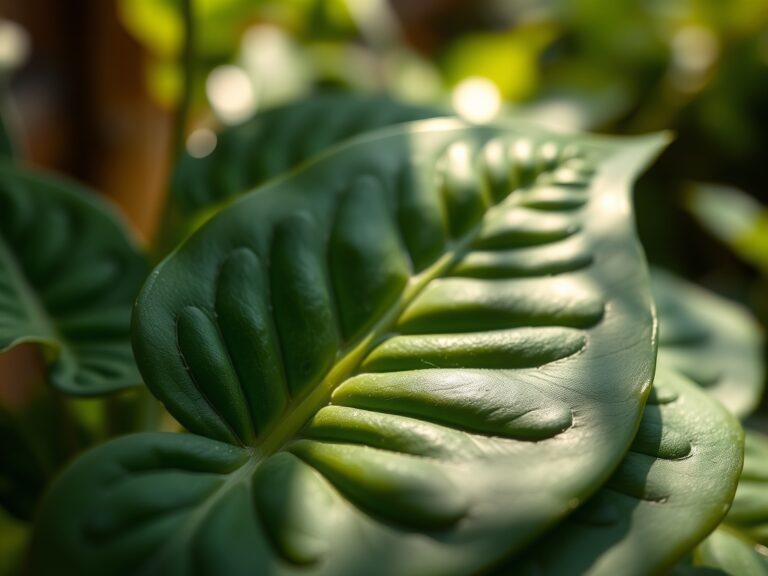
Symptom: Leaves develop fenestrations only at margins, not interior. Solution: Insufficient light or immature growth phase. Increase light exposure by 5,000 lux. Mature fenestration patterns emerge after nodes 8 through 10 on main vines.
Symptom: Stunted growth with dark green, small leaves. Solution: Root-bound condition. Transplant to a container two inches larger in diameter. Root systems expand at 0.3 inches per week during active growth.
Maintenance
Water when the top one inch of substrate feels dry to touch, typically every five to seven days in average indoor conditions. Provide 0.25 to 0.5 gallons per six-inch pot, adjusting for container size. Ensure drainage holes expel excess water within two minutes. Humidity levels between 60% and 80% prevent marginal leaf necrosis. Use a digital hygrometer to monitor ambient moisture.
Prune vines at nodes using sterilized shears to control length and promote branching. Each cut stimulates lateral bud activation two nodes below the cut site. Remove yellowed leaves at the petiole base to redirect resources to new growth. Wipe leaves monthly with a damp microfiber cloth to remove dust that blocks stomatal gas exchange.
Repot every 18 to 24 months in spring. Select containers with drainage holes and volumes 20% larger than previous pots. Root systems require gradual expansion space to prevent transplant shock. Fertilize from March through September. Suspend feeding during winter months when growth rates decline by 70%.
FAQ
How long does Monstera adansonii take to mature? Juvenile to mature transition occurs after 18 to 36 months, depending on light and nutrient availability. Mature leaves develop complete fenestration patterns and measure six to eight inches in length.
Can I grow Monstera adansonii in water permanently? Water propagation works for root development, but long-term cultivation requires substrate. Roots grown in water lack root hairs necessary for soil nutrient absorption. Transition cuttings to substrate within four weeks.
Why are my leaves not developing holes? Fenestration depends on maturity, light intensity, and genetic expression. Increase light to 15,000 lux minimum. Young plants under node 8 produce entire leaves naturally.
What temperature kills Monstera adansonii? Sustained exposure below 50°F causes cellular damage. Frost kills exposed tissue immediately. Maintain indoor temperatures above 60°F year-round.
How do I increase vine growth speed? Apply diluted fish emulsion (1:10 ratio) monthly during growing season. Increase temperature to 75°F and humidity to 70%. Growth rates can reach one new leaf every seven to ten days under optimal conditions.