6 Basic Steps to Grow Weeping Fig Trees
The waxy leaves of Ficus benjamina reflect light in slow waves, casting shadows that shift across hardwood floors throughout the day. This optical dance explains why interior designers position the species near south-facing windows, where photon flux density reaches 200 to 400 foot-candles. Learning the steps to grow weeping fig trees begins with understanding that these tropical natives demand stable conditions. Root disturbance triggers ethylene production, prompting leaf abscission within 72 hours of repotting or relocation.
Materials
Soil pH must register between 6.0 and 6.5 for optimal nutrient availability. Use a commercial potting mix amended with 20% perlite and 15% composted pine bark to achieve a cation exchange capacity above 12 meq/100g. Nitrogen-heavy fertilizers disrupt the auxin-to-cytokinin ratio. Select a 4-4-4 organic meal derived from feather meal, bone meal, and kelp. Alternatively, apply a 10-10-10 slow-release synthetic at one-quarter strength every eight weeks during active growth.
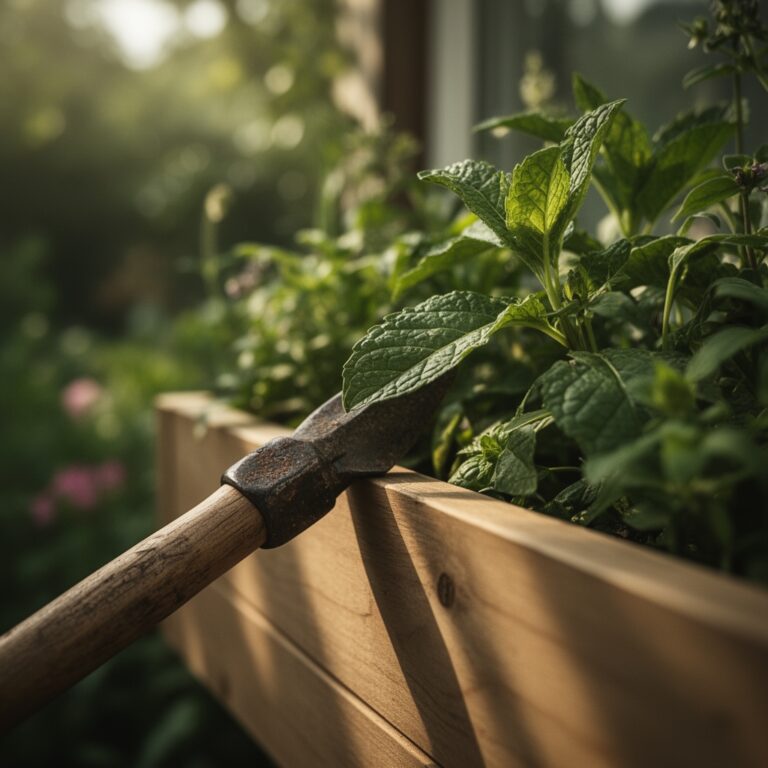
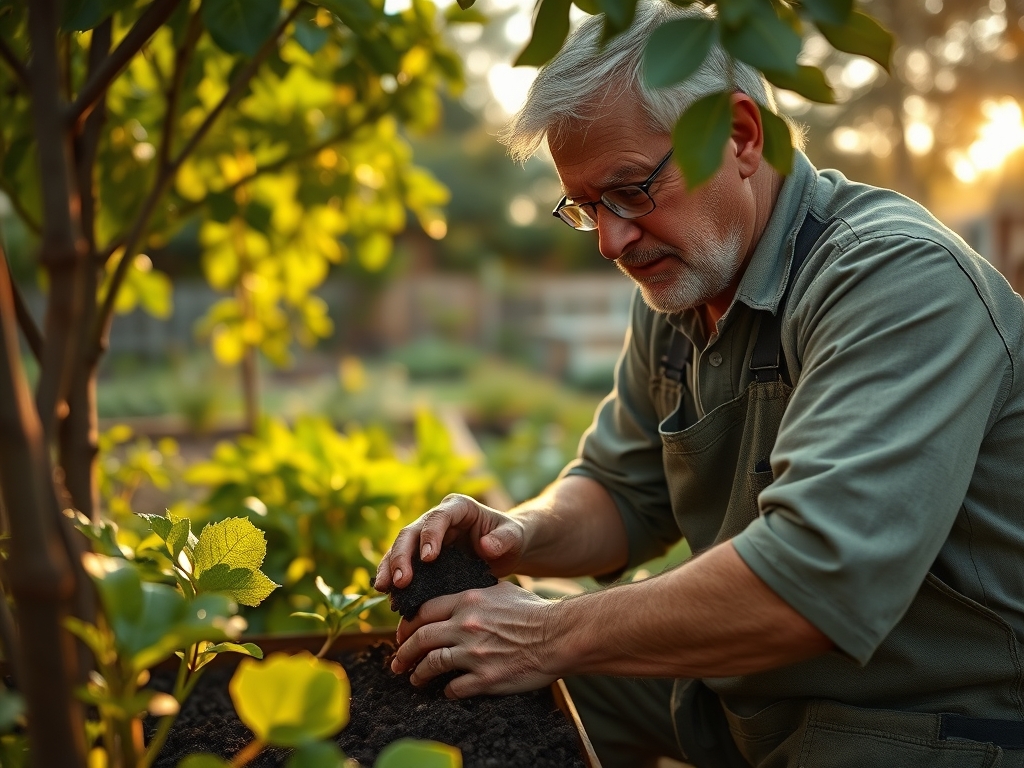
Container selection governs root architecture. Terracotta pots with 0.5-inch drainage holes allow gas exchange through porous sidewalls, reducing anaerobic pockets in the rhizosphere. Plastic containers retain moisture for 48 hours longer than unglazed clay, requiring recalibrated irrigation schedules. The container diameter should exceed the root ball by 2 inches, no more. Excessive soil volume encourages fungal colonization and waterlogging.
Mycorrhizal inoculant containing Glomus intraradices increases phosphorus uptake by 35%. Mix 1 tablespoon of granular inoculant into the planting hole at transplant. This arbuscular symbiosis compensates for the shallow, fibrous root system that characterizes the species.
Timing
Weeping fig trees tolerate USDA Hardiness Zones 10 through 12 outdoors year-round. In Zones 9 and below, treat the plant as a container specimen moved indoors when nighttime temperatures fall below 55°F. Transplant nursery stock between March 15 and May 30 in temperate regions, aligning root establishment with lengthening photoperiods. Indoor specimens tolerate repotting from February through June, provided ambient temperature remains above 68°F.
Avoid repotting or major pruning between October and January. Shortened daylength triggers dormancy-like slowdowns in cambial activity, reducing wound-healing capacity by 40%. Fungal pathogens exploit pruning cuts made during this window.
Phases
Sowing
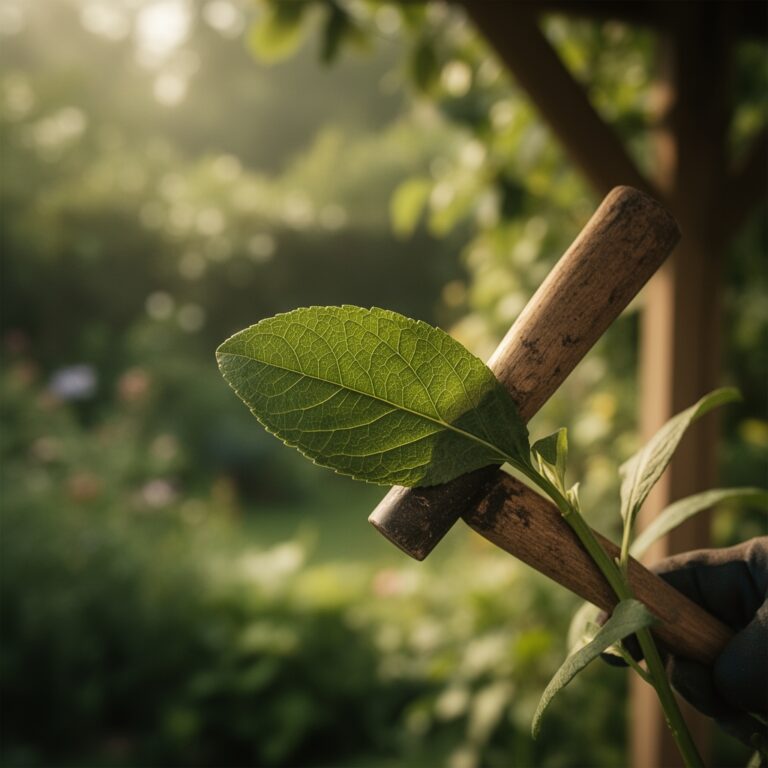
Commercial propagation relies on semi-hardwood cuttings rather than seed. Seed-grown plants exhibit juvenile foliage for 36 months and high genetic variability. Harvest 6-inch terminal cuttings in late spring, making the basal cut 0.25 inches below a node at a 45-degree angle. Remove all leaves except the apical two. Dip the cut end in 0.3% indole-3-butyric acid rooting hormone powder.
Insert cuttings 2 inches deep into a 50:50 perlite-vermiculite mix. Maintain substrate temperature at 75°F using a propagation heat mat. Enclose the container in a clear polyethylene bag to sustain 90% relative humidity. Rooting occurs within 4 to 6 weeks. Harden off rooted cuttings by exposing them to ambient humidity for 2 hours daily over 10 days.
Pro-Tip: Score the basal 1 inch of the cutting with a sterile blade, creating four shallow longitudinal wounds. This technique increases callus formation surface area by 60%, accelerating adventitious root emergence.
Transplanting
Slide the root ball from the nursery container without disturbing the outer root mat. Position the plant so the root flare sits 0.5 inches above the final soil line. Backfill with amended potting mix, tamping gently to eliminate air pockets. Water immediately with 1 quart of solution containing 1 teaspoon soluble kelp extract per gallon. This auxin supplement mitigates transplant shock.
Pro-Tip: Orient the plant's most developed canopy side toward the primary light source. Rotating the container after establishment disrupts phyllotactic patterning, causing uneven leaf drop.
Establishing
The first 90 days determine long-term health. Maintain soil moisture at field capacity, defined as the water content 24 hours after thorough irrigation when drainage ceases. Insert a moisture meter 4 inches deep; irrigate when the reading drops to 4 on a 10-point scale. This corresponds to 50% available water capacity in loam-based mixes.
Fertilize every 14 days with half-strength liquid 4-4-4, delivering nitrogen at 50 ppm per application. Monitor new leaf color; pale green indicates nitrogen deficiency, while dark green with bronze tinting suggests overfertilization and salt accumulation.
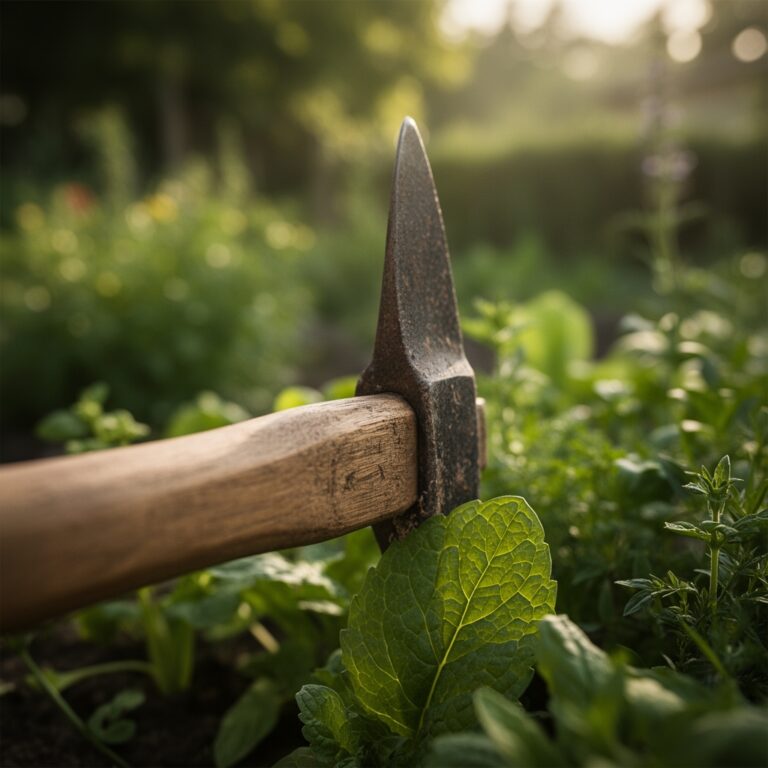
Pro-Tip: Prune competing leaders to establish a central axis. Make cuts 0.25 inches above outward-facing nodes at 30-degree angles to promote lateral branching. Pruning stub length directly correlates with dieback extent.
Troubleshooting
Symptom: Sudden defoliation of 30% to 50% of foliage within one week, no discoloration.
Solution: Ethylene shock from environmental change. Cease fertilization. Increase relative humidity to 60% using a pebble tray or humidifier. Avoid relocating the plant for 60 days.
Symptom: Yellow leaves with green veins, oldest foliage affected first.
Solution: Iron chlorosis from alkaline pH or overwatering. Test soil pH; amend with sulfur to lower if above 6.5. Reduce irrigation frequency by 25%. Apply chelated iron foliar spray at 150 ppm.
Symptom: Sticky honeydew coating on leaves; small white insects on stem undersides.
Solution: Mealybug infestation (Planococcus citri). Dip cotton swabs in 70% isopropyl alcohol and contact each insect directly. Spray all surfaces with insecticidal soap at 2% concentration every 5 days for three cycles.
Symptom: Brown leaf margins, crispy texture, concentrated on canopy periphery.
Solution: Fluoride toxicity from tap water. Switch to distilled or rainwater. Flush soil with 3 gallons of clean water per 1 gallon of pot volume to leach accumulated salts.
Symptom: Soft, dark roots with foul odor; wilting despite moist soil.
Solution: Pythium root rot from poor drainage. Unpot immediately, trim affected roots with sterilized shears. Repot into fresh mix with increased perlite ratio (30%). Drench soil with fosetyl-aluminum fungicide at label rate.
Maintenance
Irrigate with 1 inch of water when the top 2 inches of soil feel dry to the touch. In 70°F indoor conditions with moderate light, this interval averages 7 to 9 days. Empty drainage saucers within 15 minutes to prevent root asphyxiation.
Prune in late spring to remove crossing branches and maintain shape. Disinfect tools between cuts using 10% bleach solution. Remove no more than 20% of total canopy volume per session to avoid excessive stress.
Dust accumulation blocks stomata, reducing transpiration efficiency by 15%. Wipe leaves monthly with a damp microfiber cloth. Avoid leaf-shine products containing polyethylene glycol, which clogs stomatal pores.
Rotate the container 90 degrees every 30 days to equalize light exposure and prevent phototropic leaning. Mark the pot edge with tape to track rotation direction.
FAQ
How long do weeping fig trees live indoors?
With proper care, containerized specimens survive 20 to 40 years. Limit repotting to every 3 to 4 years to minimize root disturbance and associated leaf drop.
Can I grow weeping fig from grocery store figs?
No. Edible figs derive from Ficus carica, a different species with distinct cultural requirements and cold hardiness to Zone 6.
Why does my weeping fig drop leaves constantly?
Chronic leaf drop indicates cumulative stress from inconsistent watering, temperature fluctuations below 60°F, or drafts from HVAC vents. Stabilize conditions for 6 weeks.
What light level is ideal?
Provide 200 to 400 foot-candles, equivalent to bright indirect light 5 feet from an unobstructed south window. Variegated cultivars require 300 to 500 foot-candles to maintain pigmentation.
Is weeping fig toxic to pets?
Yes. All plant parts contain ficin and psoralen compounds. Ingestion causes oral irritation, hypersalivation, and gastrointestinal upset in cats and dogs. Position plants beyond pet access.