5 Simple Steps to Use Ceramic Pots
The first time you lift a glazed ceramic pot, you notice the weight: dense, cool in the palm, twice as heavy as plastic. That mass matters. The thick walls buffer root temperatures by 8-12 degrees Fahrenheit compared to thin resin containers. Mastering the steps to use ceramic pots transforms how roots colonize media, how salts accumulate at the rim, and how often you'll reach for the watering can. Ceramic breathes. Water vapor passes through unglazed terracotta at roughly 0.3 grams per square inch per day, creating a micro-climate inside the rhizosphere that encourages lateral root branching and discourages anaerobic pockets.
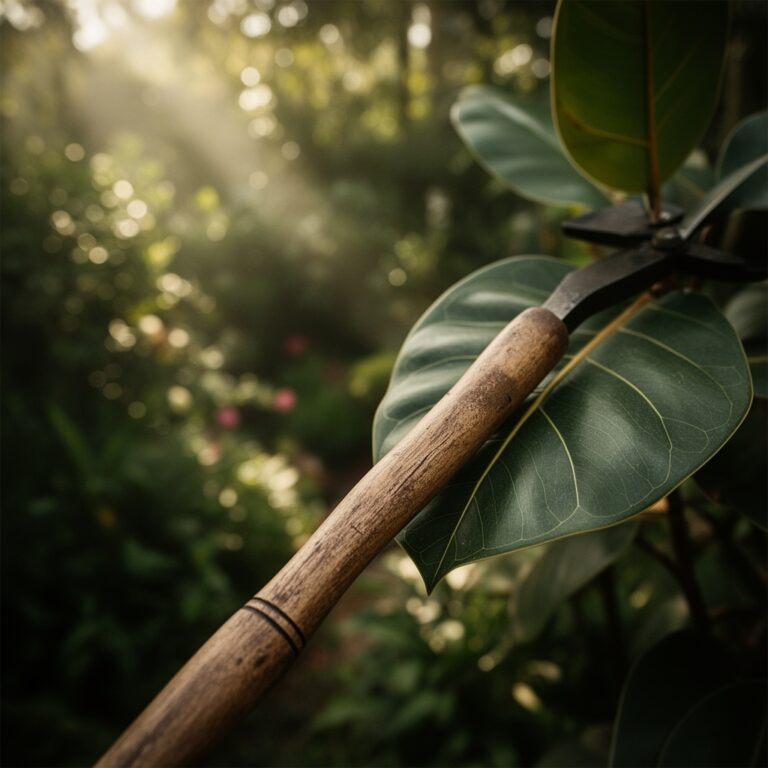
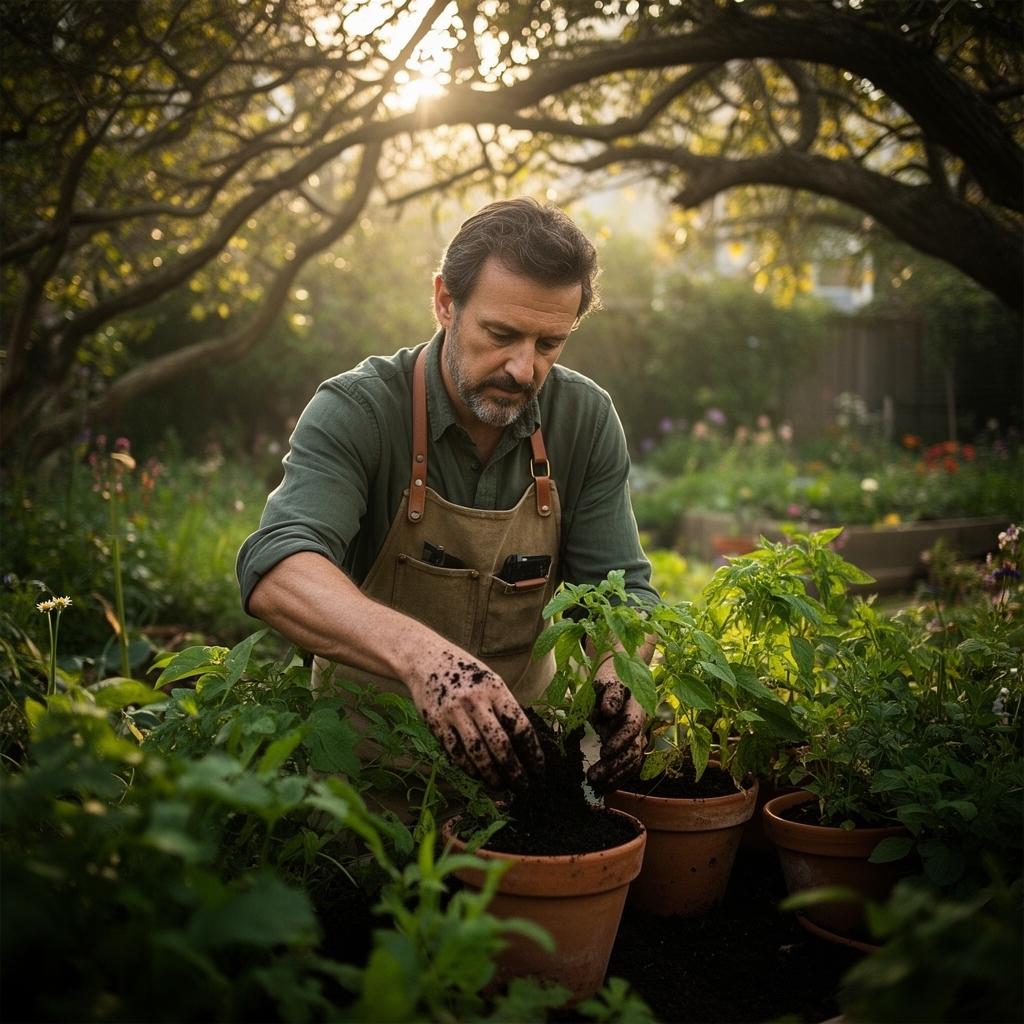
Materials
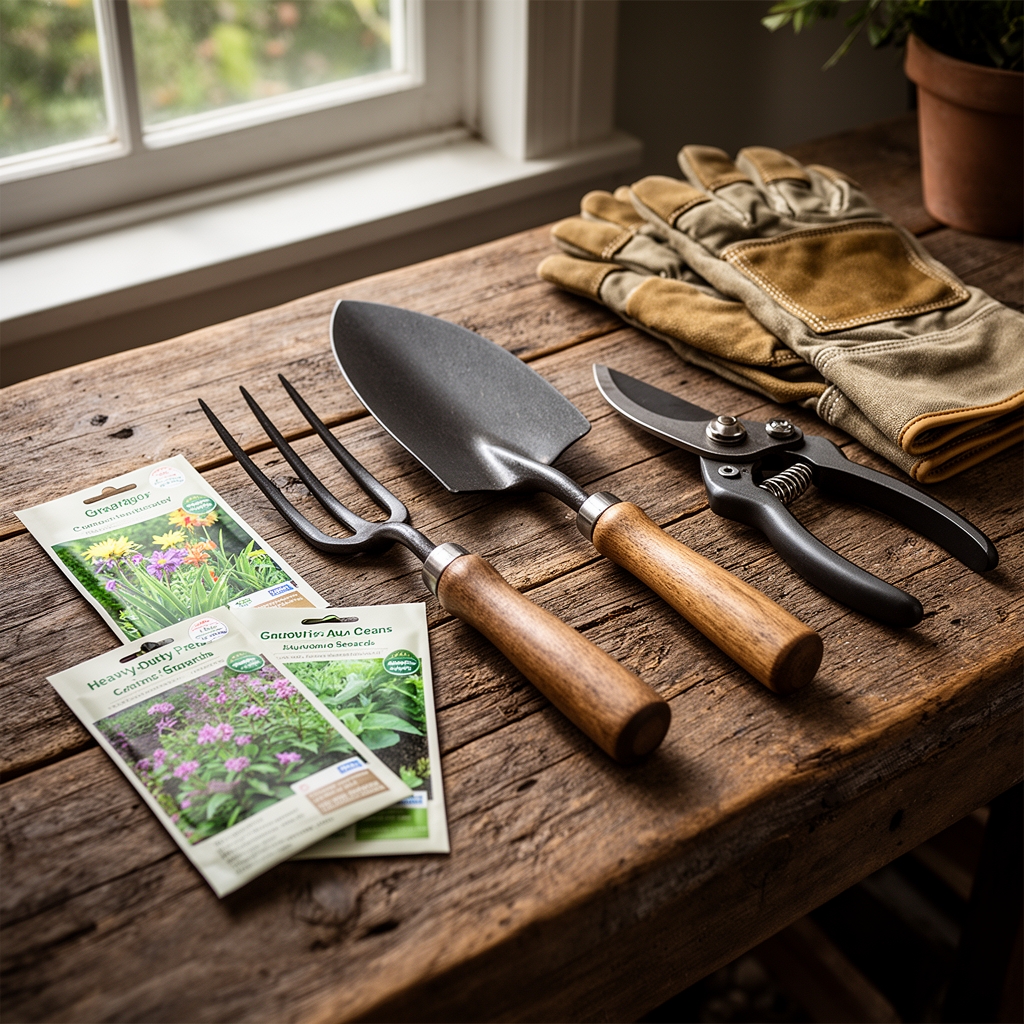
Select containers with at least one drainage hole per 6 inches of diameter. Match pot volume to mature root mass: a 10-gallon ceramic vessel accommodates most perennial shrubs up to 36 inches tall.
For media, blend 40% composted pine bark (pH 5.5-6.2), 30% Canadian sphagnum peat, 20% perlite (grade 3, coarse), and 10% worm castings. This mixture provides cation exchange capacity near 12 meq/100g, holding nutrients against leaching while permitting oxygen diffusion.
Incorporate a granular organic fertilizer at 4-4-4 NPK ratio: bone meal contributes phosphorus for root initiation, feather meal releases nitrogen over 8-10 weeks, and kelp meal supplies trace cytokinins. Add dolomitic lime at 2 tablespoons per gallon of media if your municipal water pH falls below 6.0.
Mycorrhizal inoculant powder (Rhizophagus irregularis at 120 propagules per gram) should contact roots directly during transplant. The fungal hyphae extend effective root surface area by 100-1,000 times, accessing phosphorus in soil pores ceramic pots cannot reach.
Timing
In USDA Hardiness Zones 7-9, transplant woody perennials into ceramic pots between March 15 and April 30, after the final frost date but before bud break accelerates. Roots establish best when soil temperatures stabilize between 50-65 degrees Fahrenheit.
For Zones 5-6, delay until late April or early May. Ceramic retains cold; a late freeze can crack both glaze and root cambium. In Zones 10-11, avoid transplanting from June through August. Evaporative cooling through ceramic walls cannot compensate for ambient temperatures above 95 degrees Fahrenheit, and root desiccation occurs within 36 hours of missed irrigation.
Fall planting works for spring-blooming bulbs and cold-hardy brassicas. Pot between September 20 and October 31 in northern zones, allowing 6-8 weeks for root development before hard freeze.
Phases
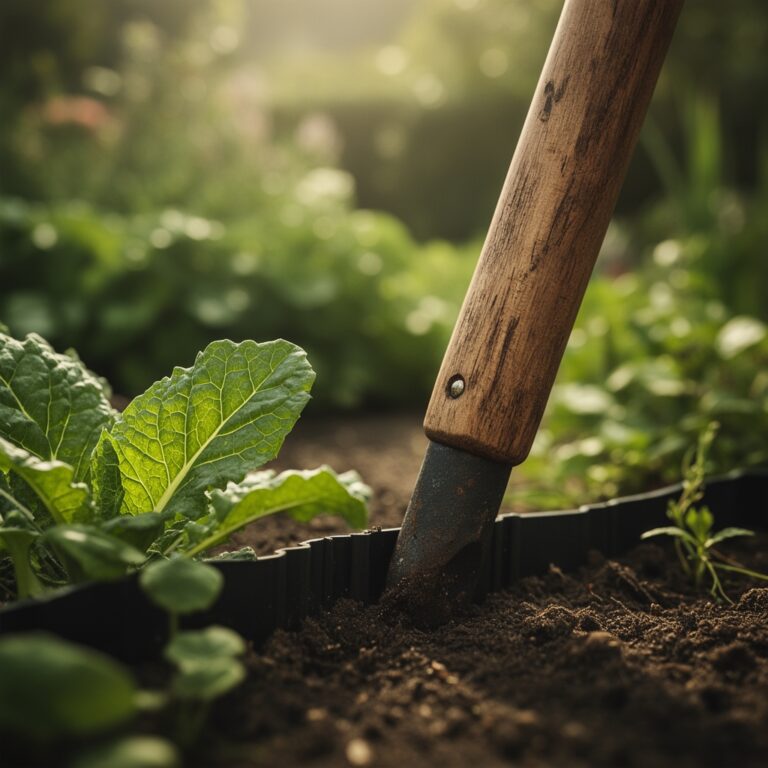
Sowing: Fill the ceramic pot to within 1 inch of the rim. Tamp media gently to eliminate air pockets but avoid compaction; bulk density should remain below 0.5 g/cm³. Sow seeds at twice their diameter in depth. Cover with a thin layer of vermiculite to maintain surface moisture without crusting. Water from below by placing the pot in a tray with 0.5 inches of tepid water for 20 minutes, allowing capillary action to saturate the media.
Pro-Tip: Sprinkle milled sphagnum moss over the surface at 1 teaspoon per 6-inch pot. The moss releases natural fungicides that suppress damping-off pathogens (Pythium, Rhizoctonia) during the vulnerable cotyledon stage.
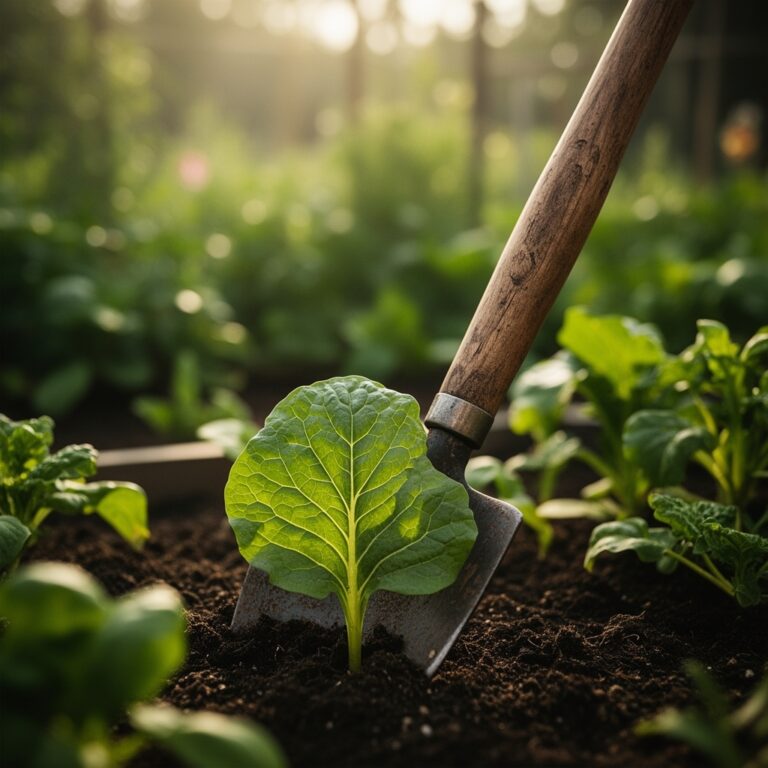
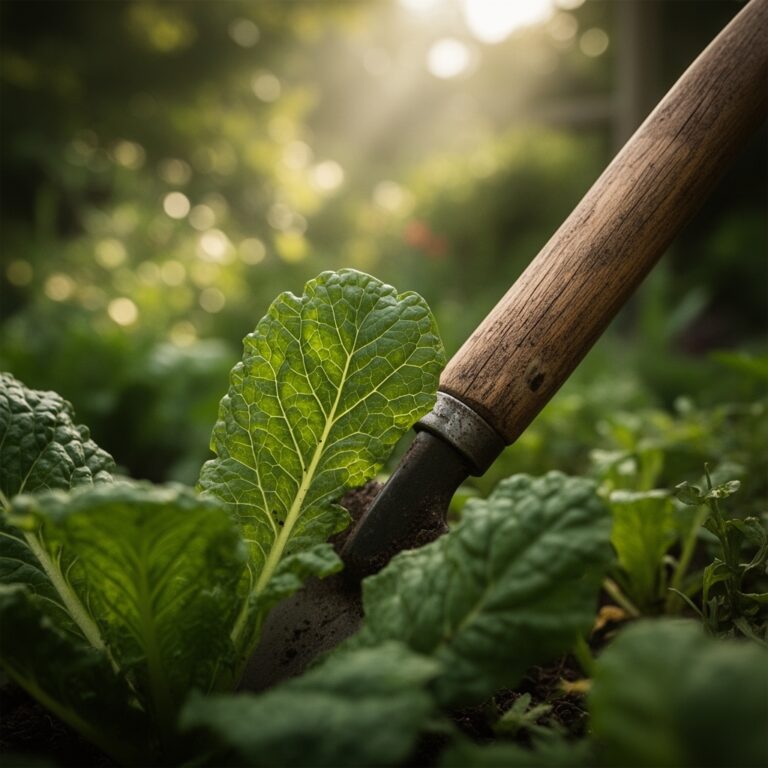
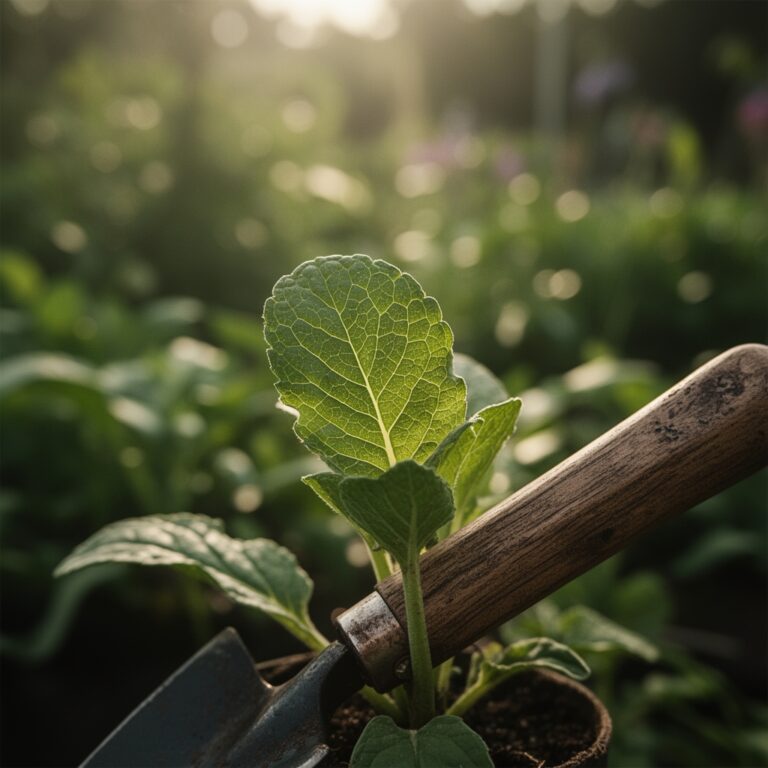
Transplanting: Knock the rootball from its nursery container and inspect for circling roots. Prune any root thicker than a pencil that circles more than 180 degrees, cutting at a 45-degree angle to stimulate lateral branching. Position the crown 0.25 inches below the pot rim to prevent media washout. Backfill around the rootball, working media into voids with your fingers. Water thoroughly until liquid drains freely, then water again 10 minutes later to collapse remaining air gaps.
Pro-Tip: Dust the pruned root cuts with rooting hormone powder containing 0.1% indole-3-butyric acid (IBA). Auxin distribution at the wound site triggers adventitious root formation within 72 hours.
Establishing: Place the potted plant in dappled light (40-60% shade cloth) for 7-10 days post-transplant. Full sun during establishment increases transpiration demand faster than damaged roots can absorb water. Monitor turgidity by pinching a mature leaf at midday; it should feel firm, not flaccid. Gradually increase light exposure by 10% every three days.
Pro-Tip: Apply a kelp foliar spray (diluted 1 tablespoon per gallon) at dawn on day 3 and day 7. Cytokinins absorbed through stomata reduce transplant shock by maintaining cell division in root meristems.
Troubleshooting
Symptom: White crust on the ceramic rim and media surface.
Solution: Salt accumulation from hard water or over-fertilization. Leach pots monthly by running water through the media at three times the pot volume. If total dissolved solids exceed 800 ppm in your source water, switch to reverse-osmosis water or collect rainwater.
Symptom: Algae film on the exterior pot surface.
Solution: Excessive moisture and light exposure. Reduce irrigation frequency by 20%. Move the pot away from reflected light or wipe the surface weekly with a 3% hydrogen peroxide solution.
Symptom: Leaves yellowing from the base upward; stunted growth.
Solution: Root rot from poor drainage or overwatering. Tip the pot and inspect drainage holes; roots should be white or tan, not brown or mushy. Repot into fresh media with additional perlite (increase to 30% by volume). Reduce watering to once every 5-7 days.
Symptom: Leaf margins browning; crispy texture.
Solution: Underwatering or low humidity. Ceramic pots wick moisture faster than plastic. Increase irrigation frequency or group pots to raise local humidity to 50-60%.
Symptom: Fine webbing on leaf undersides; stippled yellow spots.
Solution: Spider mites (Tetranychus urticae). Spray all leaf surfaces with insecticidal soap (2% potassium salts of fatty acids) at 7-day intervals for three applications. Increase humidity above 60% to slow mite reproduction.
Maintenance
Water when the top inch of media feels dry to the touch, typically every 4-6 days in moderate climates. Deliver 1 inch of water per watering event, measured by placing a rain gauge in the pot or calculating 0.6 gallons per square foot of surface area.
Fertilize every 4 weeks during active growth with a liquid 5-5-5 organic fish emulsion diluted to half-strength. Cease fertilization 8 weeks before the first expected frost to harden off tissue.
Rotate pots 90 degrees weekly to ensure even light distribution and prevent phototropic lean. Scrub the exterior every spring with a stiff brush and mild dish soap to remove algae and mineral deposits.
Repot every 2-3 years in early spring, increasing pot diameter by 2 inches. Prune away the outer 1 inch of the rootball with a clean knife to stimulate feeder root regeneration.
FAQ
Do ceramic pots need saucers?
Yes. Saucers prevent water damage to surfaces and allow bottom-watering. Empty saucers after 30 minutes to avoid root asphyxiation.
Can I leave ceramic pots outdoors in winter?
Only if rated frost-proof and empty. Filled pots crack when saturated media freezes and expands. Store in an unheated garage or wrap in bubble wrap and elevate on pot feet.
How do I clean used ceramic pots?
Soak in a 10% bleach solution for 10 minutes to kill pathogens. Scrub with a stiff brush, rinse thoroughly, and air-dry for 24 hours before reuse.
What's the lifespan of a ceramic pot?
High-fired stoneware lasts 20-30 years with proper care. Low-fired terracotta degrades faster in freeze-thaw cycles, averaging 5-10 years.
Should I seal the inside of unglazed terracotta?
Sealing reduces breathability, negating ceramic's main advantage. If salt buildup is severe, leach monthly instead.