5 Secret Ways How to Grow Philodendron Gloriosum
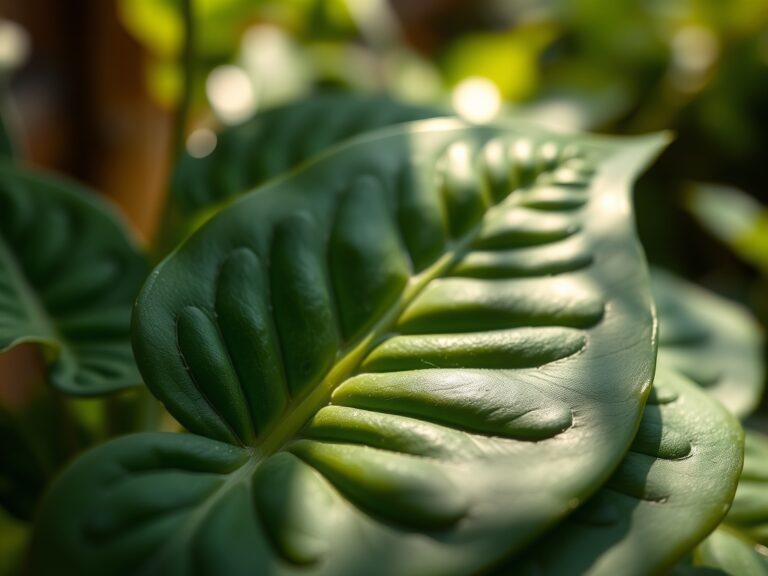
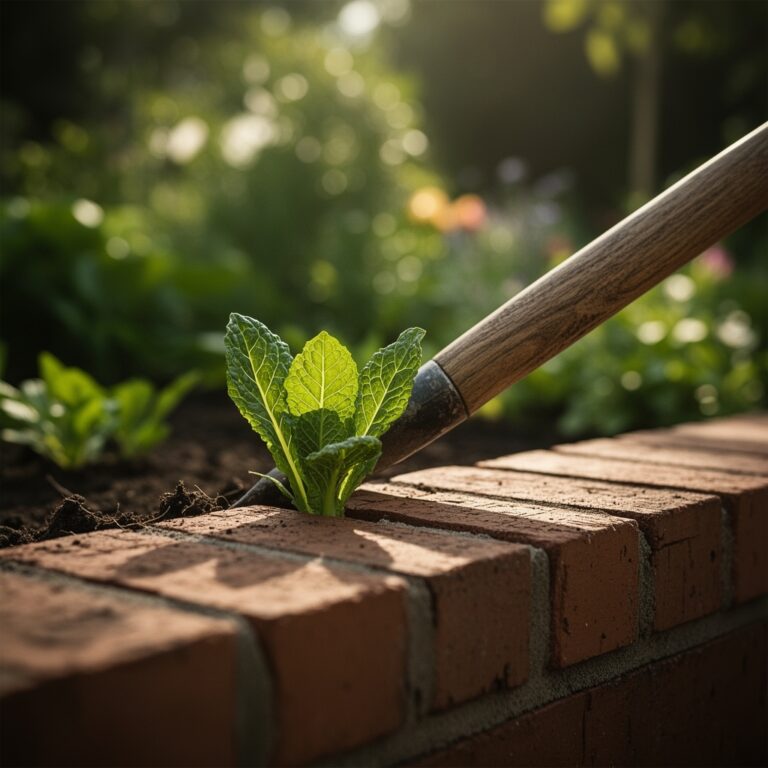
The scent of damp, anaerobic decomposition signals failure; the smell of earthy, oxygenated humus signals success. To master how to grow philodendron gloriosum, one must understand that this is a terrestrial crawler, not an epiphyte. Its health is measured by the turgor pressure within its thick, velvet-textured cordate leaves. A healthy specimen maintains a rigid petiole and a firm, horizontal rhizome. Success requires precise control over the rhizosphere to prevent the cellular collapse of the root system.
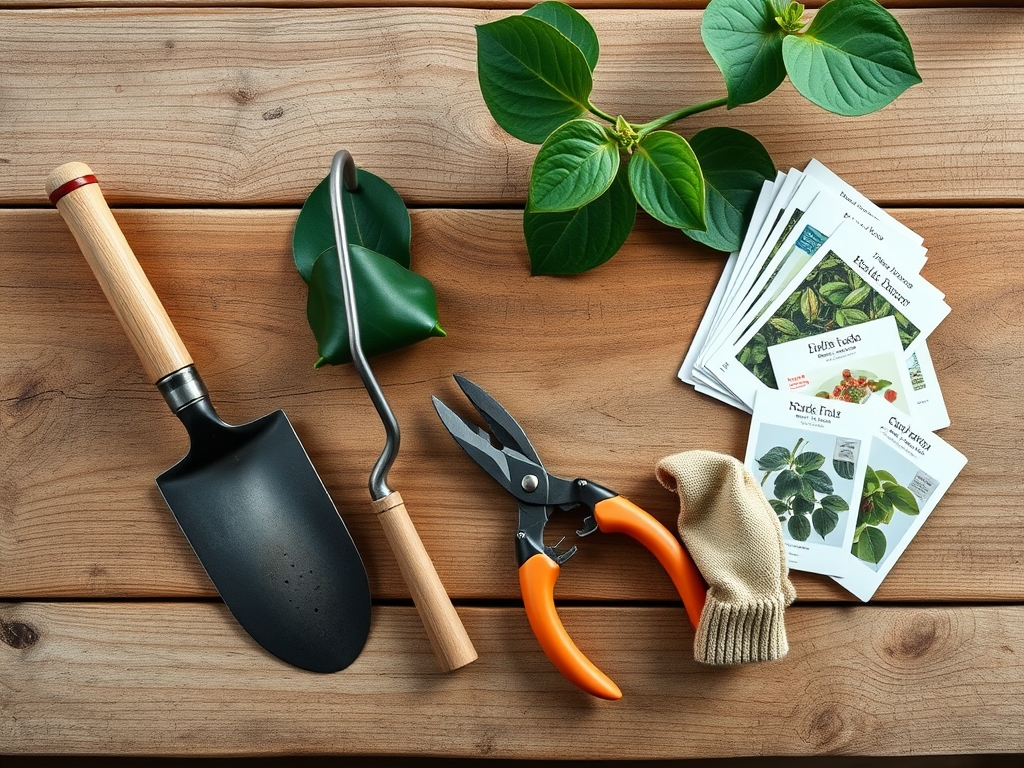
Materials:
Cultivation begins with a substrate that balances moisture retention with high porosity. The ideal medium is a friable loam with a pH range between 5.5 and 6.5. This acidity ensures optimal nutrient availability, particularly for micronutrients like iron and manganese.
The chemical profile of the soil must support steady vegetative growth without causing salt buildup. Use a 3-1-2 NPK ratio (Nitrogen, Phosphorus, Potassium) to prioritize foliage development and root health. Nitrogen drives the production of chlorophyll in the large leaf blades. Phosphorus supports the expansion of the creeping rhizome. Potassium regulates the opening and closing of stomata, which is critical for transpiration.
The physical texture must be chunky to allow for a high Cation Exchange Capacity (CEC). Mix 40 percent orchid bark, 20 percent perlite, 20 percent coco coir, and 20 percent horticultural charcoal. This mixture prevents compaction, which is the primary cause of rhizome rot. The charcoal acts as a buffer, absorbing excess salts and impurities that could burn the sensitive root hairs.
Timing:
Philodendron gloriosum is native to the tropical understory of Colombia. It thrives in USDA Hardiness Zones 11 and 12. In these regions, it can remain outdoors year-round. For growers in temperate zones, the plant must be transitioned indoors when ambient temperatures drop below 60 degrees Fahrenheit (15.5 degrees Celsius).
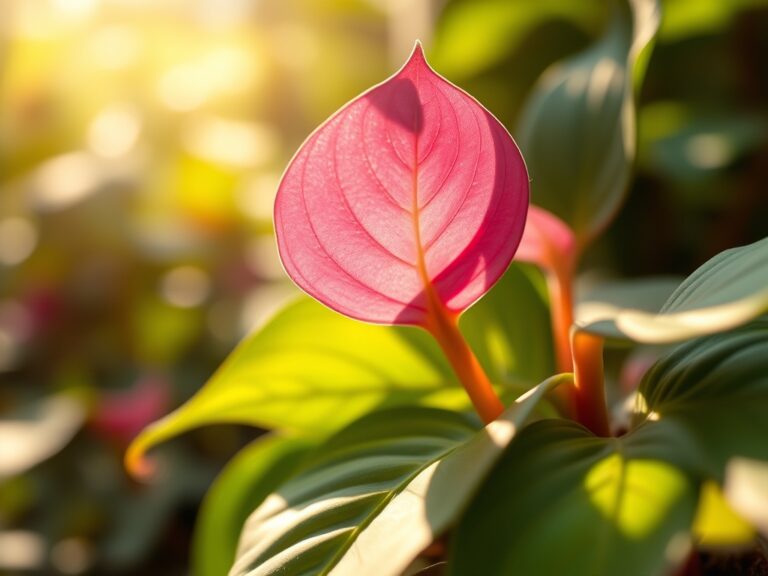
The biological clock of this species is dictated by the photoperiod. During the spring and summer, the plant enters a vigorous vegetative state. This is the period of maximum cellular division. As the day length shortens in autumn, the metabolic rate slows. Growth does not cease entirely, but the rate of leaf emergence decreases. Avoid heavy fertilization during this period of senescence to prevent the accumulation of unused minerals in the substrate.
Phases:
Sowing and Propagation
Propagation is typically achieved through rhizome cuttings rather than seeds. Identify a section of the rhizome with at least two nodes. Use a sterilized blade to make a clean cut. Ensure the cutting has a healthy axillary bud.
Pro-Tip: Dust the cut ends with activated charcoal or cinnamon. This prevents fungal pathogens from entering the vascular tissue. By sealing the wound, you preserve the plant's internal hydraulic pressure, allowing the cutting to focus energy on root initiation rather than wound repair.
Transplanting
When moving a specimen to a larger vessel, choose a long, rectangular planter rather than a deep, circular pot. This accommodates the terrestrial crawling habit. Place the rhizome on top of the soil. Do not bury it. Only the roots extending from the bottom of the rhizome should be submerged in the substrate.
Pro-Tip: Position the growing tip at one end of the rectangular pot to allow maximum "runway" for the plant to crawl. This strategy minimizes the frequency of transplanting, which reduces the risk of transplant shock and root hair desiccation.
Establishing
The establishment phase lasts approximately four to six weeks. During this time, maintain a constant humidity level of 60 to 80 percent. Monitor the leaf angle. If the leaves begin to droop, it indicates a lack of turgor pressure, often caused by a damaged root system or insufficient ambient moisture.
Pro-Tip: Use a soil moisture meter to ensure the substrate remains at a "3" or "4" on a 10-point scale. Over-saturation during the establishment phase leads to oxygen deprivation in the rhizosphere, triggering anaerobic rot before the plant can develop a robust root architecture.
The Clinic:
Physiological disorders in Philodendron gloriosum often manifest as visible changes in the foliage.
- Symptom: Yellowing of older leaves (Chlorosis).
Solution: This typically indicates a Nitrogen deficiency. If the yellowing is localized to the leaf margins, check for salt buildup. Flush the substrate with distilled water to reset the EC (Electrical Conductivity) levels.
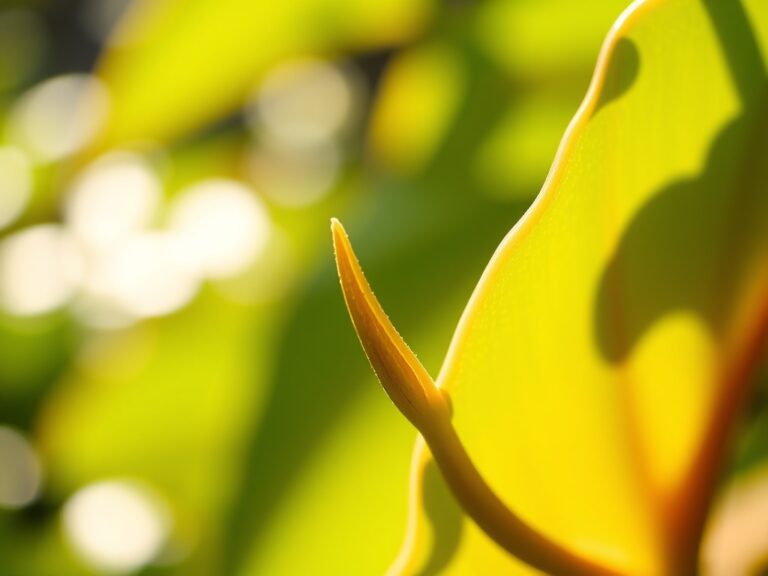
- Symptom: Small, distorted new growth.
Solution: This is often a sign of Calcium deficiency or low humidity. Calcium is immobile within the plant; if the transpiration stream is weak due to low humidity, calcium cannot reach the new growth. Increase humidity to above 60 percent.
- Symptom: Brown, mushy spots on the rhizome.
Solution: This is rhizome rot caused by excessive moisture or deep planting. Use a hori-hori knife to excise the decayed tissue. Treat the area with a copper-based fungicide and adjust the planting depth so the rhizome sits above the soil line.
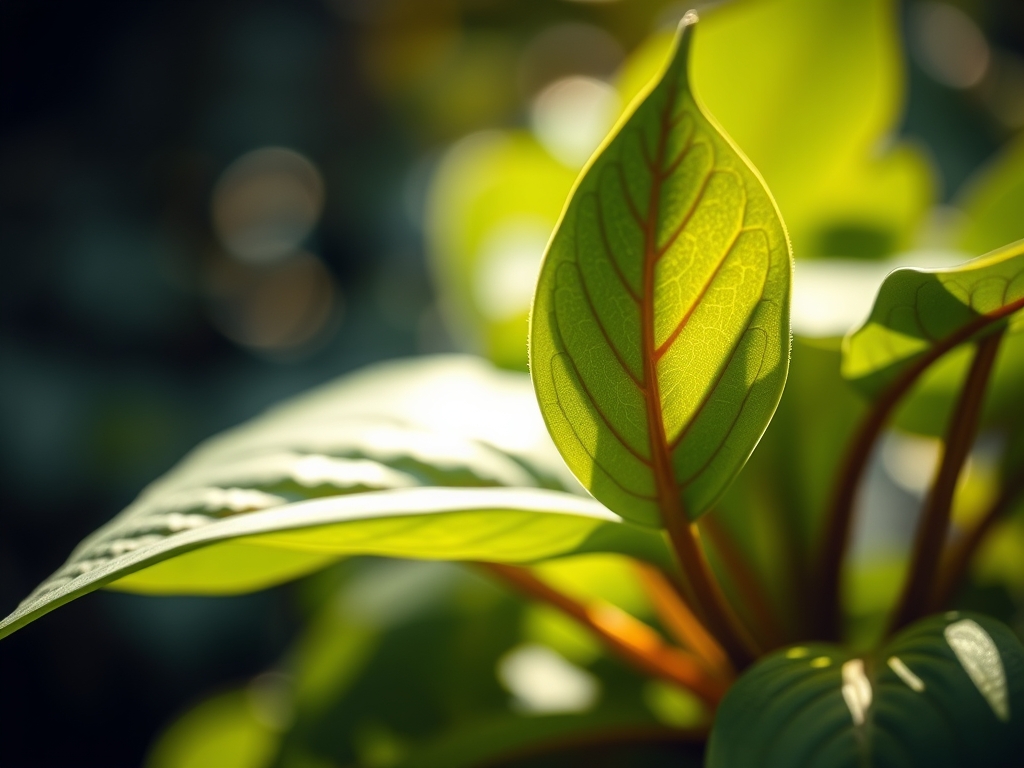
- Symptom: Pale leaves with dark green veins (Interveinal Chlorosis).
Solution: This indicates a Magnesium or Iron deficiency. Check the soil pH. If the pH is above 7.0, the plant cannot uptake these minerals. Lower the pH using elemental sulfur or iron chelates.
Maintenance:
Precision maintenance is required to sustain the massive leaf surface area. Provide 1.5 inches of water per week, distributed evenly across the substrate. Never pour water directly onto the rhizome; apply it to the surrounding soil to encourage the roots to reach outward.
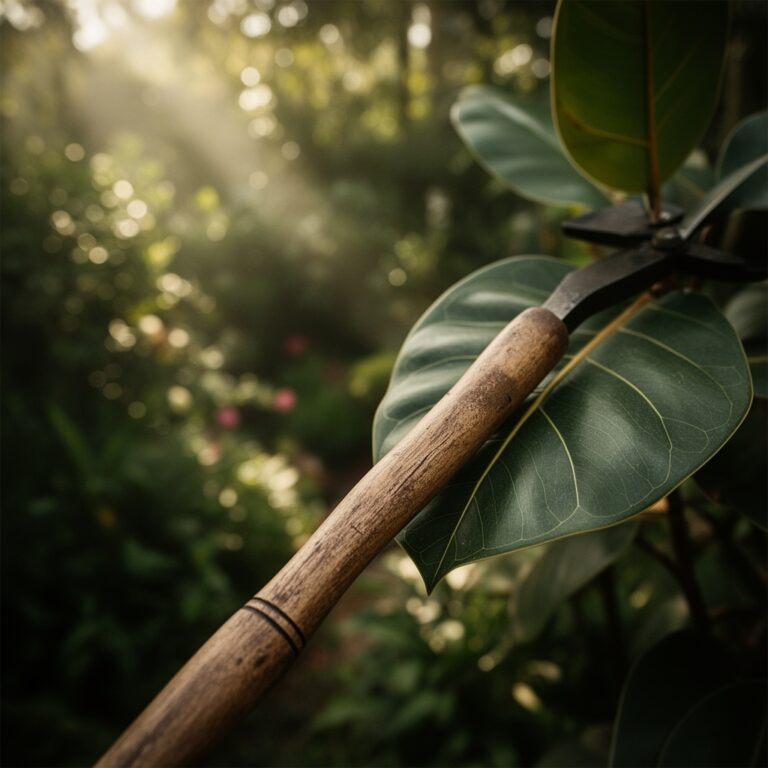
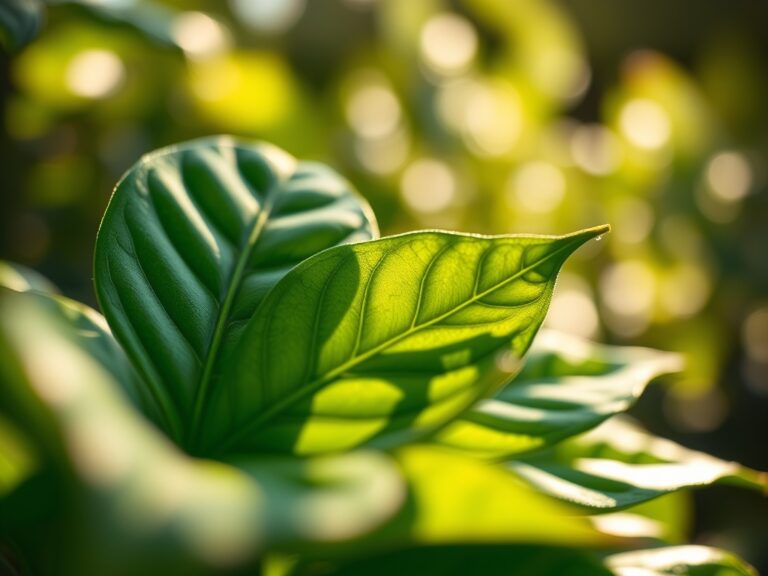
Use bypass pruners to remove any yellowing or necrotic foliage. Make cuts at the base of the petiole, near the rhizome. This prevents the plant from wasting energy on senescing tissues. Clean the large leaf blades weekly with a damp cloth and distilled water. Dust accumulation blocks the stomata, reducing the rate of photosynthesis and gas exchange.
Light levels should be maintained at 1,500 to 2,500 foot-candles. Direct sunlight will cause solarization, a condition where the chlorophyll is bleached, leaving permanent white or brown scorch marks on the velvet surface. Use a light meter to verify that the location provides bright, filtered light.
The Yield:
While not an edible crop, the "yield" of a Philodendron gloriosum is its massive, pristine foliage. To maintain "day-one" freshness after a leaf has reached full expansion, maintain consistent environmental variables. Sudden shifts in temperature or humidity can cause "guttation," where the plant expels excess water through hydathodes at the leaf tips. If this fluid contains high concentrations of salts, it can cause "tip burn."
FAQ:
How much light does Philodendron gloriosum need?
Provide 1,500 to 2,500 foot-candles of bright, indirect light. Avoid direct solar exposure, which causes leaf solarization and permanent tissue damage. A north or east-facing window with filtered light is typically optimal for maintaining high chlorophyll density.
Why are the leaves on my plant turning yellow?
Yellowing is often caused by Nitrogen chlorosis or over-saturation of the substrate. Ensure the soil pH is between 5.5 and 6.5. Check the rhizome for firmness; mushy tissue indicates rot, while firm tissue suggests a nutrient deficiency or natural senescence.
Can I grow Philodendron gloriosum in a round pot?
While possible, a long, rectangular planter is superior. This species is a terrestrial crawler. A rectangular vessel provides the necessary horizontal space for the rhizome to expand, preventing the plant from growing over the edge and losing root contact.
How often should I fertilize?
Apply a balanced liquid fertilizer with a 3-1-2 NPK ratio every four weeks during the active growing season. Reduce frequency to every eight weeks during winter. Always flush the substrate with plain water between feedings to prevent harmful mineral salt accumulation.