5 Quick Ways How to Use Plastic Edging
Plastic edging transforms chaos into order. When you walk a garden border where soil has spilled onto pathways and grass creeps into flower beds, you witness the consequences of undefined boundaries. The steps to use plastic edging begin with understanding that this material creates a physical barrier between competing ecosystems, maintaining pH boundaries and preventing nutrient migration between managed beds and wild perimeters. A single afternoon of proper installation saves dozens of hours spent re-cutting edges each season.
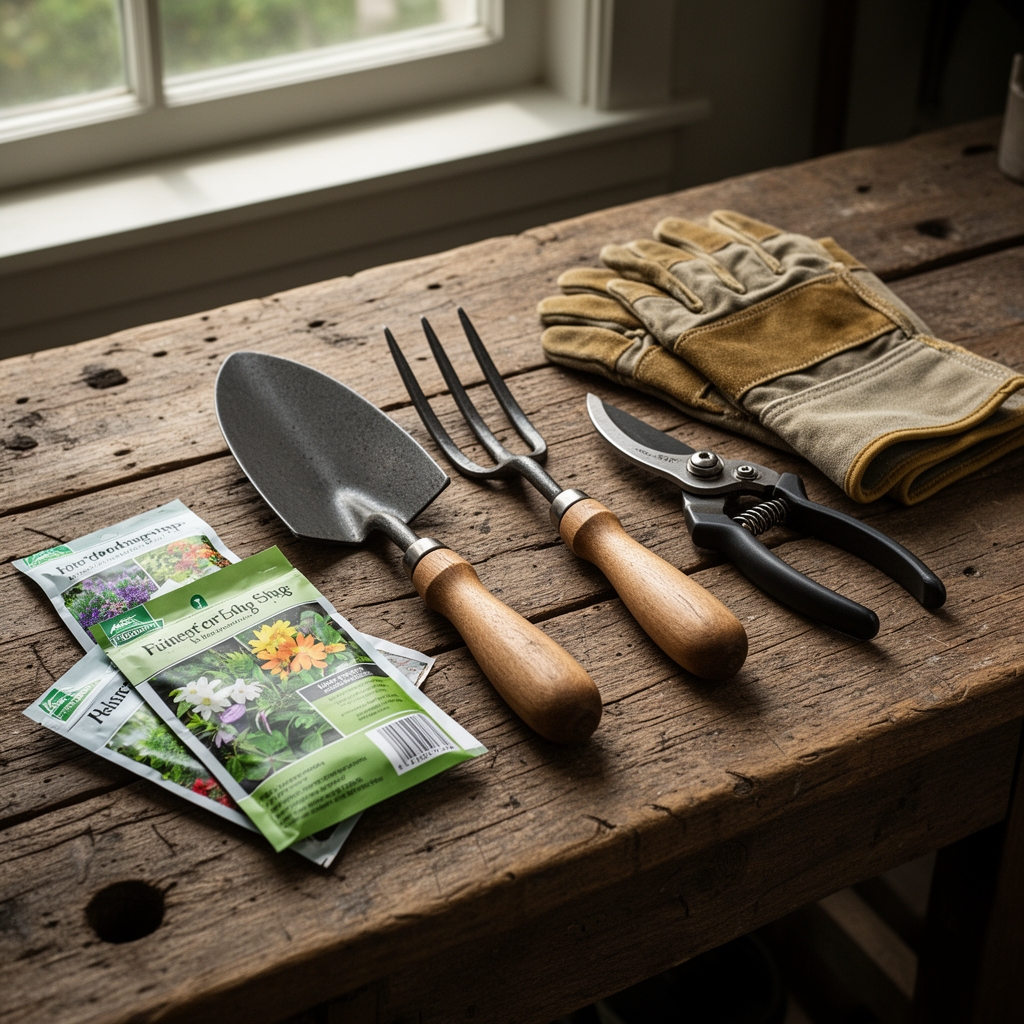
Materials
Select plastic edging rated for UV resistance above 800 hours. The material must remain flexible at temperatures down to 15°F. Polyethylene resin with a thickness of 0.080 inches provides the structural integrity needed for clay soils with high cation exchange capacity.
For soil amendment along the installation trench, use compost with a pH of 6.2 to 6.8 and an NPK ratio of 1-1-1. This balanced profile supports root establishment without promoting excessive vegetative growth. If working in acidic conditions below pH 5.5, incorporate dolomitic lime at 5 pounds per 100 square feet to stabilize the boundary zone.
Anchor stakes must be 8 inches long for sandy loam, 10 inches for clay. Galvanized steel resists corrosion better than untreated alternatives. A rubber mallet protects the edging lip during installation. A flat spade with a blade width of 4 inches cuts precise trenches without disturbing adjacent root zones.
Timing
Install plastic edging when soil moisture content reaches field capacity, typically 48 hours after a 1-inch rain event. The ground must be soft enough to excavate cleanly but firm enough to hold the trench shape.
In Hardiness Zones 3 through 6, schedule installation between April 15 and May 30, after the final frost date but before peak summer root growth. Zones 7 through 9 offer a wider window from March 1 through October 31. Avoid installation when soil temperatures exceed 85°F, as heat stress disrupts mycorrhizal fungi colonization along new boundaries.
Fall installation in Zones 5 and colder allows frost heaving to test the anchor system before spring. Any displacement becomes evident by March, permitting correction before the growing season.
Phases

Layout and Trenching
Mark the border path with ground flags at 3-foot intervals. Use a garden hose to visualize curves; straight lines require only a taut string. Excavate a trench 4 inches deep and 3 inches wide along the marked route. Slope the trench sides at 80 degrees to prevent collapse. Remove rocks larger than 1 inch in diameter, as they create pressure points that crack the edging over time.
Pro-Tip: Sprinkle granular mycorrhizal inoculant at 1 teaspoon per linear foot into the trench base. This establishes symbiotic networks that stabilize soil structure along the barrier.
Installation
Uncoil the edging and let it rest in direct sunlight for 30 minutes. Warmth increases flexibility by 40 percent. Position the edging so the rounded lip extends 0.5 inches above final grade. Backfill both sides simultaneously, tamping every 6 inches with a hand tamper to eliminate air pockets. Insert anchor stakes every 4 feet on straight runs, every 2 feet on curves exceeding 45 degrees.
Pro-Tip: Overlap edging ends by 6 inches and secure with two stakes driven through both layers at opposing 30-degree angles. This prevents frost from separating joints.
Establishing Boundaries
Trim turf and bed material to meet the edging face. Use a half-moon edger held vertically against the plastic to create a clean junction. Apply a 2-inch layer of shredded hardwood mulch on the bed side, keeping it 1 inch below the edging lip to prevent spillover. On the lawn side, maintain grass height at 3 inches to reduce auxin distribution toward the barrier.
Pro-Tip: Water the installation zone with 0.5 inches of water immediately after completion. This settles soil particles and initiates the consolidation process.
Troubleshooting
Symptom: Edging lifts above grade after winter.
Solution: Drive additional stakes at 18-inch intervals. Frost heaving indicates insufficient anchoring density for your soil type.
Symptom: Grass roots tunnel beneath the barrier.
Solution: Excavate a 2-inch depth extension and install a 4-inch gravel layer beneath the edging base. This creates a hostile environment for shallow root penetration.
Symptom: Edging cracks at stake points.
Solution: Replace stakes with rubber-coated variants. Standard metal creates stress concentration under freeze-thaw cycling.
Symptom: Mulch migrates over the lip onto pathways.
Solution: Reduce mulch depth to 1.5 inches and raise the edging lip to 0.75 inches above grade by excavating the pathway side.
Maintenance
Inspect the edging perimeter every 60 days during the growing season. Re-tamp settled sections with a hand tamper and add stakes where displacement exceeds 0.25 inches. Edge the turf side with a string trimmer held at a 45-degree angle every 14 days to prevent thatch accumulation against the barrier.
Apply 1 inch of water per week to the border zone during drought. Desiccated soil shrinks away from the edging, creating gaps for weed establishment. Remove debris accumulation monthly, as organic matter decomposition acidifies the boundary microenvironment and accelerates plastic degradation.
FAQ
How deep should plastic edging sit?
Install with 3.5 inches below grade and 0.5 inches above. This ratio balances visibility with root barrier function.
Can plastic edging damage tree roots?
Position edging 18 inches beyond the drip line minimum. Closer installation severs feeder roots responsible for 80 percent of water uptake.
What thickness works for heavy clay?
Use 0.100-inch thickness in clay with plasticity index above 20. Thinner materials buckle under expansion pressure.
How long does plastic edging last?
UV-stabilized polyethylene maintains structural integrity for 15 to 20 years in Zones 4 through 8 with proper installation.
Should edging follow existing grade?
Yes. Maintain consistent depth by adjusting trench base rather than angling the edging, which creates weak points.