10 Sustainable Ways How to Design a Low Water Landscape
Turgor pressure dictates the structural integrity of every leaf in your garden. When a plant lacks water, the vacuoles within its cells shrink; the result is a flaccid, drooping specimen that cannot photosynthesize efficiently. Understanding how to design a low water landscape requires a shift from aesthetic decoration to rigorous environmental engineering. You are not merely planting; you are managing a hydraulic system where every drop of moisture must be accounted for within the rhizosphere.
Success in arid or drought-prone environments depends on the soil's ability to retain moisture while providing adequate aeration. A friable loam with a high Cation Exchange Capacity (CEC) ensures that nutrients remain available even when water levels fluctuate. By selecting species adapted to your specific microclimate, you reduce the metabolic stress on the plants. This technical approach transforms a high-maintenance yard into a self-sustaining ecosystem that thrives on minimal supplemental irrigation. We will analyze the specific chemical, biological, and mechanical steps necessary to achieve this balance.
Materials:
The foundation of a low water landscape is the substrate. You must target a soil pH between 6.0 and 7.5 to ensure maximum nutrient bioavailability. In alkaline soils common to arid regions, phosphorus becomes locked, leading to stunted growth.
- Substrate Texture: Aim for a friable loam consisting of 40 percent sand, 40 percent silt, and 20 percent clay. This ratio provides the capillary action needed to move water upward while preventing the anaerobic conditions found in heavy clay.
- Organic Matter: Incorporate composted material to achieve a 5 percent organic matter content. This increases the soil's water-holding capacity by up to 20,000 gallons per acre for every 1 percent increase.
- Nutrient Ratios: For establishment, utilize a slow-release fertilizer with an NPK ratio of 5-10-5. High phosphorus (the middle number) encourages robust root architecture rather than excessive, water-demanding leaf canopy.
- Mulch Layer: Apply 3 inches of coarse arborist wood chips. Fine mulches can form a hydrophobic crust that repels water; coarse textures allow gas exchange and moisture penetration.
Timing:
Timing is governed by the United States Department of Agriculture (USDA) Hardiness Zones. In Zones 7 through 10, the ideal window for installation is late autumn. This allows the plant to transition from its reproductive stage to a dormant or slow-growth vegetative stage. During this period, the plant focuses its energy on root elongation rather than flower production.
The biological clock of a plant is regulated by the photoperiod. As day length decreases, deciduous species enter senescence, a process where nutrients are pulled from the leaves into the root system. Planting during this window ensures that by the time the first spring flush occurs, the root-to-shoot ratio is balanced. In cooler Zones 3 through 6, planting should occur as soon as the soil temperature reaches a consistent 45 degrees Fahrenheit (7 degrees Celsius) to allow for root establishment before the summer heat stress begins.
Phases:

Sowing and Site Preparation
Before a single seed or container plant touches the ground, you must hydro-zone your site. Group plants with identical water requirements together to prevent over-irrigation of drought-tolerant species.
Pro-Tip: Utilize mycorrhizal inoculants during soil preparation. This symbiotic relationship between fungi and roots increases the effective surface area of the root system by up to 1,000 times, significantly improving water uptake through biological synergy.
Transplanting
When moving plants from containers to the ground, the hole must be twice as wide as the root ball but no deeper. If the plant is buried too deep, the stem tissue may succumb to fungal pathogens due to lack of oxygen in the upper soil profile.
Pro-Tip: Score the sides of the root ball if the plant is pot-bound. This disrupts auxin suppression; the mechanical damage triggers the plant to send out new lateral roots into the surrounding native soil rather than continuing to circle the root ball.
Establishing
The establishment phase lasts for the first 12 to 24 months. Even the most drought-tolerant species require consistent moisture until they develop a deep taproot or an extensive lateral network.
Pro-Tip: Implement a deep-watering schedule that targets the bottom of the root zone. This encourages positive hydrotropism, where roots grow downward toward moisture reservoirs rather than staying near the surface where they are vulnerable to solar desiccation.
The Clinic:
Physiological disorders often mimic pest damage but are usually the result of environmental stressors or chemical imbalances.
-
Symptom: Interveinal Chlorosis (Yellowing between leaf veins).
- Diagnosis: Iron or Manganese deficiency, often caused by high soil pH (above 7.5).
- Solution: Apply chelated iron and lower the pH using elemental sulfur at a rate of 5 pounds per 1,000 square feet.
-
Symptom: Leaf Scorch (Browning of leaf margins).
- Diagnosis: Excessive transpiration. The plant is losing water through its stomata faster than the roots can provide it.
- Solution: Increase mulch depth to 4 inches and provide temporary 30 percent shade cloth during peak UV index hours.
-
Symptom: Blossom End Rot.
- Diagnosis: Calcium deficiency caused by inconsistent soil moisture. Even if calcium is present, it cannot move through the xylem without water.
- Solution: Stabilize moisture levels using a soil moisture meter to ensure the root zone stays between 40 and 60 percent field capacity.
-
Fix-It: Nitrogen Deficiency.
- Symptom: Overall stunting and pale green color in older leaves.
- Fix: Apply a liquid fish emulsion (2-4-2) for immediate uptake. Follow with a top-dressing of composted manure to provide long-term nitrogen mineralization.
Maintenance:
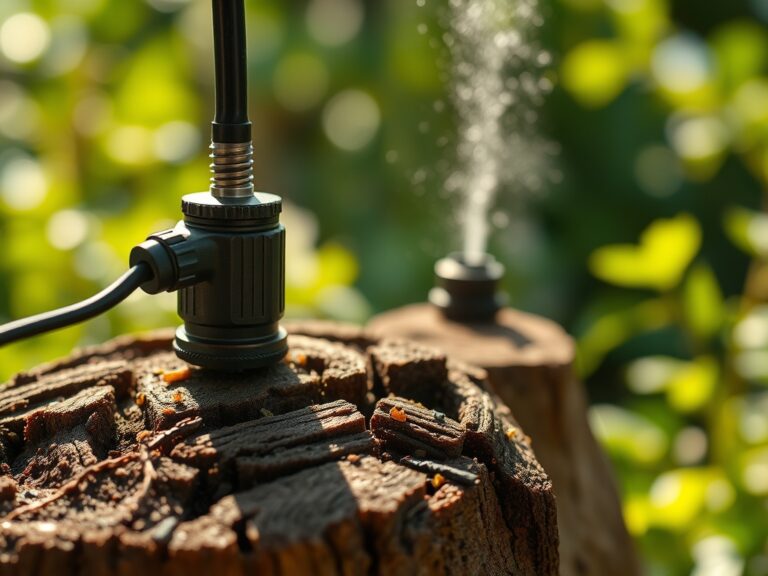
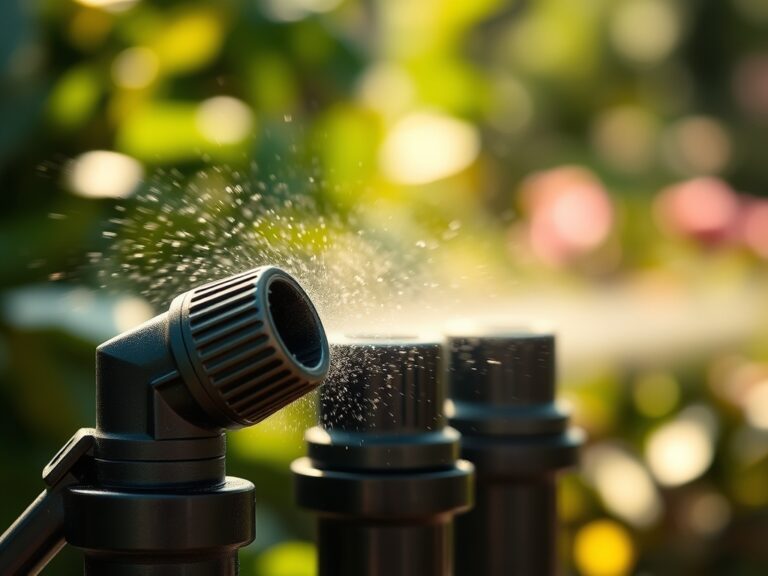
Precision is the hallmark of professional maintenance. Use a soil moisture meter to verify the volumetric water content before irrigating. For established low-water plants, aim for 0.5 to 1.0 inch of water every 14 days during the peak of summer. Apply water at the drip line, which is the outermost circumference of the plant canopy where the most active feeder roots reside.
Maintain your tools to prevent the spread of pathogens. Use a hori-hori knife for precise weeding and planting; its serrated edge allows you to cut through heavy root mats without disturbing the surrounding soil structure. Prune dead or diseased wood using bypass pruners, ensuring you make clean cuts at a 45-degree angle just above a lateral bud. This promotes rapid callous formation and prevents moisture loss through the wound.
The Yield:
If your low-water landscape includes lavender, rosemary, or drought-hardy succulents, harvesting must be timed to the plant's metabolic peak. Harvest herbs in the early morning after the dew has evaporated but before the sun triggers the volatilization of essential oils.
Cut stems at a node to encourage branching. For "day-one" freshness, immediately place the cut ends in 60-degree Fahrenheit water. This maintains the plant's turgidity and slows the rate of respiration. For flowers, remove at least 50 percent of the foliage on the cut stem to reduce the transpirational load, ensuring the blooms remain hydrated for an extended period.
FAQ:
How often should I water a new low water landscape?
Water every 2 to 3 days for the first month. Gradually transition to once a week over the next three months. By the second year, most plants only require supplemental water during extreme heat waves or prolonged droughts.
Can I use gravel instead of wood mulch?
Gravel increases the ambient temperature of the landscape through heat radiation. While it does not decompose, it can stress plants by raising the temperature of the root zone. Wood mulch is preferred for its cooling and soil-building properties.
What is the best way to test soil drainage?
Dig a hole 12 inches deep and 12 inches wide. Fill it with water and let it drain completely. Refill it and measure the drainage rate. An ideal rate for low-water plants is 1 to 3 inches per hour.
Why are my drought-tolerant plants dying from overwatering?
Excessive water fills the pore spaces in the soil, displacing oxygen. This leads to root hypoxia and fungal rot. Drought-tolerant species are biologically adapted to dry periods and lack the cellular mechanisms to survive in saturated, anaerobic conditions.