10 Pro Steps to Install Cedar Beds
The scent of fresh-cut cedar transforms a yard the moment the first board drops into place. The wood's natural oils repel insects, resist rot for decades, and leach no harmful chemicals into the soil below. When you follow proven steps to install cedar beds, you create microclimates where drainage, temperature, and nutrient cycling outperform ground-level plots by measurable margins. Cedar's lignin structure weathers to silver-grey while the sapwood remains intact, giving raised beds structural integrity that treated lumber cannot match without chemical intervention.
Materials
Select western red cedar (Thuja plicata) boards in 2×10 or 2×12 dimensions, rough-sawn or smooth. Avoid heartwood-only grades; the cost premium rarely justifies the marginal rot resistance in above-grade applications. Purchase galvanized deck screws (3-inch minimum) rather than nails to accommodate seasonal wood movement without splitting.
For soil amendments, source a 4-4-4 organic meal (feather meal, bone meal, and kelp) to establish baseline fertility. Add sphagnum peat or coir to lower pH by 0.5 to 1.0 unit if your municipal water exceeds 7.8 pH. Incorporate aged compost at a 1:3 ratio with native loam to boost cation exchange capacity without overwhelming seedlings with soluble nitrogen. Procure woven landscape fabric (3-ounce minimum) to suppress perennial weeds while maintaining gas exchange. Skip plastic sheeting; it creates anaerobic pockets that favor Pythium and Phytophthora root rots.
Calculate cubic footage (length × width × depth in feet) and order 10 percent extra soil to account for settling. A 4×8-foot bed at 12 inches deep requires 32 cubic feet, or roughly 1.2 cubic yards after compaction.
Timing
In USDA Hardiness Zones 3 through 6, construct beds four to six weeks before the last spring frost date. Soil temperatures inside raised beds climb 8 to 12 degrees Fahrenheit faster than ground level, advancing planting windows by ten to fourteen days. In Zones 7 through 10, fall installation (September through November) allows microbial populations and mycorrhizal fungi to colonize the root zone before spring transplants.
Avoid construction during saturated soil conditions. Wet clay beneath the bed perimeter creates hydrostatic pressure that bows sidewalls outward, stressing joinery. Wait until the top 4 inches of native soil crumbles when squeezed.
Phases

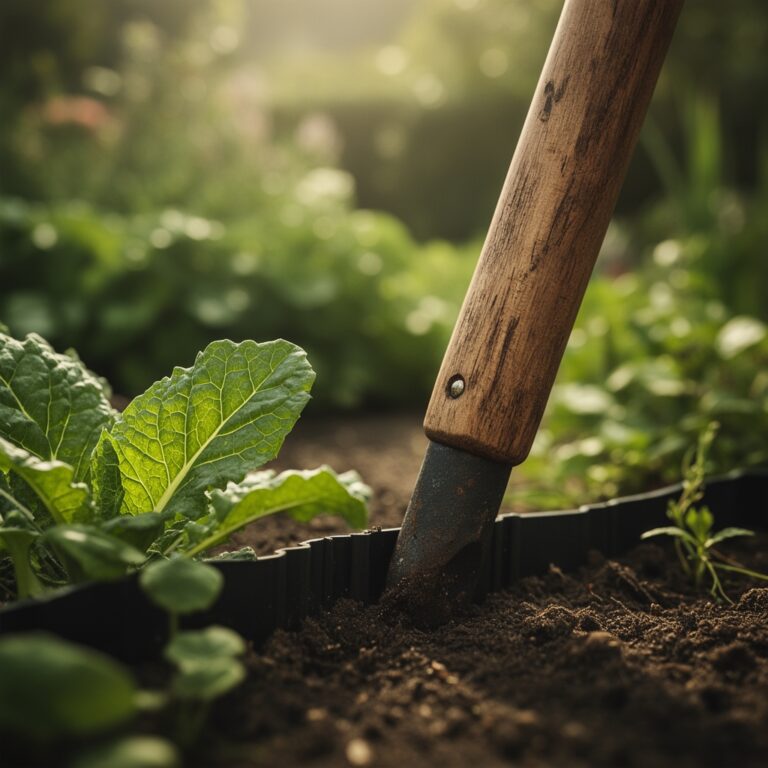
Site Preparation: Remove sod in sheets, flipping it upside down at the bed's future base. The decaying grass roots contribute nitrogen without the need for tillage. Rake the surface flat to within 1 inch of level, then tamp with a hand compactor. Deviations greater than 2 inches cause uneven water distribution and pooling.
Assembly: Cut boards to length with a circular saw set to 90-degree precision. Butt corners together and predrill pilot holes 3/4 inch from board ends to prevent splitting. Drive screws at a slight inward angle (5 degrees) to draw joints tight. Stack a second tier if depth exceeds 12 inches, offsetting seams by at least 18 inches to distribute shear load.
Pro-Tip: Apply a bead of exterior-grade polyurethane adhesive along each joint before fastening. Cured adhesive adds 40 percent lateral strength and seals end-grain moisture pathways that accelerate decay.
Filling: Lay landscape fabric across the bed's footprint, extending 3 inches up each interior wall. Staple fabric to the cedar at 8-inch intervals. Shovel soil mix to two-thirds depth, then water thoroughly to collapse air pockets. Top with the remaining third, mounding 2 inches above the rim to compensate for settling over the first month.
Pro-Tip: Broadcast granular mycorrhizal inoculant (Glomus intraradices and Rhizophagus irregularis) at label rates across the soil surface before the final layer. These fungi extend phosphorus acquisition by 300 percent in low-P soils and improve drought tolerance through hyphal water transport.
Troubleshooting
Symptom: Sidewall bowing outward by 1 inch or more.
Solution: Drive 2×2-inch stakes (cedar or pressure-treated) flush against the exterior at 4-foot intervals. Attach with two screws per stake, penetrating both the stake and the bed wall. The stakes act as buttresses, redistributing soil pressure vertically.
Symptom: White fungal mycelium on interior cedar surfaces.
Solution: Distinguish saprophytic fungi (beneficial decomposers) from pathogenic species. Saprophytes appear as white, cobwebby growth and indicate healthy microbial activity. Remove only if growth obstructs soil contact. True rot shows as brown, crumbly wood and requires board replacement.
Symptom: Seedling damping-off within ten days of emergence.
Solution: Reduce watering frequency by 50 percent and apply a Trichoderma harzianum drench (colony-forming units per label) to outcompete Pythium and Rhizoctonia. Increase air circulation with a low-speed fan for eight hours daily.
Symptom: Yellowing lower leaves (chlorosis) three weeks post-transplant.
Solution: Test soil with a portable EC meter. If electrical conductivity exceeds 2.0 mS/cm, salt accumulation is inhibiting nutrient uptake. Flush with 2 gallons of water per cubic foot of soil, allowing complete drainage.
Maintenance
Apply 1 inch of water per week during active growth, measured with a rain gauge. Irrigate early morning to allow foliage to dry before nightfall, reducing foliar disease pressure. Mulch with 2 inches of shredded hardwood bark (not dyed) to moderate soil temperature swings and suppress annual weeds. Replenish mulch each spring.
Side-dress with 1/2 cup of 4-4-4 organic meal per 4 linear feet of bed every six weeks during the growing season. Scratch granules into the top inch of soil, avoiding direct contact with stems to prevent salt injury. Monitor pH quarterly with a soil test kit; cedar leachate is neutral, but amendment breakdown can shift pH by 0.3 units annually.
Inspect corners each spring for screw loosening. Retighten any fastener that turns more than one-quarter rotation. Replace boards when fungal decay penetrates deeper than 1/4 inch, typically after fifteen to twenty-five years in moist climates.
FAQ
How deep should cedar beds be for root crops?
Twelve inches minimum for carrots and beets; 16 inches for parsnips and salsify. Root tip auxin distribution drives vertical growth, and shallow beds cause forking.
Can cedar tannins harm plants?
No. Thujaplicins in heartwood are fungistatic, not phytotoxic. Germination trials show no inhibition at concentrations present in bed walls.
Do cedar beds require a bottom?
No. Omitting a bottom allows earthworm migration and deep root penetration. Landscape fabric alone prevents weed intrusion.
What causes cedar to split along the grain?
Rapid moisture cycling. Pre-stain boards with a penetrating oil finish to slow water absorption and reduce dimensional change by 30 percent.
Should beds be stained or sealed?
Optional. Untreated cedar lasts 15 to 20 years. Penetrating oils (linseed or tung) extend lifespan to 25 years but require reapplication every three seasons.