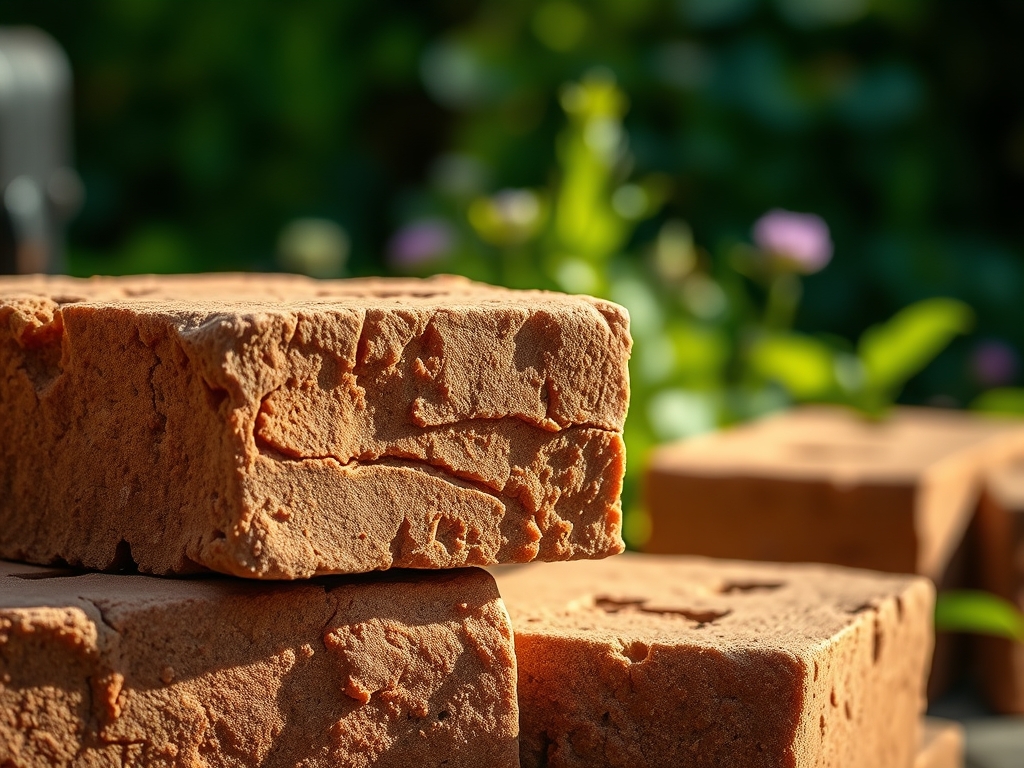
10 Best Fire Bricks for Ovens
Crushing a handful of well-aged compost reveals the earthy scent of geosmin; this microbial byproduct signals a fertile rhizosphere ready for production. Just as a plant relies on the turgor pressure of its cellular walls to remain upright, a high-performance masonry oven relies on the thermal mass of the best fire bricks for ovens to maintain steady internal temperatures. In the world of high-heat horticulture and outdoor kitchen construction, structural integrity is non-negotiable. Building a wood-fired oven requires the same precision as balancing soil minerals. You are managing heat transfer much like a plant manages transpiration. Standard red clay bricks will spall and shatter under the thermal shock of a 900 degree Fahrenheit fire. You need refractory materials capable of withstanding extreme cycles of expansion and contraction. High-alumina firebricks provide the necessary density to store caloric energy, ensuring that the heat remains consistent long after the flames have subsided. This guide applies the rigor of soil science to the selection and installation of refractory units.
Materials:
The substrate for your oven base must be as stable as a friable loam with a high Cation Exchange Capacity (CEC). While plants require a pH between 6.0 and 7.0 for optimal nutrient uptake, your masonry materials must resist chemical erosion from wood ash, which is highly alkaline. Ideal fire bricks are composed of 25 to 40 percent alumina and 50 to 70 percent silica. This mineral balance ensures the brick can handle temperatures exceeding 2,000 degrees Fahrenheit without losing structural density.
For the surrounding insulation, use a mix of perlite or vermiculite. In gardening, these materials improve aeration and drainage; in oven construction, they serve as thermal barriers. The NPK ratio of your surrounding landscape remains critical during construction. Ensure no nitrogen-heavy runoff (20-10-10) reaches the masonry site, as high salts can cause efflorescence on the brick surface. A neutral soil pH at the foundation prevents the corrosion of any metal reinforcement bars used in the concrete pad.
Timing:
Hardiness Zones 3 through 7 require specific construction windows to avoid the heave-thaw cycle. You must complete masonry work at least 30 days before the first hard frost. This allows the refractory mortar to undergo full chemical hydration. Like the biological clock of a perennial transitioning from vegetative growth to senescence, the oven requires a curing phase.
In Zone 8 and above, work can proceed year-round, but you must manage the evaporation rate. If the mortar dries too quickly, it fails to form the necessary crystalline bonds. This is analogous to a seedling wilting because its transpiration rate exceeds its root water uptake. Schedule your "first fire" to coincide with the dormant season of your garden. This prevents heat stress on nearby shrubs and ensures the ambient humidity is low enough for the masonry to shed its internal moisture content safely.
Phases:

Sowing the Foundation
The foundation must be a reinforced concrete slab, typically 4 inches thick. Below this, a 6-inch layer of compacted gravel ensures drainage. This mirrors the preparation of a deep-culture raised bed where drainage is paramount to prevent root rot. Pro-Tip: Ensure the slab is perfectly level using a 4-foot spirit level. Biological Why: Just as gravitropism dictates that roots grow downward and stems upward, an unlevel base creates uneven stress distribution, leading to structural fissures during thermal expansion.
Transplanting the Fire Bricks
Lay the hearth bricks in a herringbone pattern. This layout minimizes the chance of a peel catching on a brick edge. Use a thin layer of fireclay and sand for the joints. Pro-Tip: Soak your fire bricks in water for 30 seconds before laying them. Biological Why: This prevents the dry brick from "wicking" moisture out of the mortar too quickly. This is the same principle as pre-hydrating a root ball during transplanting to prevent cellular collapse and ensure the plant maintains turgor.
Establishing the Dome
Construct the dome using a wooden form or a sand mold. Each brick should be angled toward the center point. Use a high-temperature refractory mortar rated for at least 2,500 degrees Fahrenheit. Pro-Tip: Apply a 2-inch layer of ceramic fiber blanket over the dome before the final stucco coat. Biological Why: This insulation functions like a thick layer of mulch in a garden. It regulates the internal temperature and protects the core from external environmental fluctuations, much like mulch prevents soil temperature spikes that can damage delicate mycorrhizal fungi.
The Clinic:
Physiological disorders in masonry often mirror those in botany. Identifying the symptom early prevents total system failure.
Symptom: Spalling (surface flaking).
Solution: This is caused by trapped moisture expanding rapidly. Increase the duration of your low-heat curing fires. Ensure the oven is covered during rain.
Symptom: Longitudinal Cracking.
Solution: This indicates a lack of expansion joints. In a garden, this is similar to bark splitting on a fruit tree due to rapid growth. Use a masonry saw to cut relief joints in the outer shell.
Symptom: Mortar Crumbling.
Solution: The mix was likely too lean (too much sand). Re-point the joints using a 1:2 ratio of fireclay to masonry sand.
Fix-It: Nutrient and Mineral Deficiencies
If your surrounding landscape shows Nitrogen chlorosis (yellowing of older leaves), the construction process may have leached nitrogen from the soil. Apply a balanced 10-10-10 fertilizer to the perimeter to restore the nitrogen cycle. If the brickwork shows white powdery deposits, this is efflorescence. Scrub with a stiff brush and distilled water; do not use acid cleaners which can alter the soil pH at the base of the oven.
Maintenance:
Precision maintenance extends the life of the oven and the surrounding flora. Use a soil moisture meter to ensure the ground around the oven foundation remains at a consistent 15 to 20 percent moisture level to prevent soil shrinkage. When pruning nearby overhanging branches, use bypass pruners to make clean, 45-degree cuts that promote rapid healing and prevent fungal infection.
For the oven itself, sweep the hearth with a natural fiber brush after every use. Inspect the dome for cracks using a high-intensity flashlight. If you find a gap wider than 1/8 inch, fill it with refractory cement. Water the surrounding garden beds with 1.5 inches of water per week at the drip line to compensate for the localized heat. Use a hori-hori knife to remove any weeds growing at the base of the masonry to prevent root systems from infiltrating the foundation.
The Yield:
Harvesting the heat of the oven requires patience. Use an infrared thermometer to verify the hearth has reached 750 degrees Fahrenheit for pizza or 500 degrees for sourdough. For the garden components of your meal, harvest herbs like rosemary or basil in the early morning when oil concentration is at its peak. Use sharp shears to avoid tearing the vascular tissue. Post-harvest, submerge the stems in 40-degree Fahrenheit water to maintain "day-one" freshness and maximum turgor before they hit the heat of the oven.
FAQ:
What is the best material for oven fire bricks?
High-duty fireclay bricks with an alumina content between 35% and 42% are ideal. These provide the best balance of thermal conductivity and heat retention while resisting the corrosive effects of wood ash and high temperatures.
Can I use regular red bricks for an oven?
No. Standard red clay bricks contain impurities and air pockets that expand at different rates. Under high heat, they will crack, flake, or explode due to thermal shock and lack of refractory properties.
How long should I cure a new fire brick oven?
Cure the oven for seven days with increasingly larger fires. Start with a small candle or heat lamp, then move to small kindling. This slowly drives out deep-seated moisture without causing structural steam pressure.
How do I prevent my fire bricks from cracking?
Maintain a dry environment and use a high-quality refractory mortar. Ensure the oven is properly insulated with ceramic wool to reduce the temperature gradient between the inner bricks and the outer atmosphere, which minimizes thermal stress.