
10 Basic Steps to Build Garden Bridges
The scent of cedar and treated pine mingles with damp soil as you unroll the blueprint across your workbench. Learning the steps to build garden bridges transforms a functional crossing into an architectural focal point that guides visitors through perennial beds, over dry creek beds, or above koi ponds. These structures demand precision in joinery, an understanding of load distribution, and material selection that withstands both foot traffic and seasonal freeze-thaw cycles.
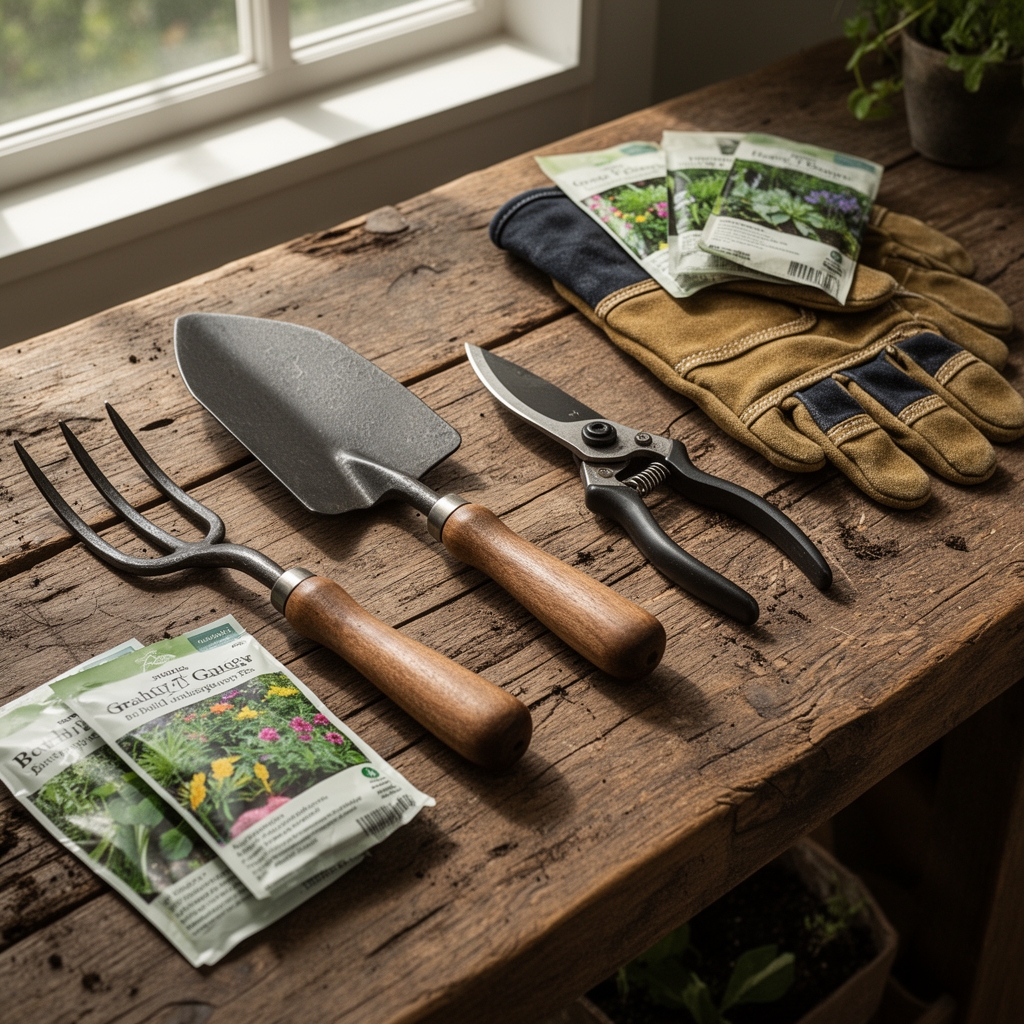
Materials
Pressure-treated southern yellow pine rated for ground contact (0.40 pcf retention) forms the primary structural members. This species offers a Janka hardness of 690 pounds-force and resists decay when mycorrhizal fungi colonize surrounding soil. Cedar or redwood decking, though softer at 350 and 450 pounds-force respectively, provides natural resistance to rot without chemical treatment. Galvanized lag screws (3/8 inch diameter, 6 inches long) secure beams to posts. Stainless steel carriage bolts (1/2 inch diameter) fasten railings to prevent shear failure under lateral loads.
For soil-adjacent installations, amend the base with crushed stone aggregate (3/4 inch minus) to a depth of 6 inches. This layer improves drainage and maintains a pH of 6.5 to 7.0, discouraging acid-loving moss that compromises footing. Concrete footings (12 inches diameter, 36 inches depth in Zone 5 and colder) anchor posts below the frost line. Mix concrete at a 1:2:3 ratio (cement:sand:gravel) with a water-cement ratio of 0.45 for 4,000 psi compressive strength. Incorporate 4-4-4 organic meal into planting beds flanking the bridge to encourage rhizomatous groundcovers that stabilize embankments through root exudates and improved cation exchange capacity.
Timing
Construct bridges in late spring after the last frost date when soil temperatures reach 55°F at 6-inch depth. In Zones 3 through 5, schedule installations between May 15 and June 30. Zones 6 through 8 allow a wider window from April 1 to October 15. Avoid construction during active growing seasons when foot traffic damages emerging perennials. Concrete curing requires seven days at temperatures above 50°F and relative humidity above 80 percent. Plan staining or sealing treatments for periods of three consecutive dry days with daytime highs between 60°F and 85°F.
Phases

Site Preparation: Excavate post locations to 42 inches in northern zones. Remove organic topsoil to prevent differential settling. Compact subgrade to 95 percent maximum dry density using a plate compactor. Install vapor barrier if water table rises within 18 inches of finished grade.
Pro-Tip: Inoculate disturbed soil with Rhizophagus irregularis at 150 spores per cubic inch to accelerate nutrient cycling and stabilize adjacent plantings through hyphal networks.
Foundation and Framing: Pour footings and embed galvanized post anchors with 1/2-inch J-bolts. Cure for seven days before attaching 6×6-inch posts. Cut stringers (2×10-inch joists) at a 15-degree angle for approaches not exceeding a 1:12 slope. Space joists 12 inches on center for residential foot traffic, 8 inches for commercial applications exceeding 40 pounds per square foot live load. Apply auxin-based wood preservative to cut ends to slow moisture ingress along exposed grain.
Pro-Tip: Predrill pilot holes at 80 percent of shank diameter to prevent splitting when driving lag screws within 3 inches of board ends.
Decking and Railings: Fasten 5/4×6-inch deck boards perpendicular to joists with 3-inch coated deck screws, maintaining 1/8-inch gaps for drainage and expansion. Miter-cut ends at 45 degrees where boards meet at center span for clean visual lines. Install 36-inch railings with balusters spaced no more than 4 inches apart to meet residential building codes. Rout a 1/4-inch chamfer along top rail edges to shed water and reduce splintering.
Pro-Tip: Seal end grain with paraffin-based emulsion to reduce moisture uptake by 60 percent during the first season.
Troubleshooting
Symptom: Surface checking (parallel cracks along grain).
Solution: Apply penetrating oil sealer within 48 hours of construction. Reapply annually in early spring before UV degradation accelerates lignin breakdown.
Symptom: Post wobble or lateral movement.
Solution: Excavate footing perimeter and install diagonal knee braces cut at 45 degrees. Secure with 3/8-inch through-bolts. Backfill with tamped gravel.
Symptom: Green algae colonization on north-facing surfaces.
Solution: Pressure-wash at 1,500 psi using a 25-degree nozzle. Treat with copper naphthenate solution (2 percent concentration) during dormant season to minimize runoff into planting beds.
Symptom: Carpenter ant frass (sawdust piles) near joints.
Solution: Inject boric acid dust (99 percent purity) into exit holes. Replace compromised structural members if damage exceeds 30 percent of cross-section.
Symptom: Cupping (board edges higher than center).
Solution: Install bark-side up during construction. Fasten boards at each joist intersection to restrict movement.
Maintenance
Apply water-repellent stain every 24 months at a coverage rate of 150 square feet per gallon. Clean debris weekly to prevent tannin staining and ensure drainage gaps remain clear. Inspect fasteners annually, tightening any that have backed out more than 1/8 inch. Replace boards showing more than 1/4-inch deflection under 200-pound point load. Trim overhanging branches to maintain 8 feet of clearance, reducing leaf litter accumulation and shading that promotes moss.
FAQ
How wide should a garden bridge span?
Minimum 36 inches for single-file passage, 48 inches for side-by-side walking. Spans exceeding 8 feet require engineered trusses or laminated beams.
What depth should footings reach?
36 inches in Zones 5 and 6, 42 inches in Zones 3 and 4, 24 inches in Zones 7 and warmer where frost heave is minimal.
Can I use untreated lumber?
Cedar, redwood, and black locust perform adequately without treatment. Expect 15 to 25-year service life compared to 30 years for pressure-treated options.
How much weight will the bridge hold?
Residential designs support 40 pounds per square foot live load plus 10 pounds dead load. A 4-foot by 8-foot deck accommodates 1,600 pounds distributed evenly.
Should I angle the bridge deck?
Install with a 2 percent cross-slope (1/4 inch per foot) to direct water off the walking surface and prevent ice formation during freeze-thaw cycles.